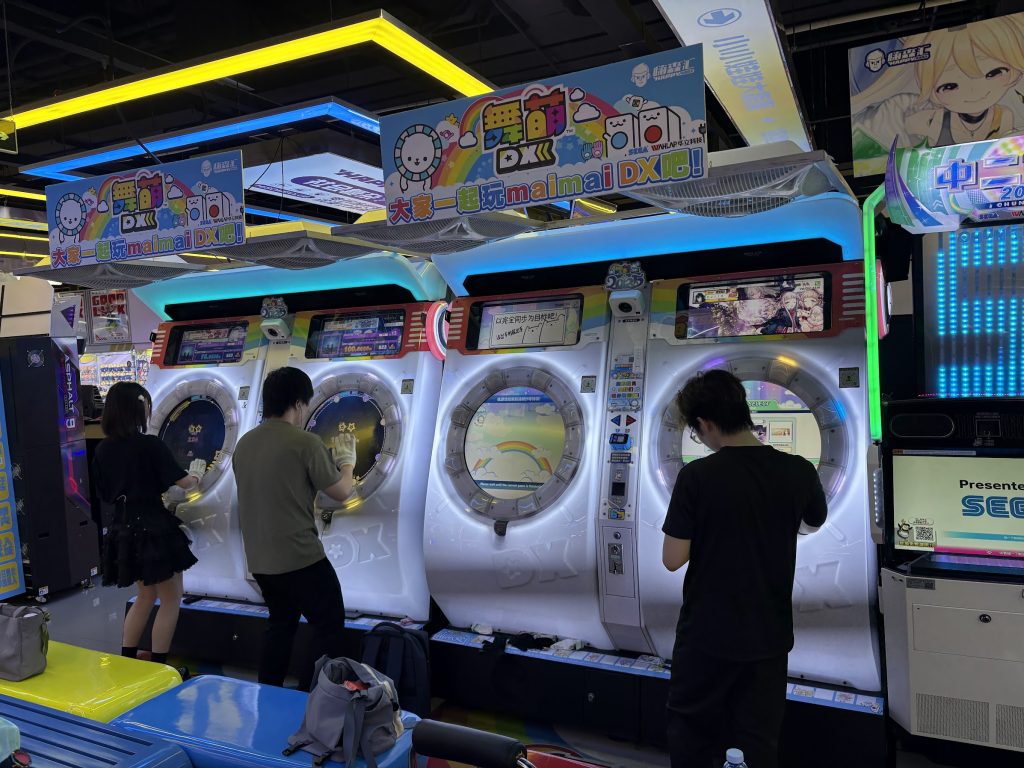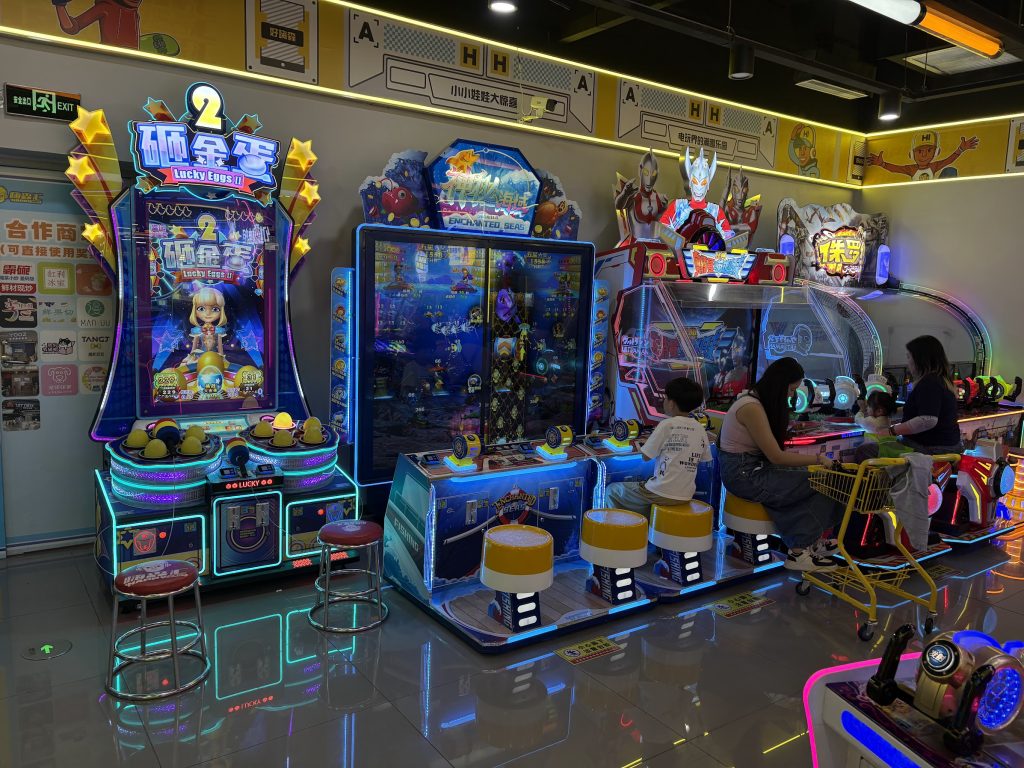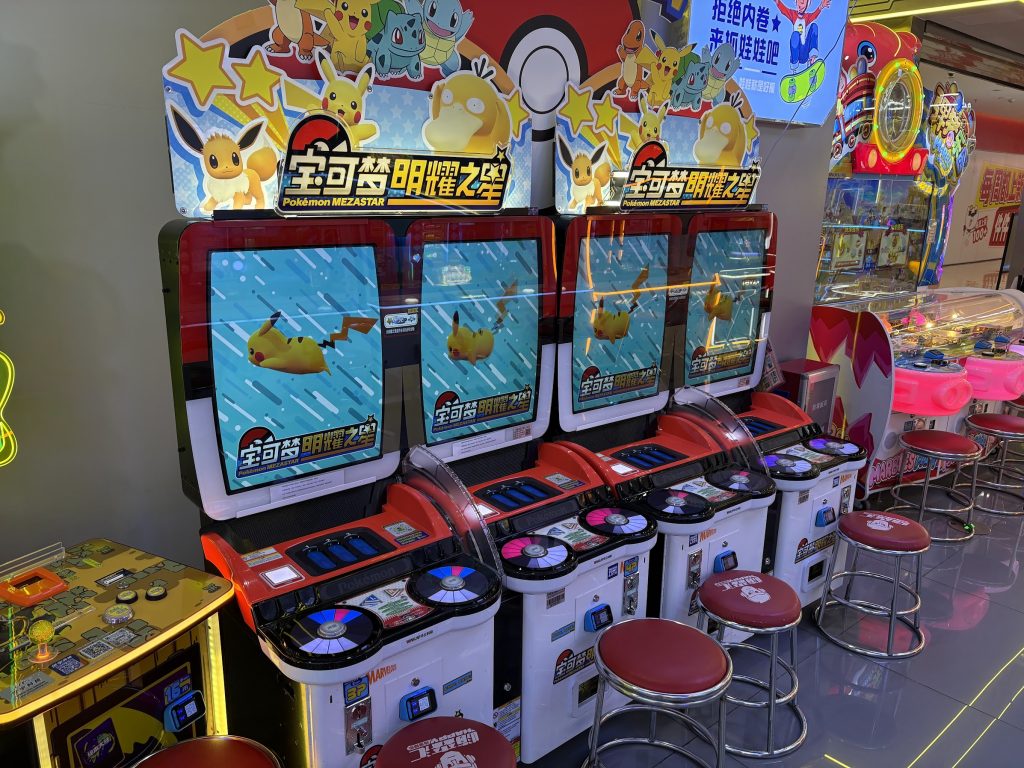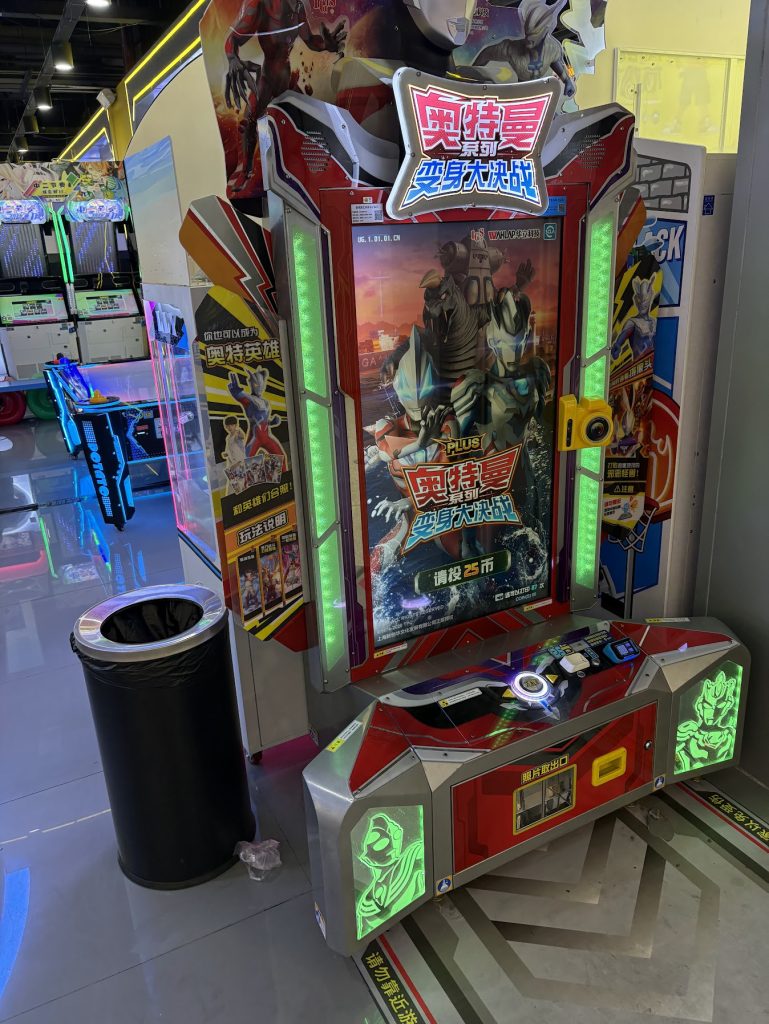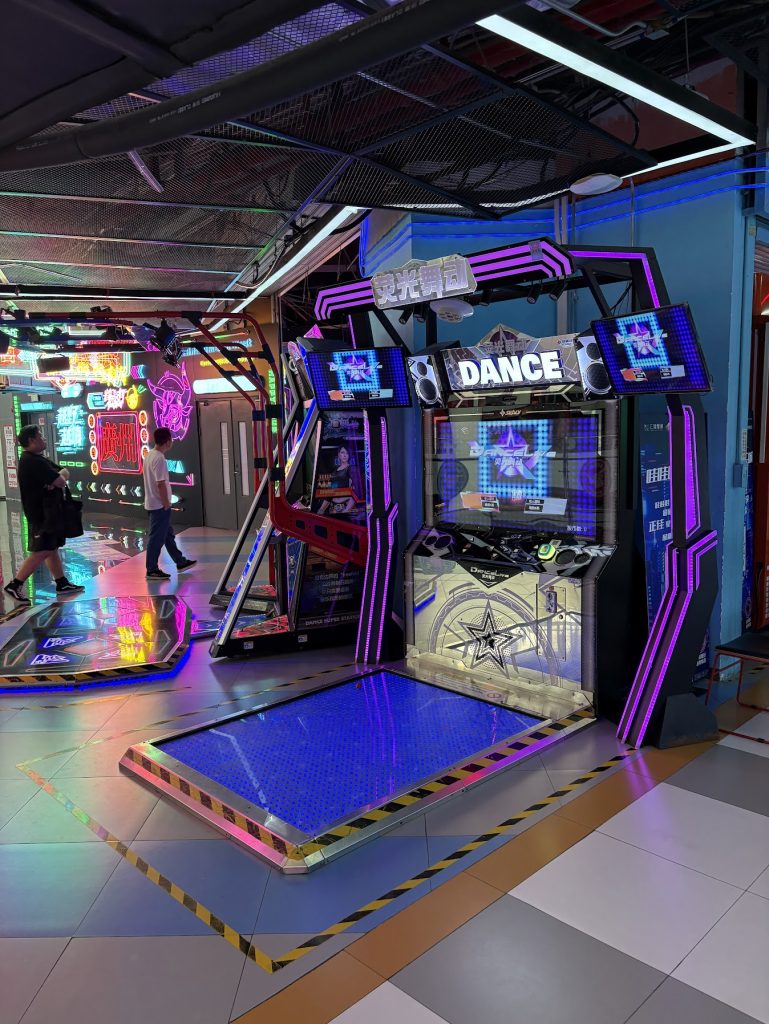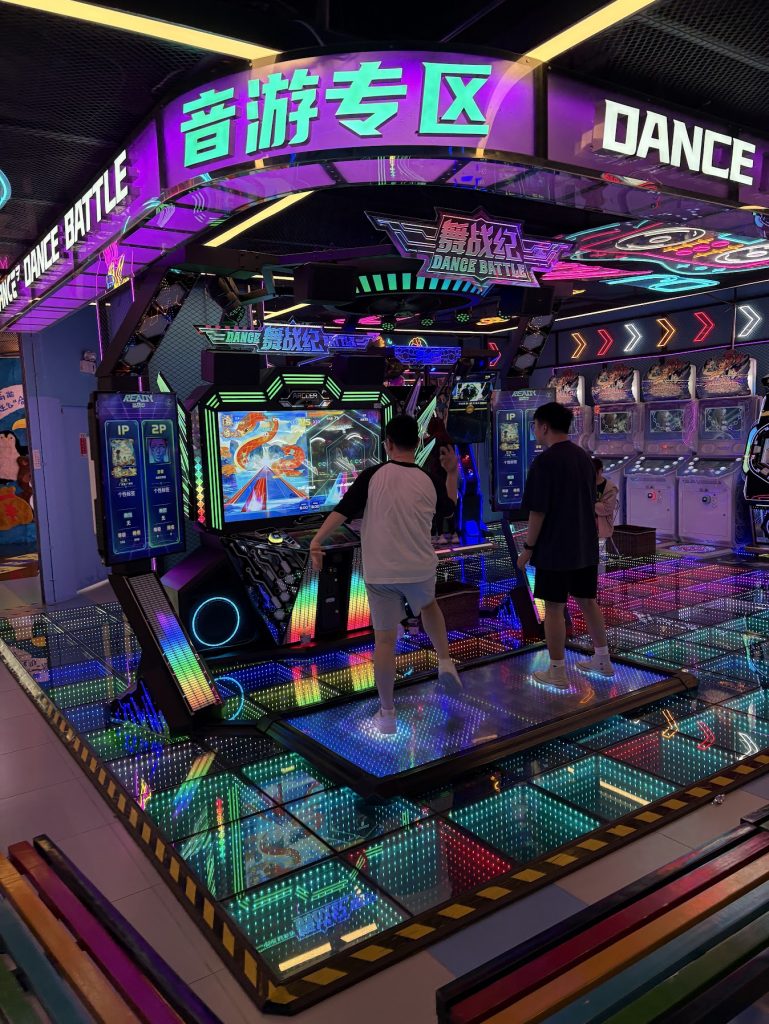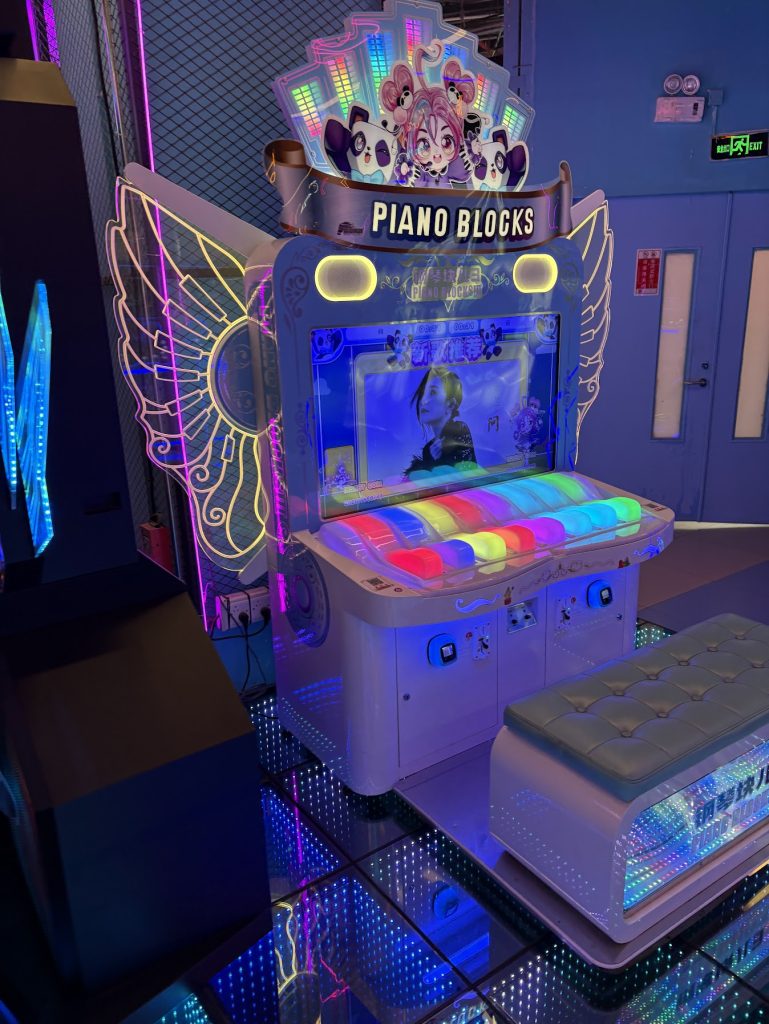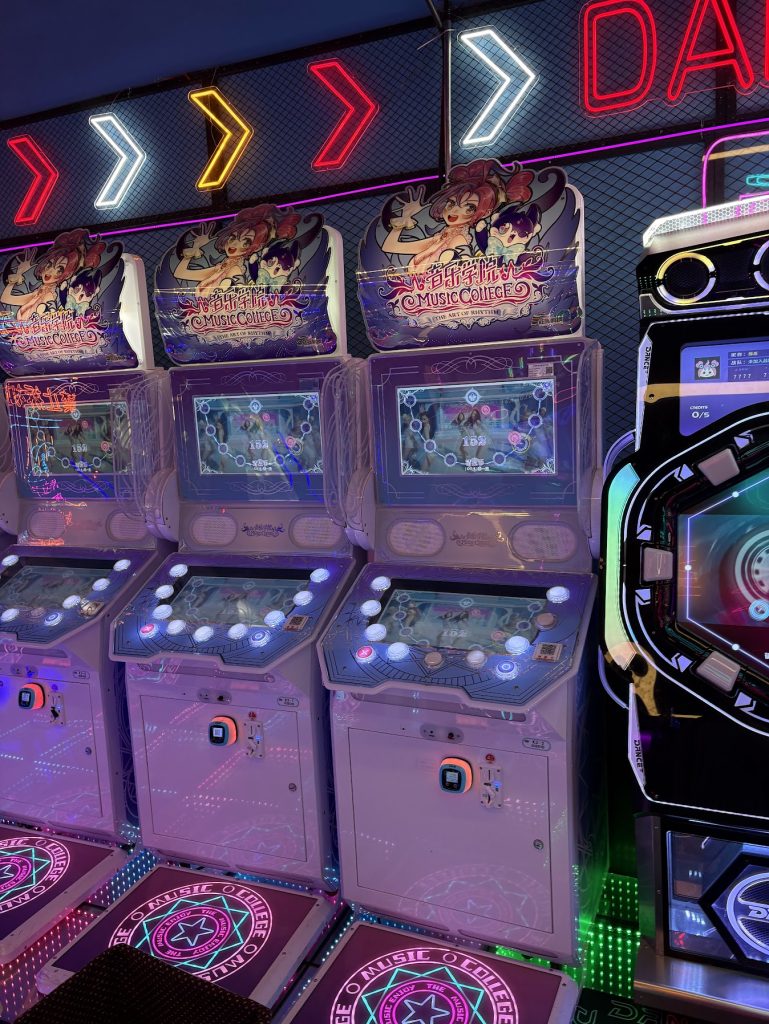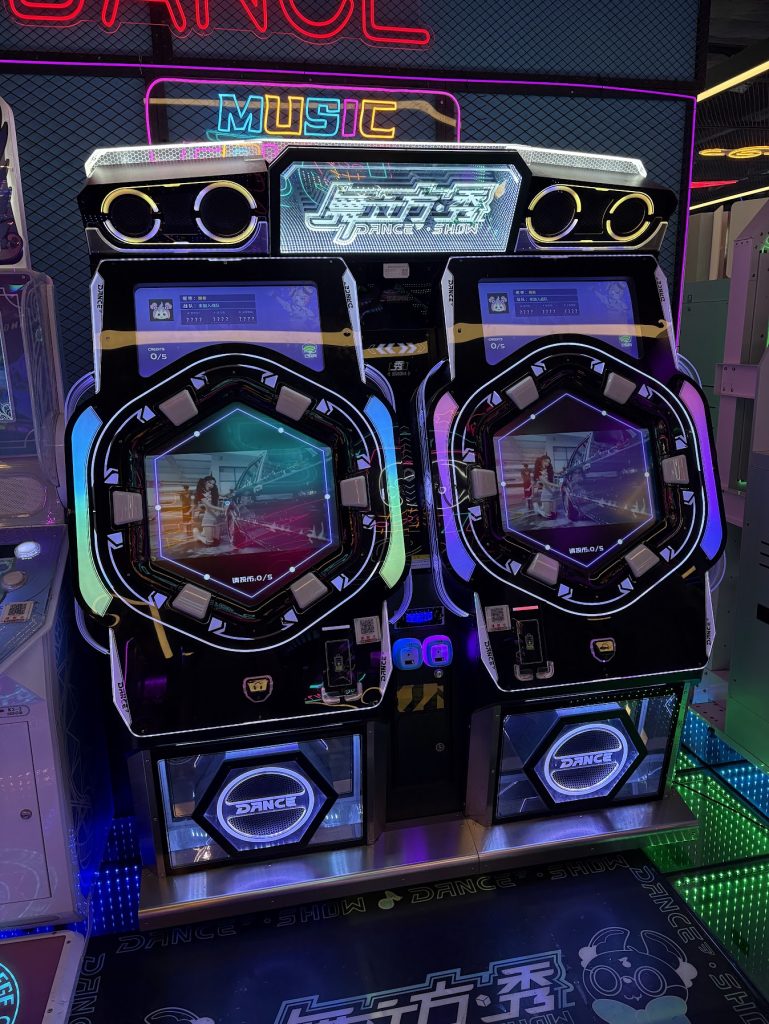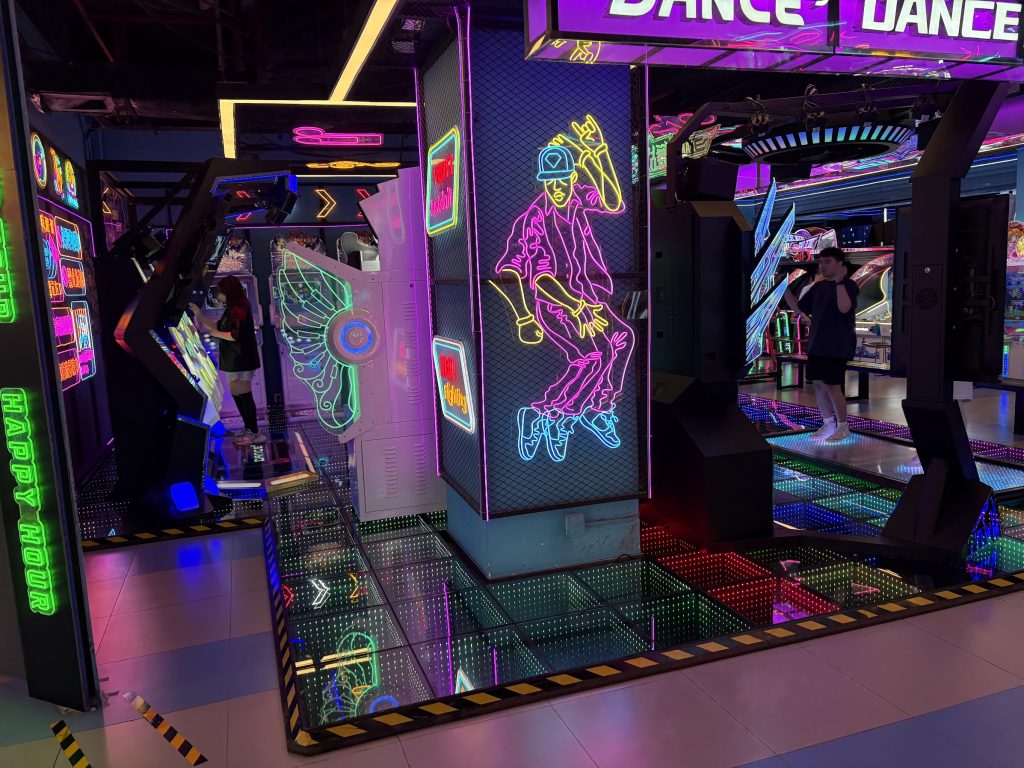
I’ve been to Guangzhou six or so times now, and I try to pop into their arcades to check out what’s available over there when I visit.
I thought it might be interesting to show how things used to be, and how they are now, so I’m gonna make a few posts that are basically picture dumps from some Arcades in Guangzhou.
All of these are typical “Mall Arcades” from different shopping malls.
Not really aiming to do much of a writeup, so enjoy the pictures.
How it used to be (back in 2013-2015 or so)
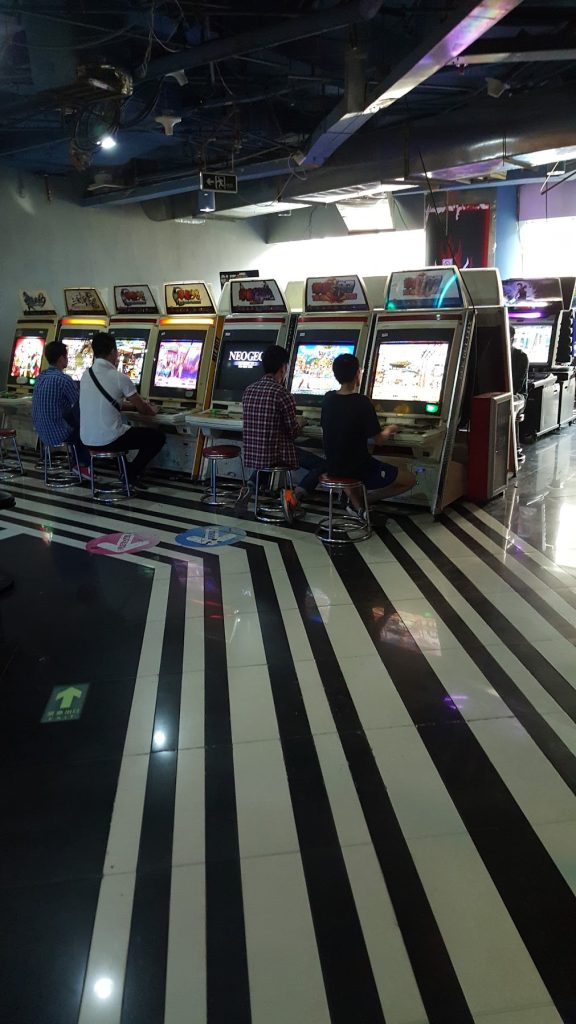
Back in ye olde days of 10+ years ago, the arcades still had plenty of old CRT sitdown cabs with old games. Lots of Neogeo, PGM and various boards. Just kinda a bit of everything.
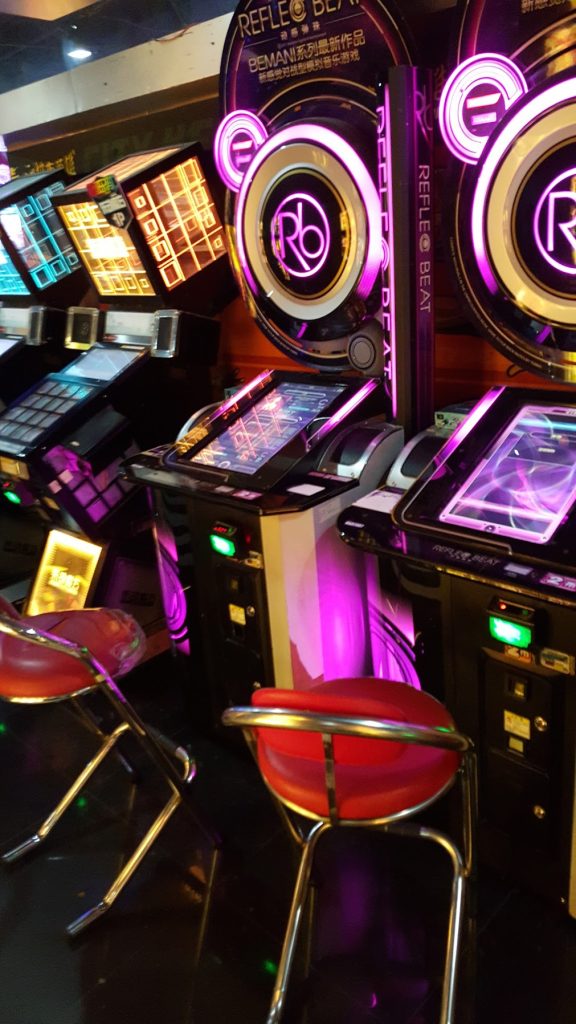
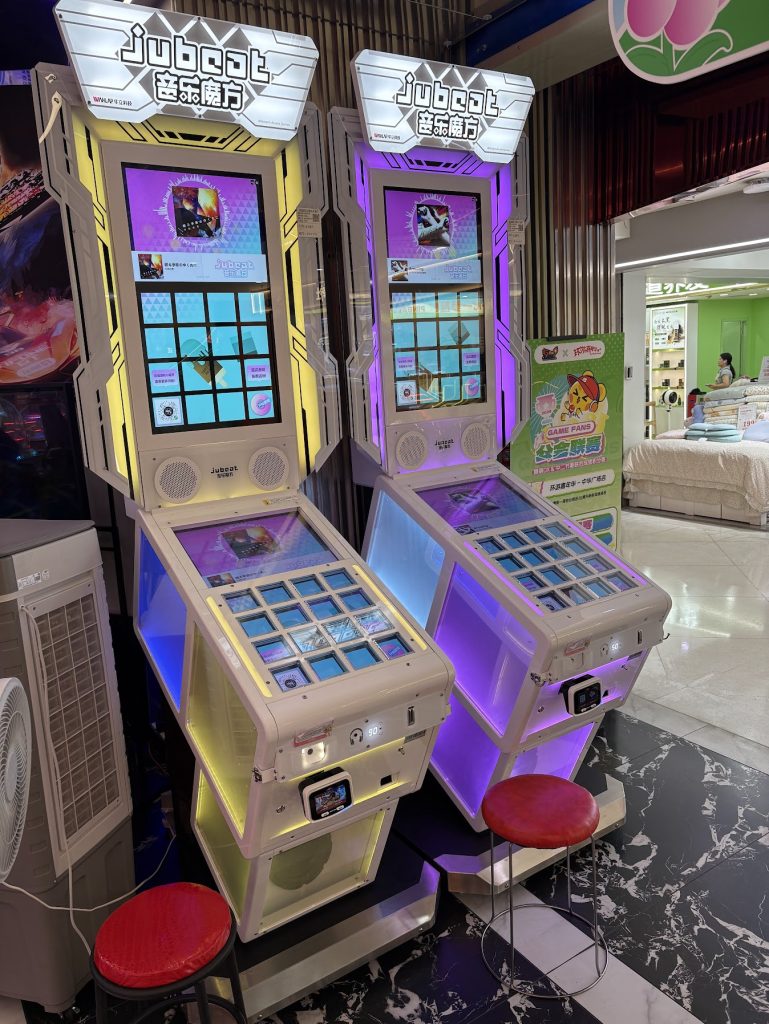
There were some official Music Cabs around like Jubeat and Reflec Beat…
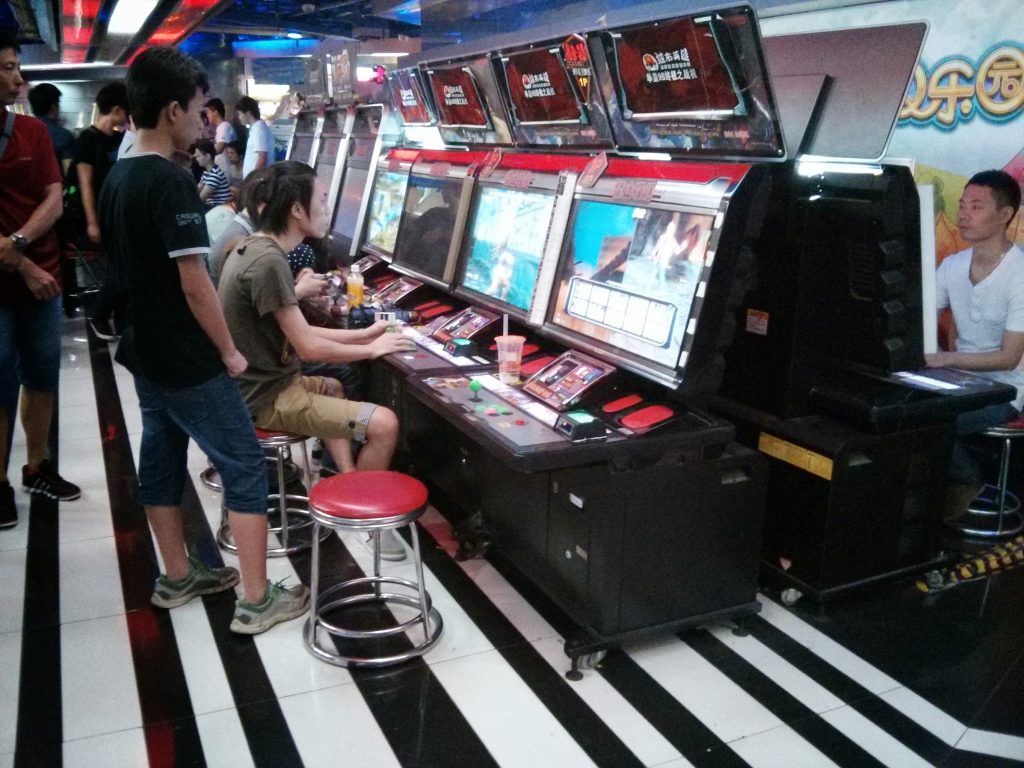
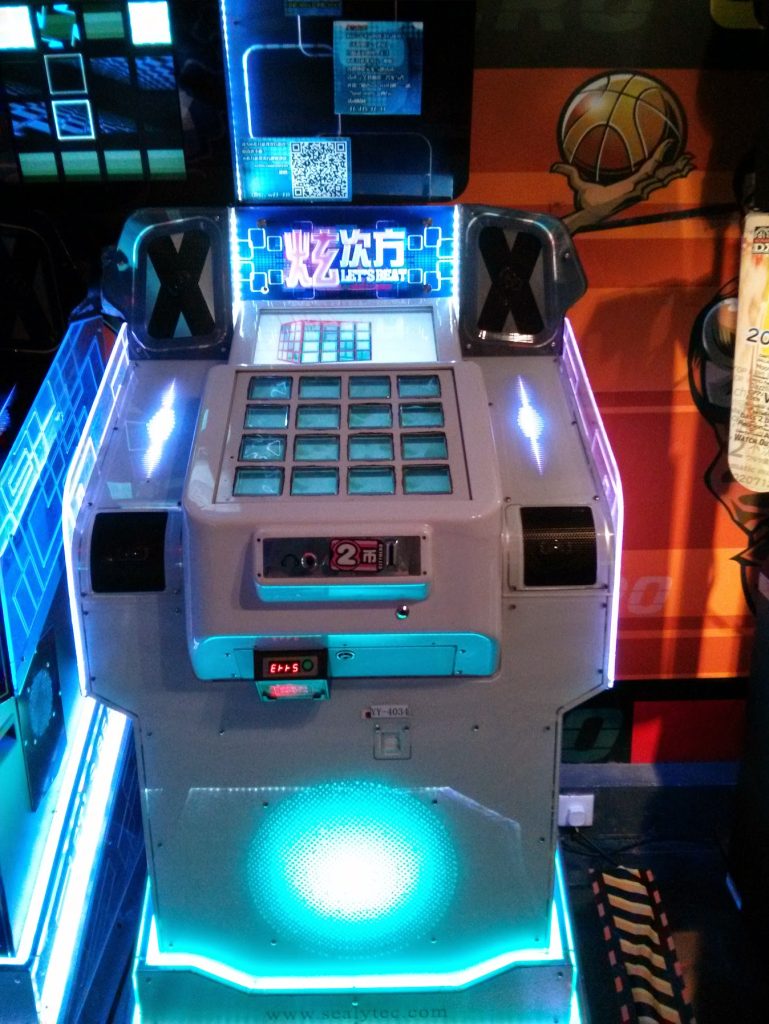
… but also a bunch of bootlegs like this fake Jubeat
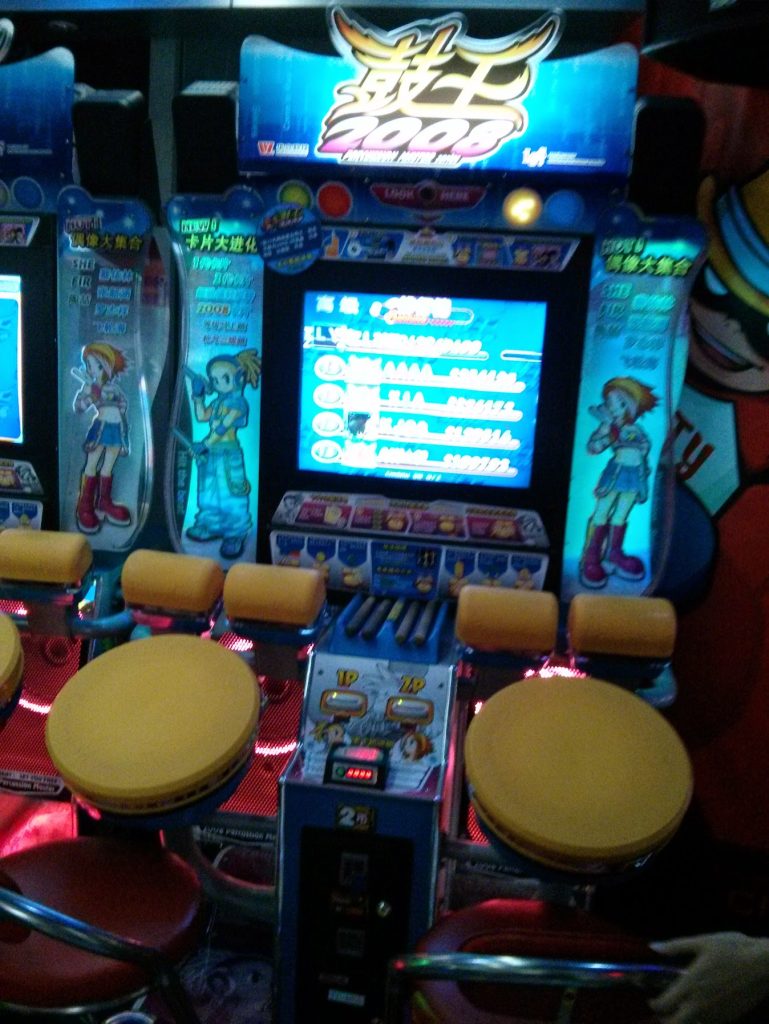
… and plenty of Chinese originals like whatever this is, as well as a bunch of Driving games.
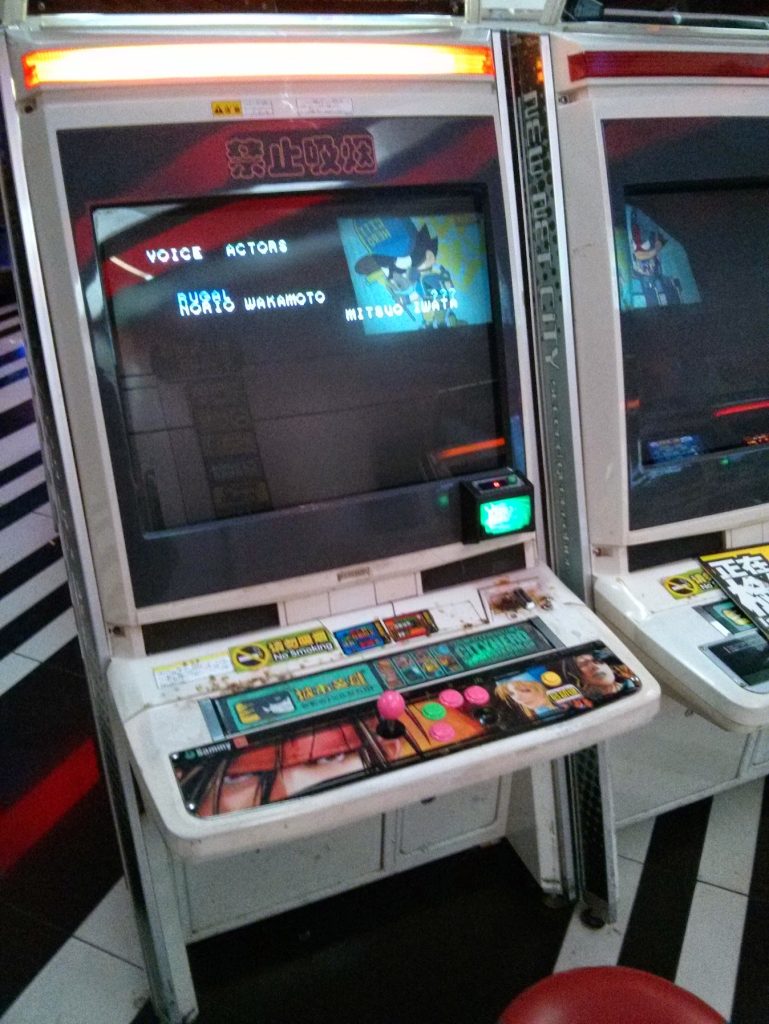
Condition of cabs was usually kinda shit, see this closer image for a good example. Lots of burnmarks from smokers and whatnot.
Overall, the variety here for classic arcade games was very high! Some games were also weirdly popular in China compared to the west. For some reason they really loved King of Fighters 97 over there instead of 98 and 2002 which are more popular in the west.
What its like now (2026)
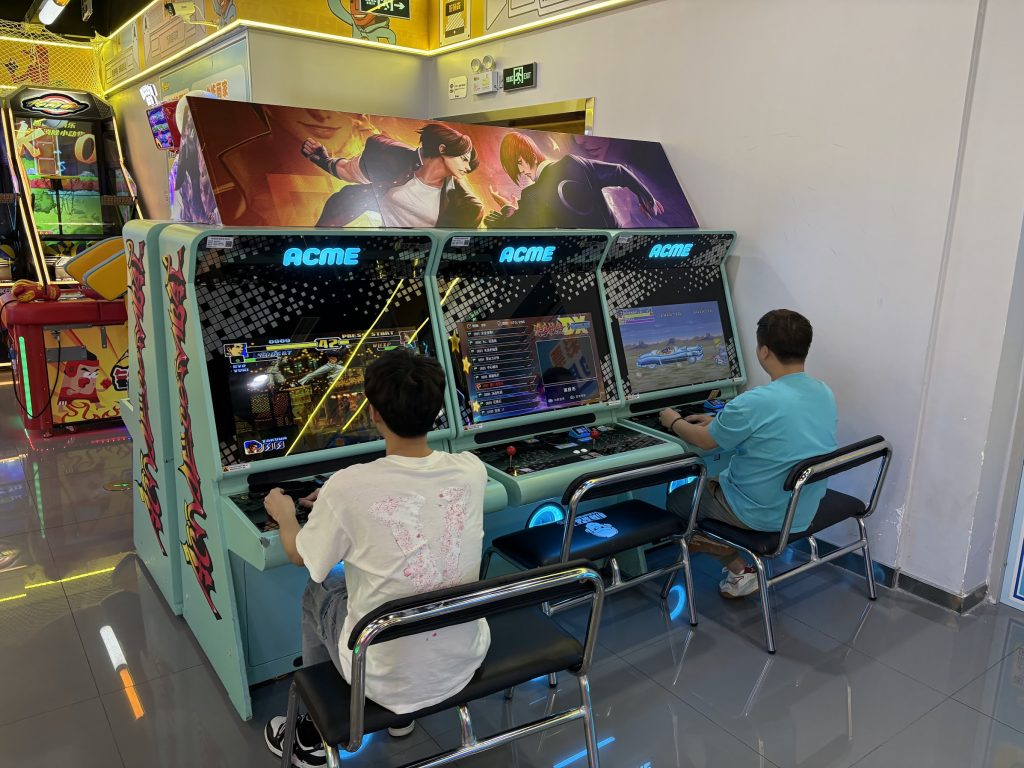
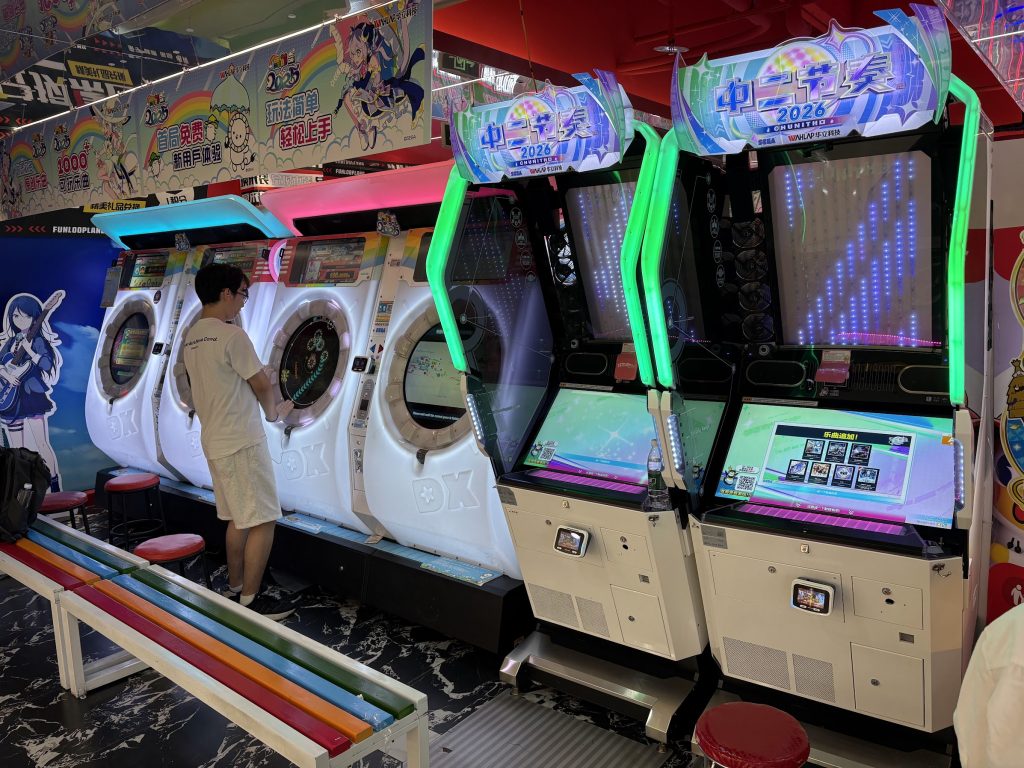
All retro-style cabs seem gone. I didn’t see a single CRT cab. The only sit-down lever+button cabs I saw were some mame cabs like these ones:
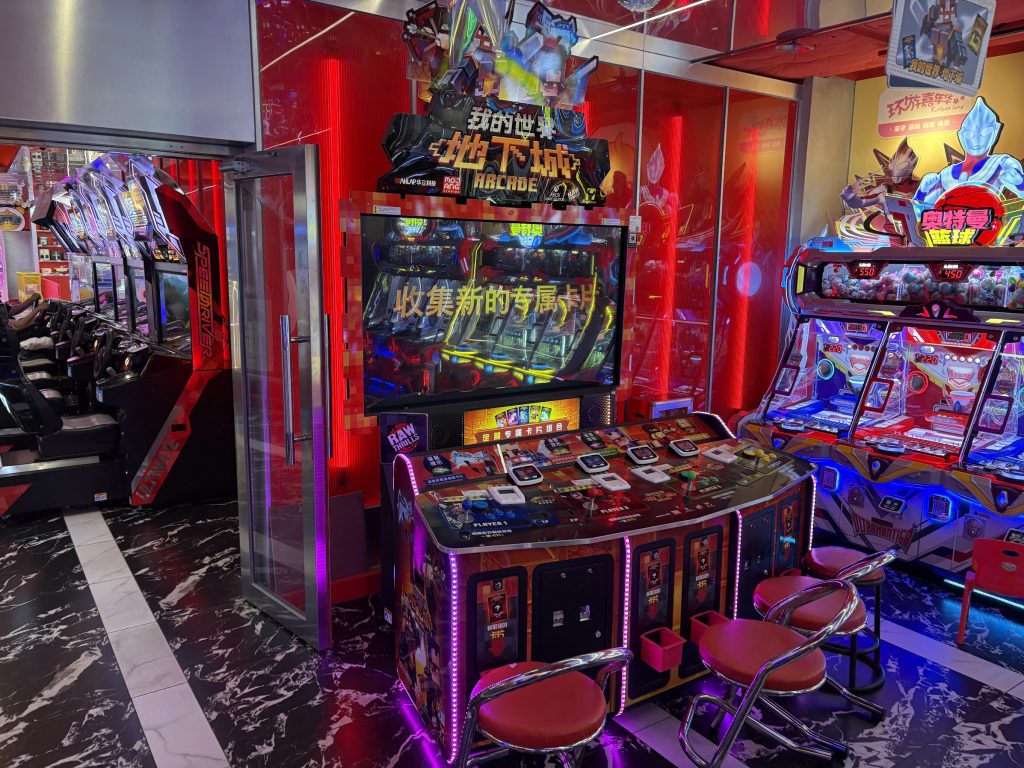
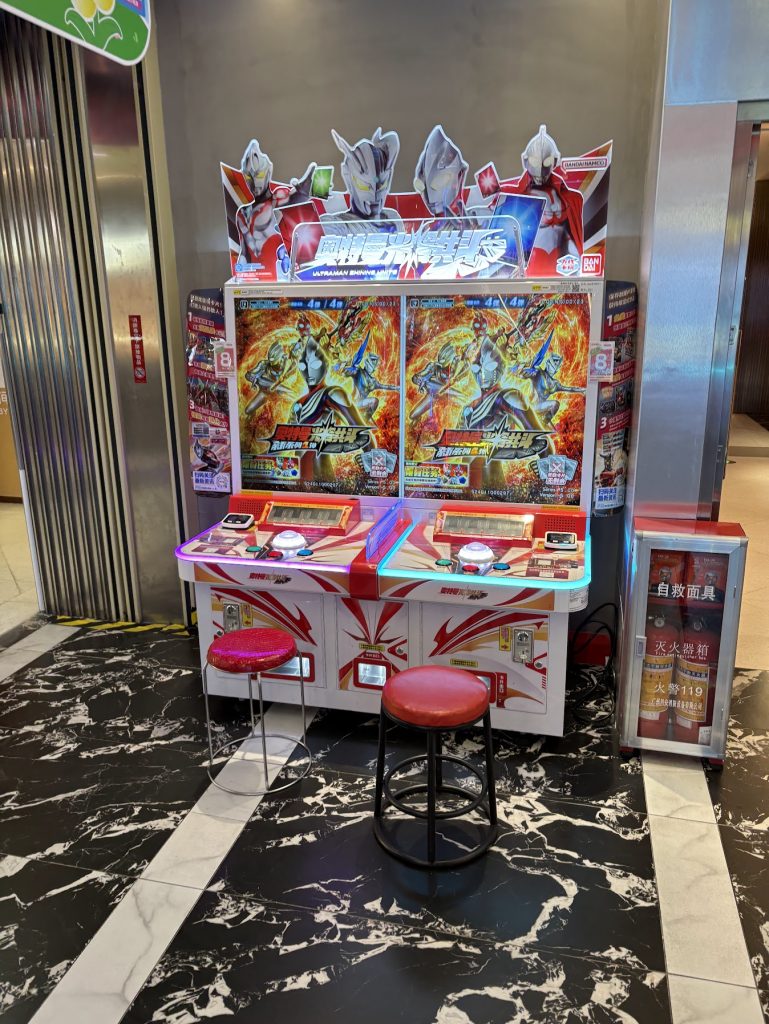
There were however still a bunch of cool games.
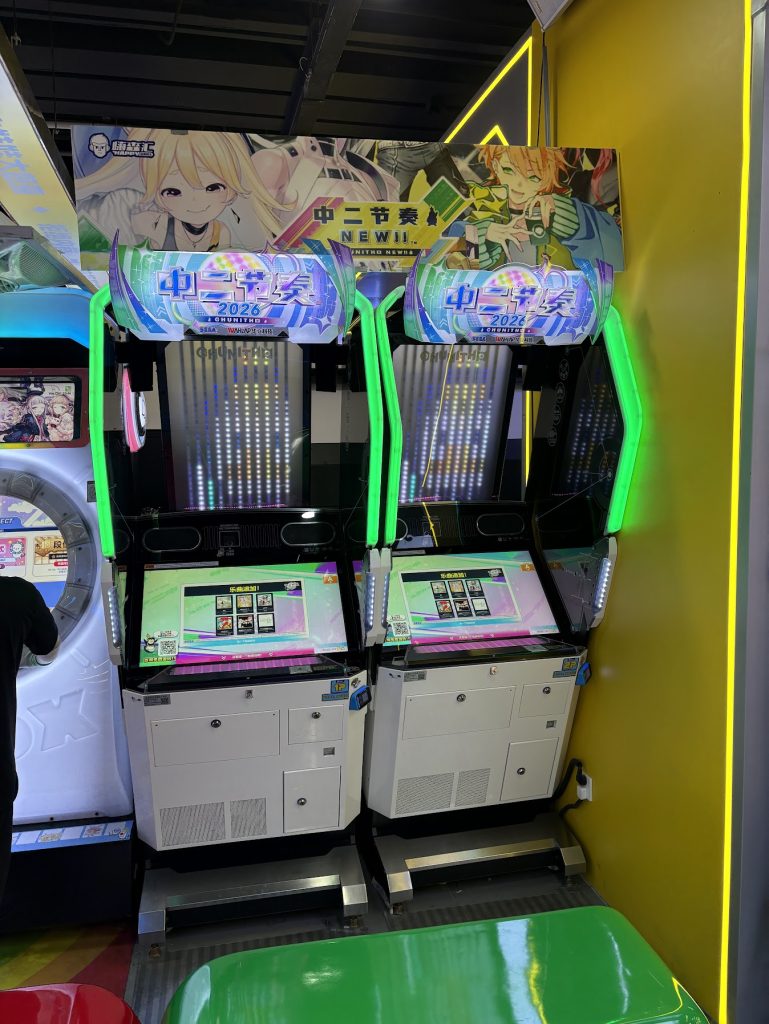
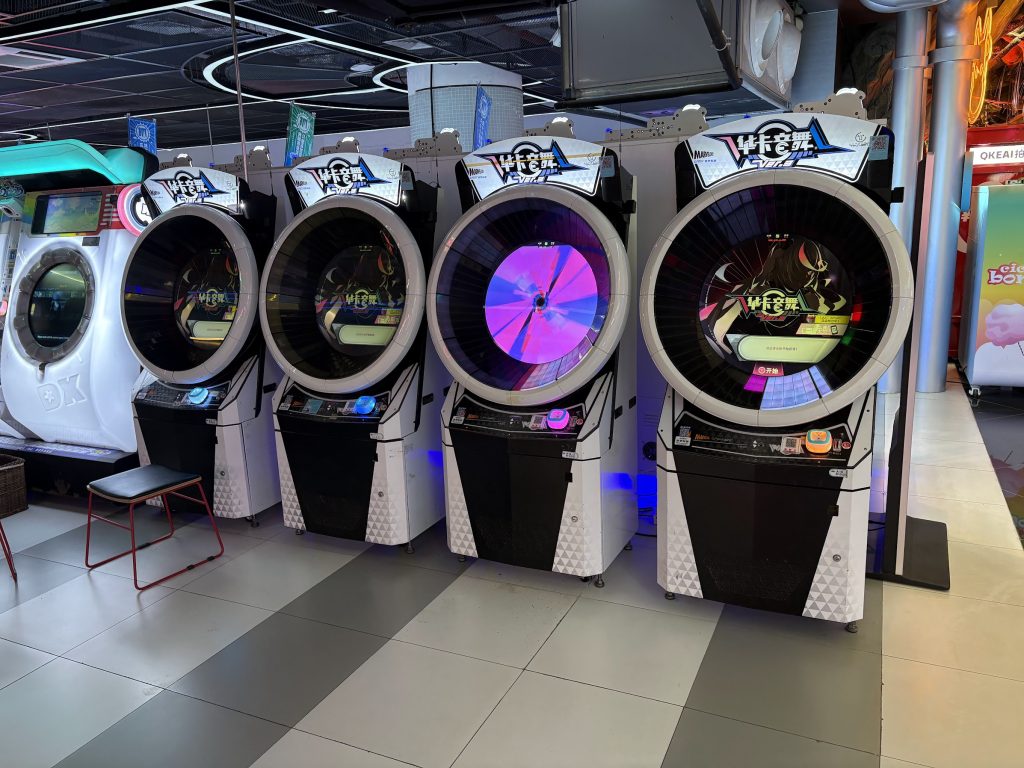
For Music games, all of the places I went to had some officially licensed Bemani/Sega cabs licensed to China by Wahlap. There’s also some fun clones available of various games.
I did pop into three different Arcades on this visit.
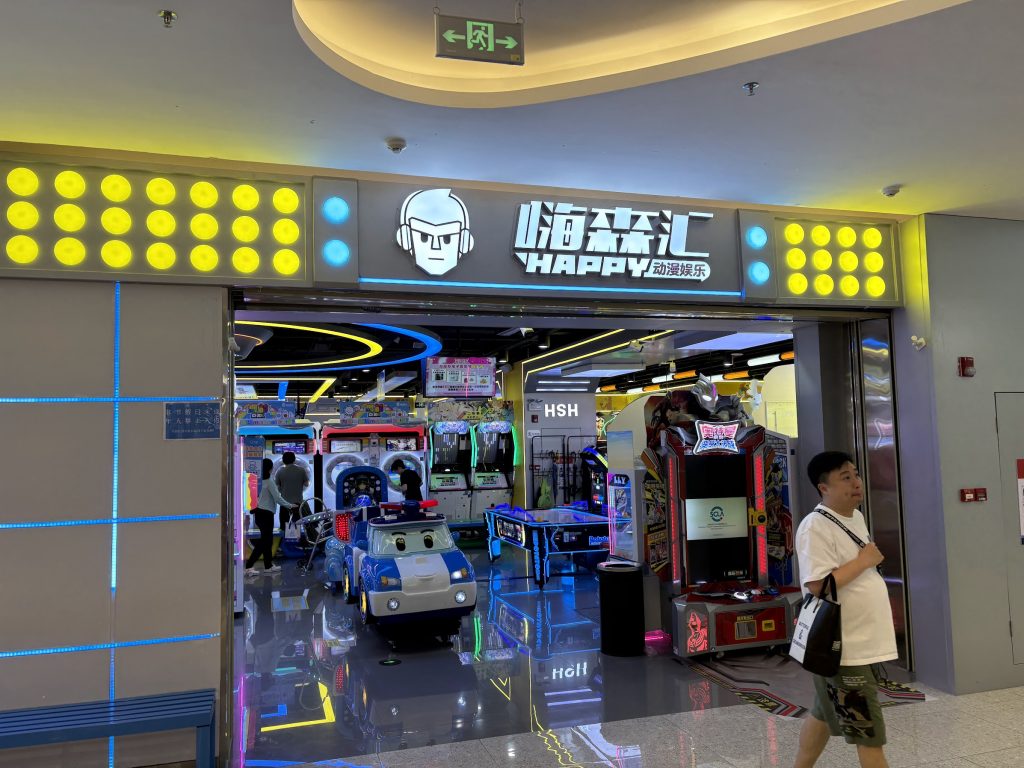
嗨森汇 HAPPY 动漫娱乐
Medium size Mall arcade with pretty good variety. Good selection of music games.
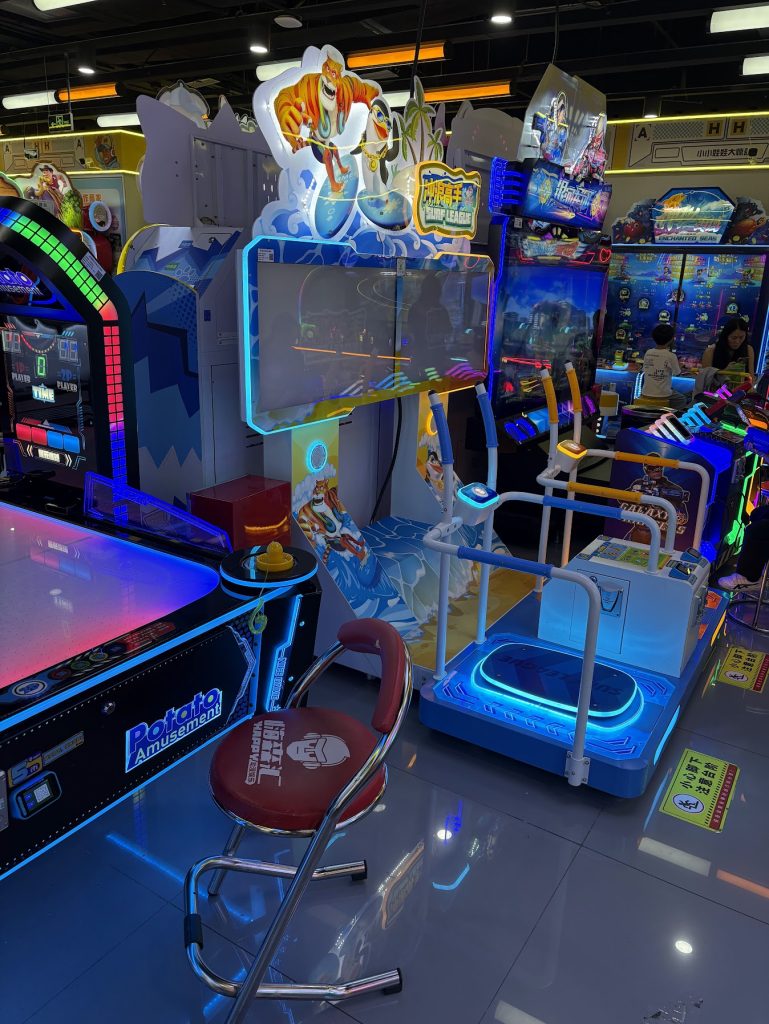
Funloop Land
Technically I think Funloop Land is a chain of arcades run by Wahlap, and this is just one of those from some mall. Pretty small place, but some fun games in there.
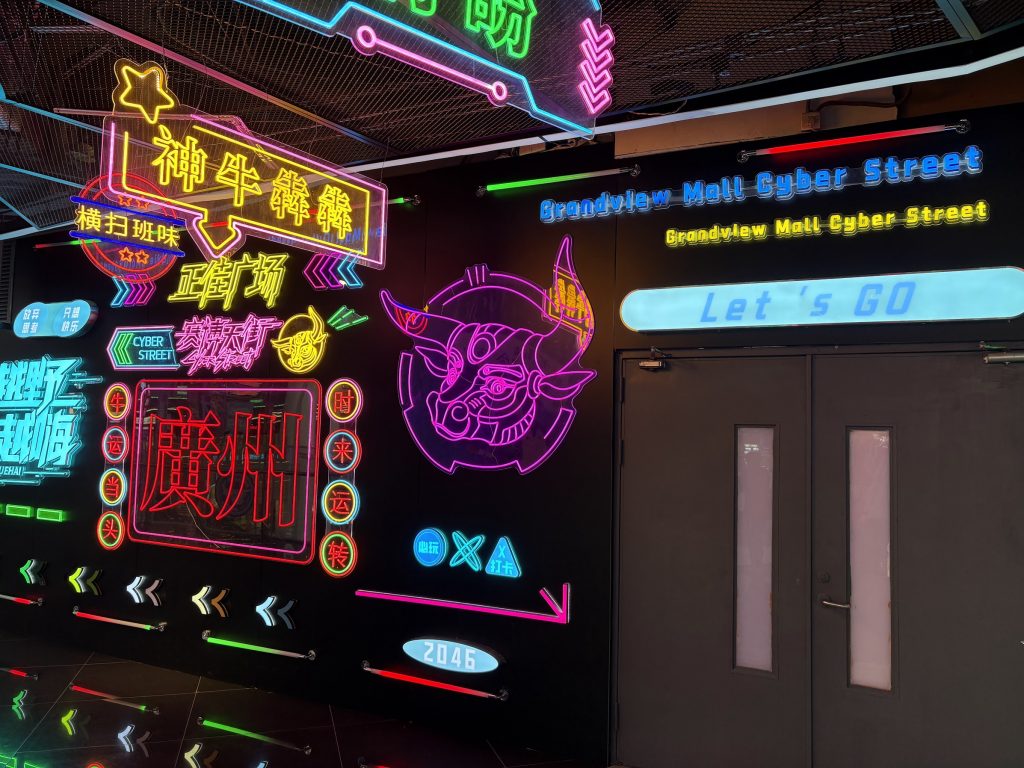
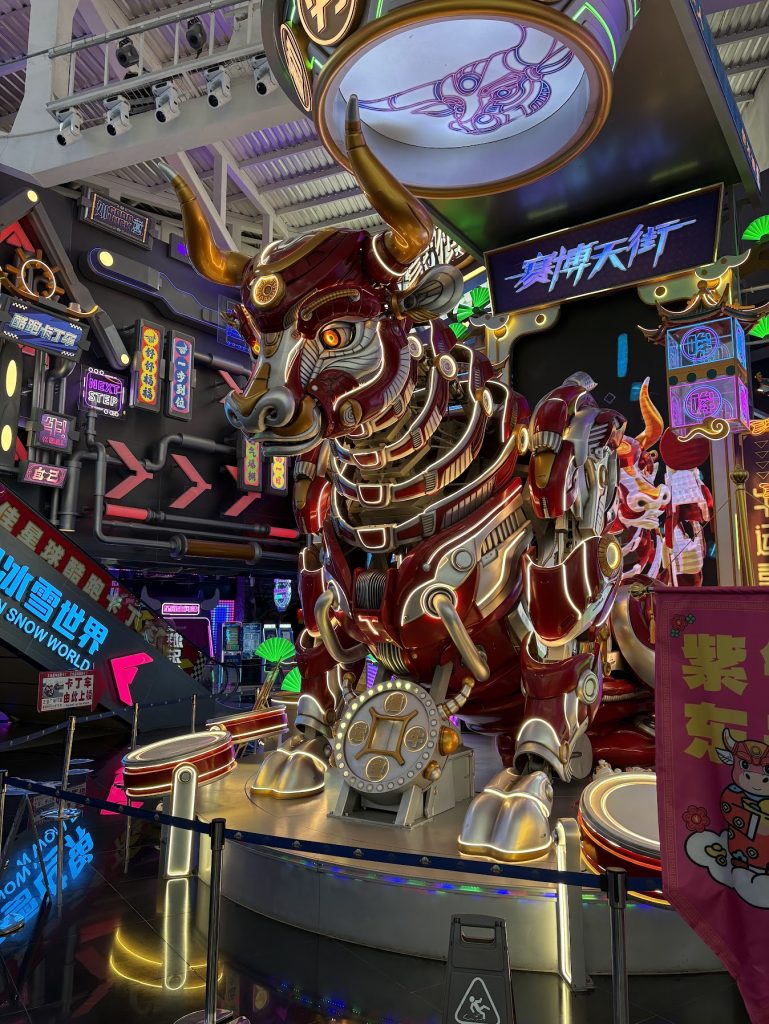
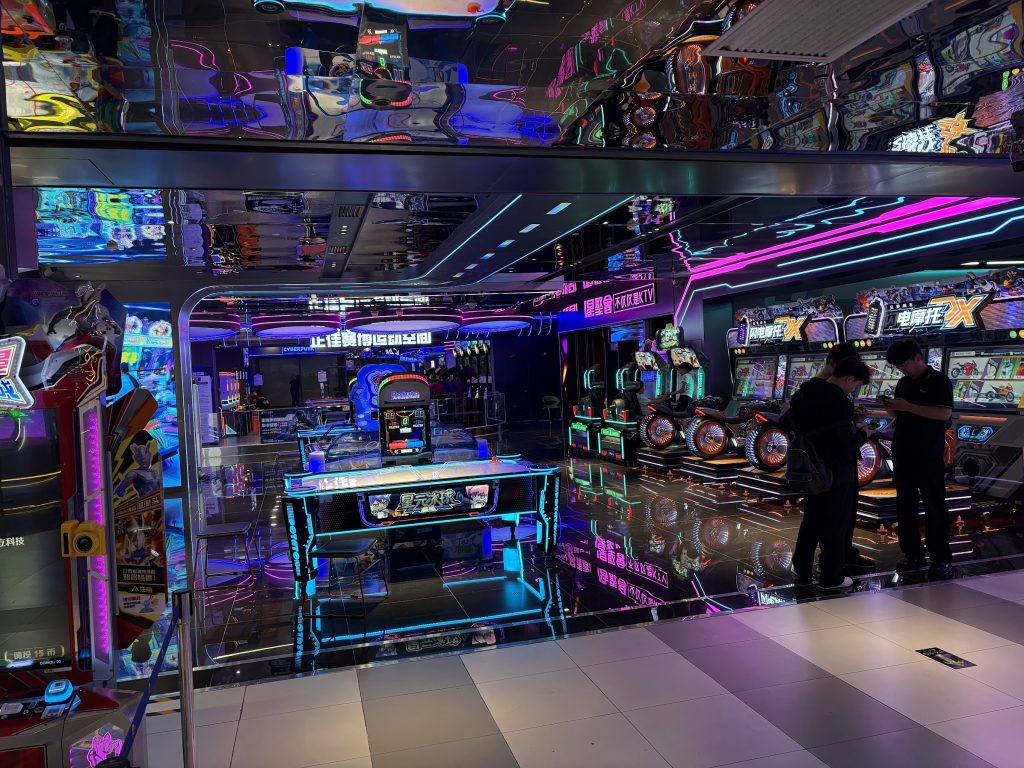
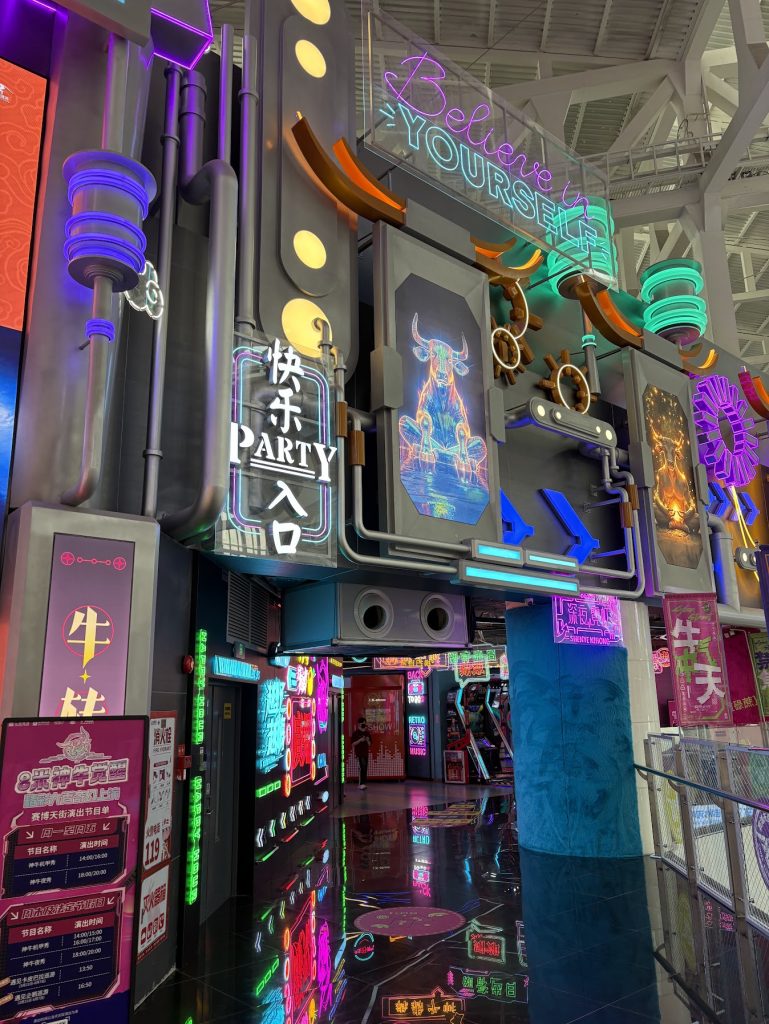
Grandview Mall Cyber Street
Now this is a proper cool place! The entire arcade feels very futuristic, and especially the Entrance. Lots of Music games and this place is significantly larger than the other two. Recommended.
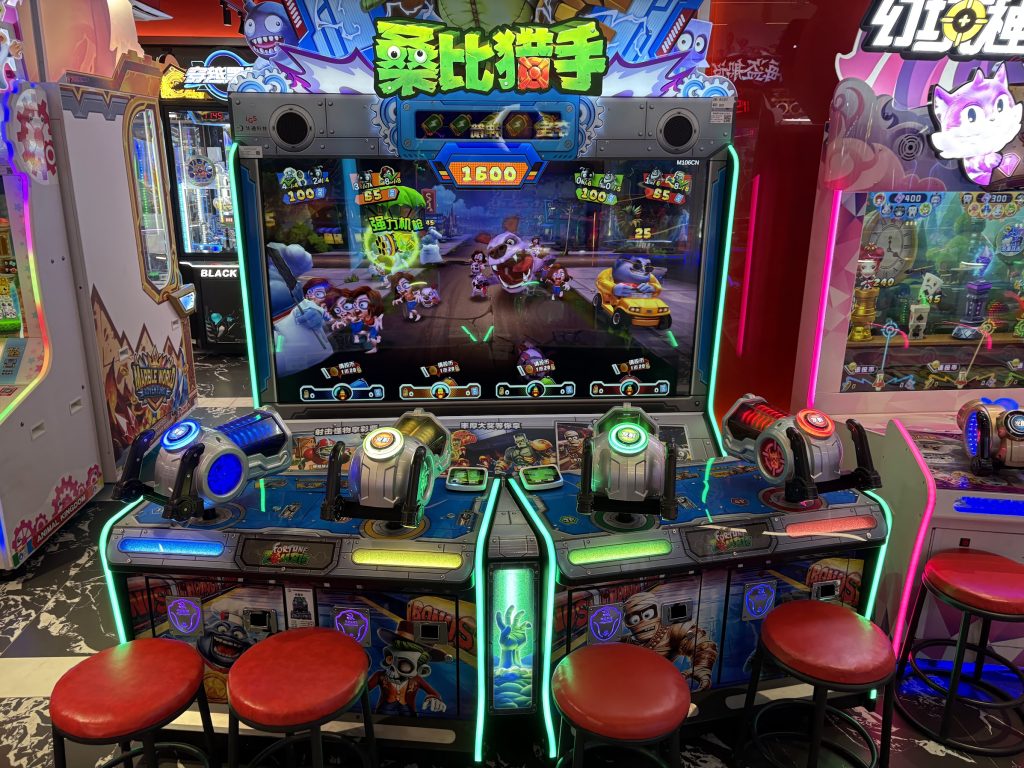
Not a single lever+button cab in sight though. Such are the times.
Quick video walking through Cyber Street
Shot a quick video of walking through the arcade mentioned above.
I’ve been collecting arcade stuff for about 20 years, and have piles of arcade manuals and flyers that I’ve been meaning to scan some time.
Looking at how to best do this, I found a bunch of people scanning old stuff in the Gaming Alexandria and VGPC Discords, as well as a great guide at https://scanning.guide …
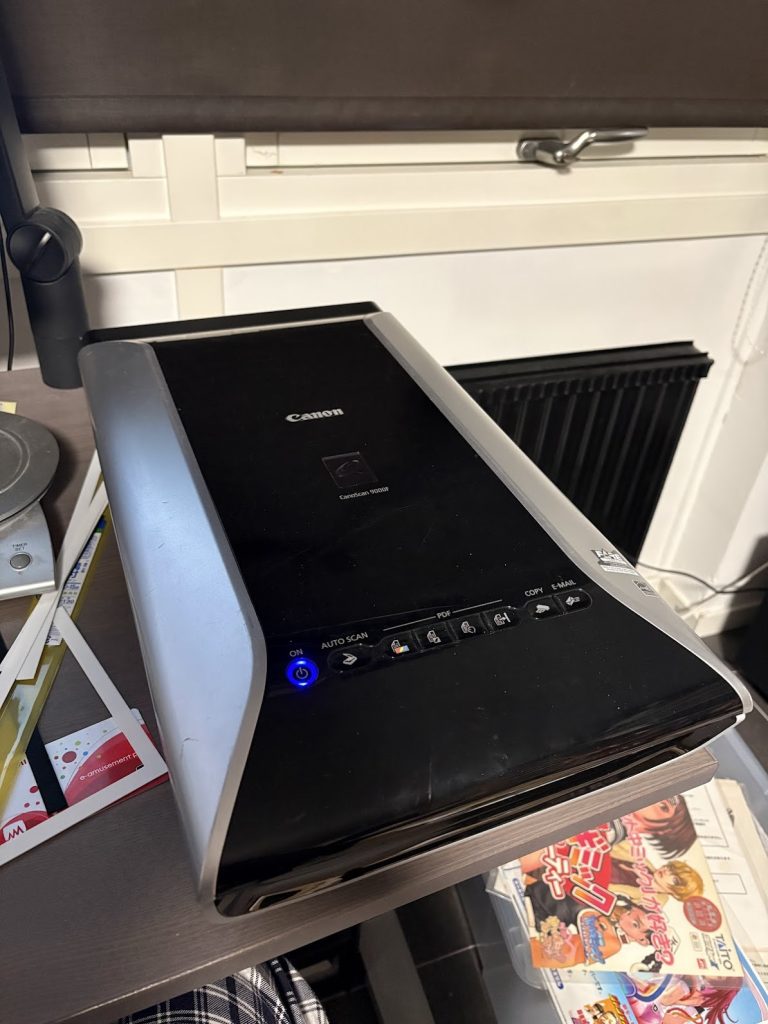
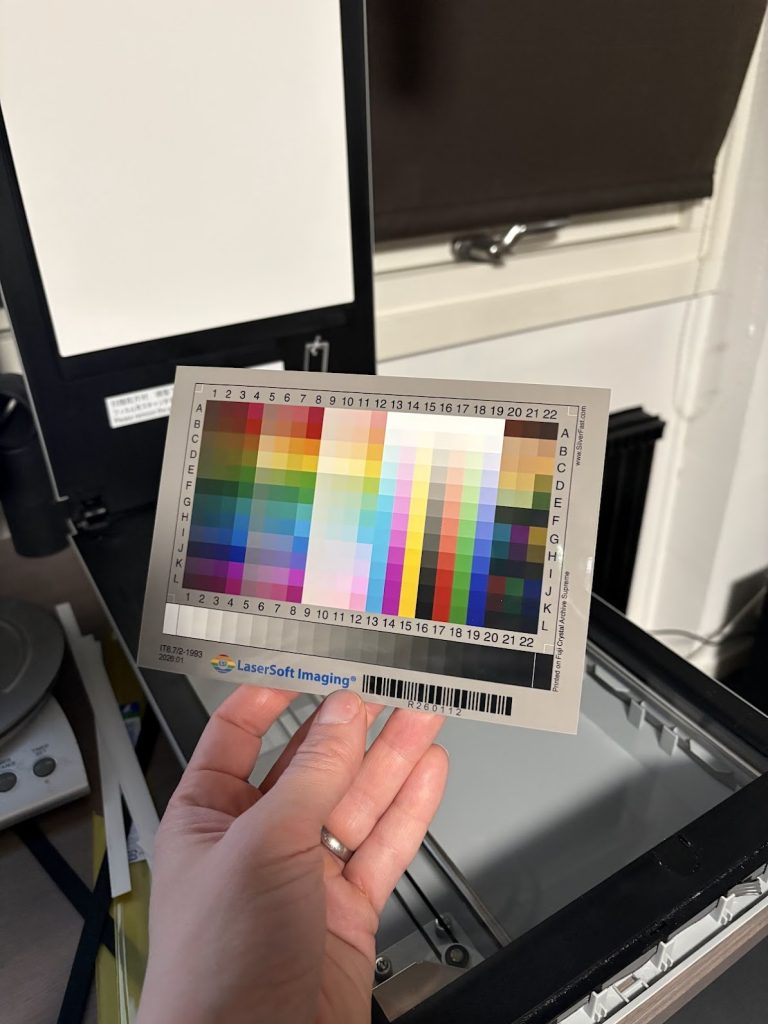
… and this rabbit hole went deeper than I expected, so now I have a CanoScan 9000F and stuff for doing proper color calibration and things.
I’ve been putting stuff on https://archive.org/details/@buffis for now, where earlier stuff will be worse quality than later things since I’m learning as I do this. Ideally I’d want a personal mirror for my scans somewhere as well at some point.
Anyways, this is pretty fun and I don’t really have any advice in this space other than following the https://scanning.guide instructions, since they definitely know this shit way better than me.
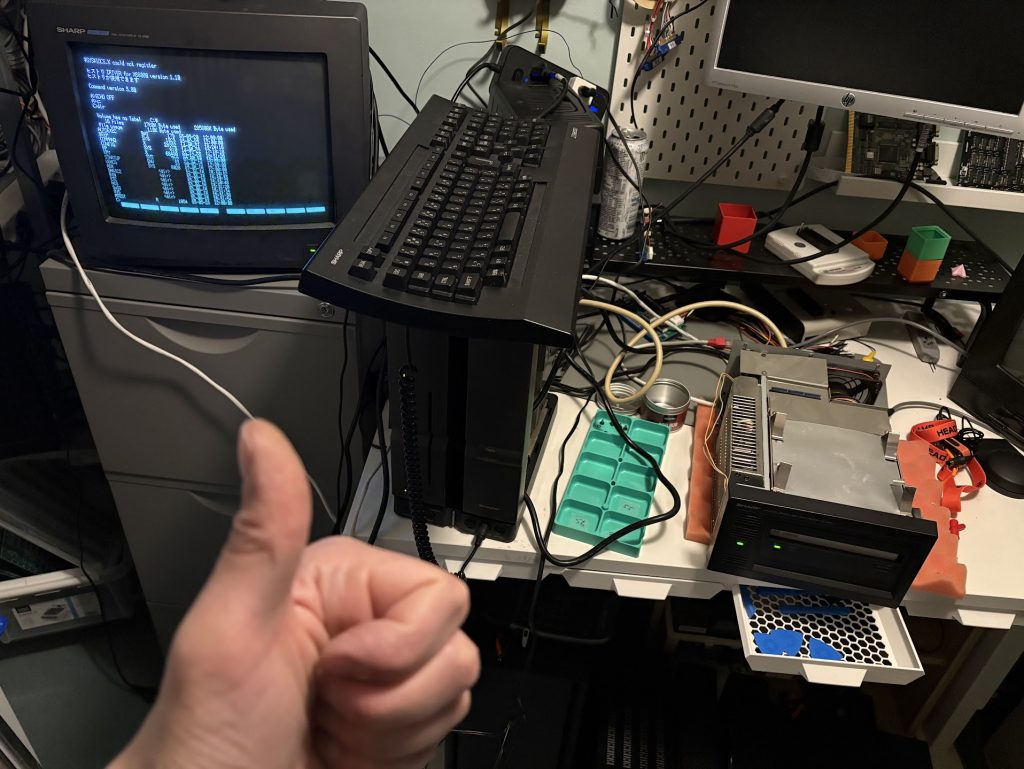
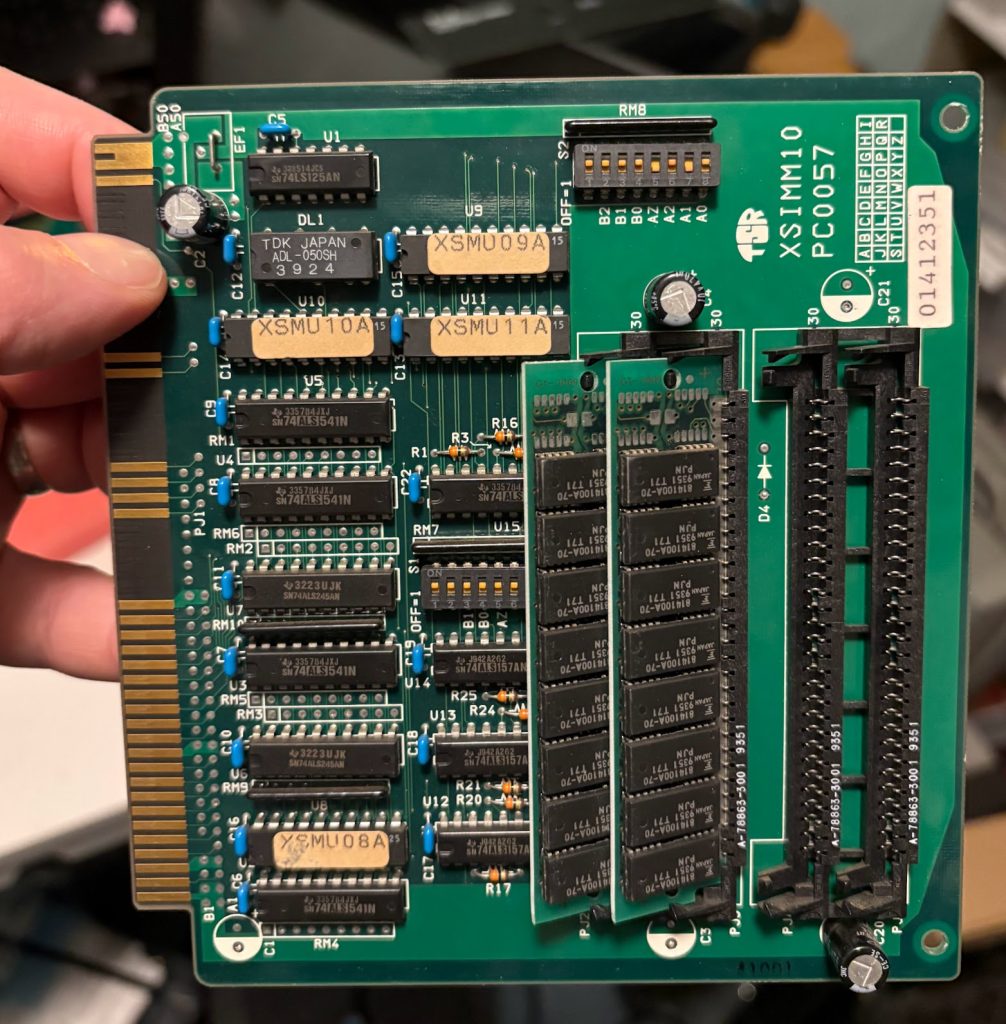
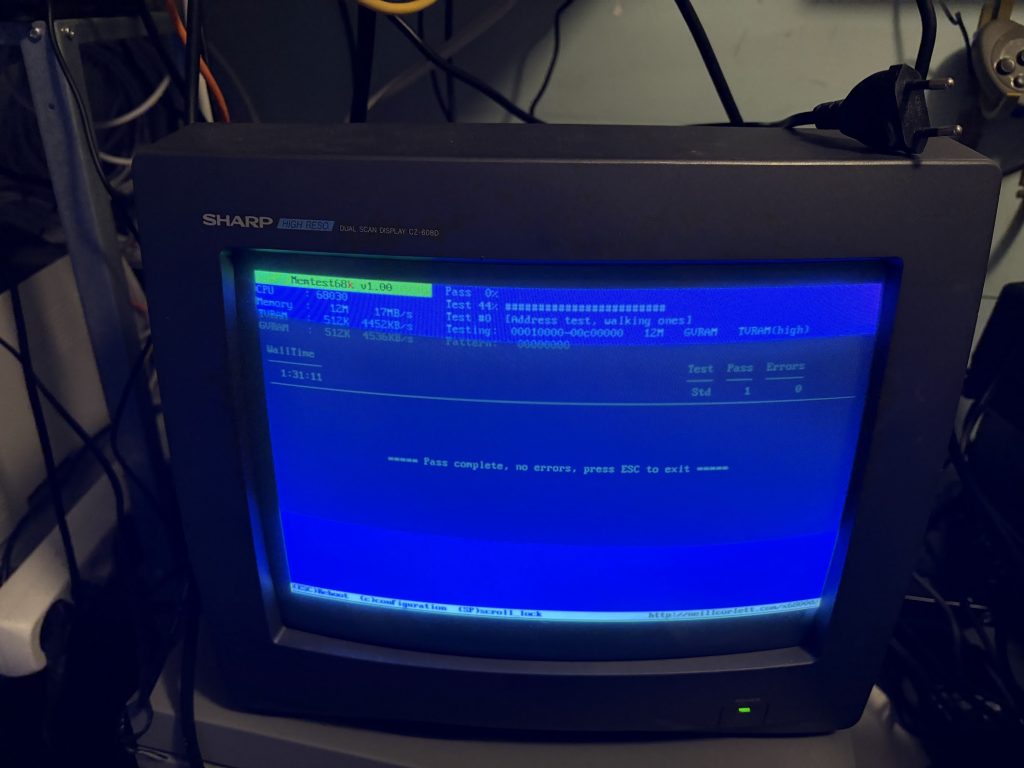
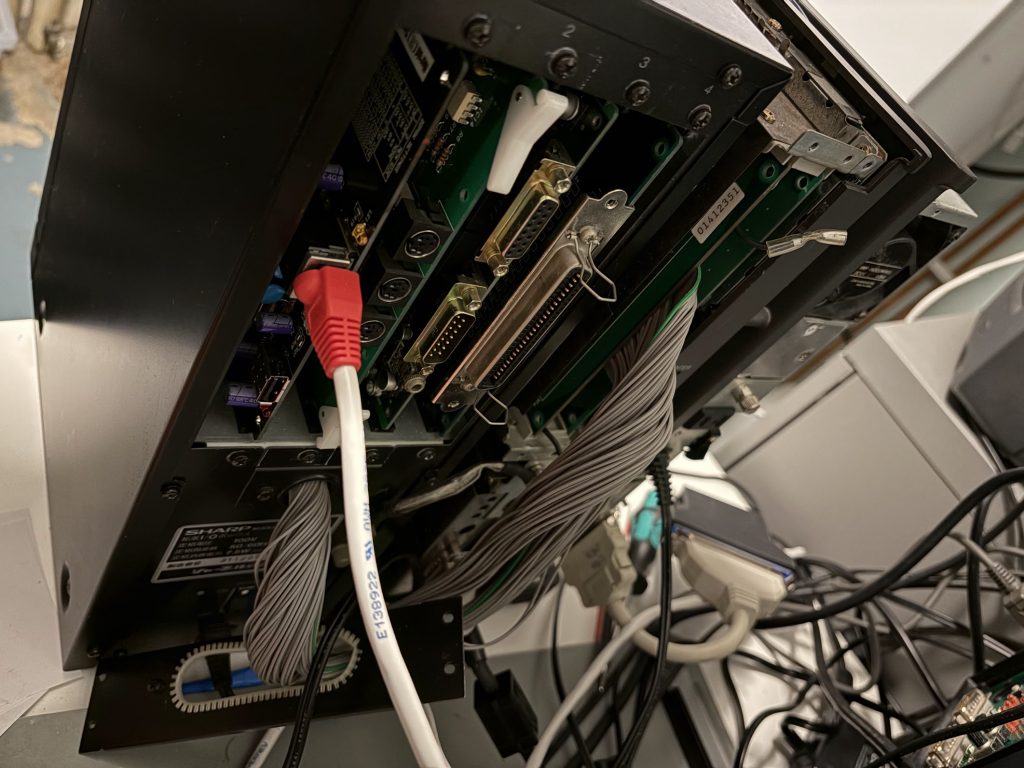
Decided to try putting a XSIMM10 in Slot 1 above the IO-expander card in my X68030 to work around the memory timings and hey, memtest now runs perfectly and I seem to be able to use the IO-Box slots too!
The CZ-6EB1 manual does state to not use this slot when the Expansion box is plugged in but I mean… Expansion memory is pretty much directly addressed without much magic so thought I’d just try things out and seems to work.
Proceeded to try jamming it full with various cards and testing things out.
This is where the fun stopped though. Turns out that while SCSI and MIDI worked fine, I could not get Nereid to work through the IO Expansion.
Nereid issues
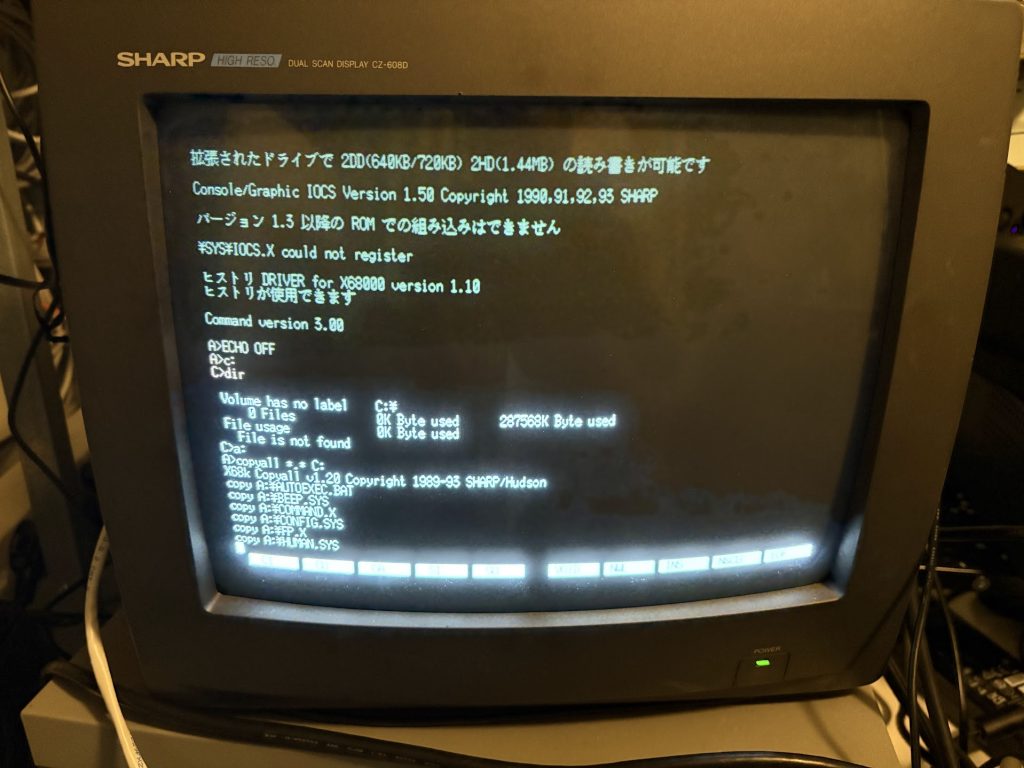
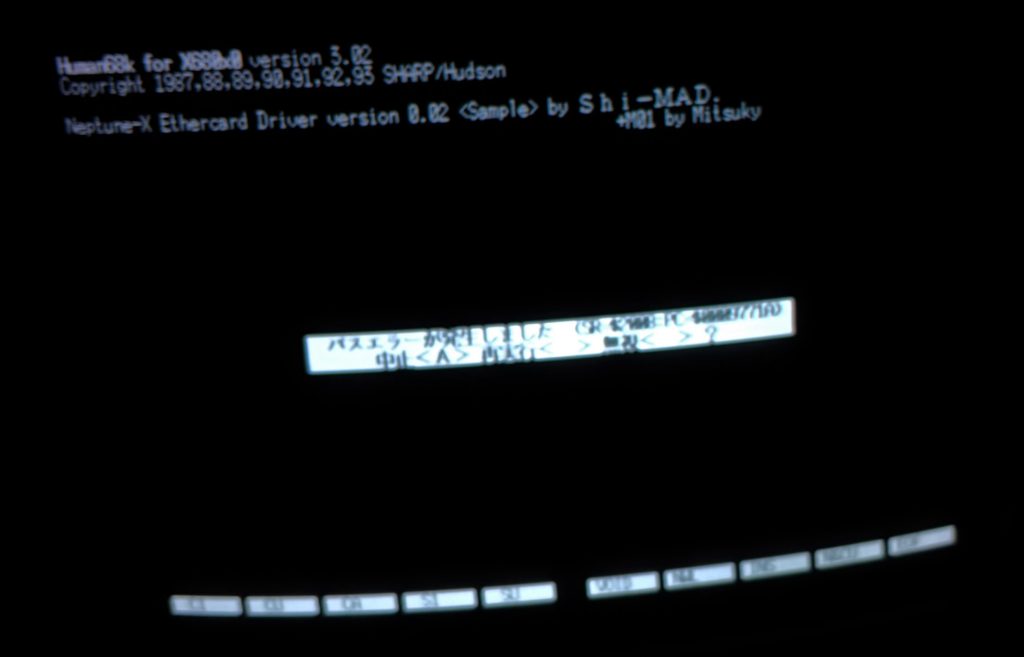
When connected directly to the computer, Nereid happily boots up and will connect to Ethernet, but when running it through the IO Expander, it will consistently freeze with a Bus Error when loading the Ethernet driver.
Have been looking for one of these for a while, and finally managed to buy one for a mostly OK price. Here is a writeup on these things since there’s not that much available online.
High level features
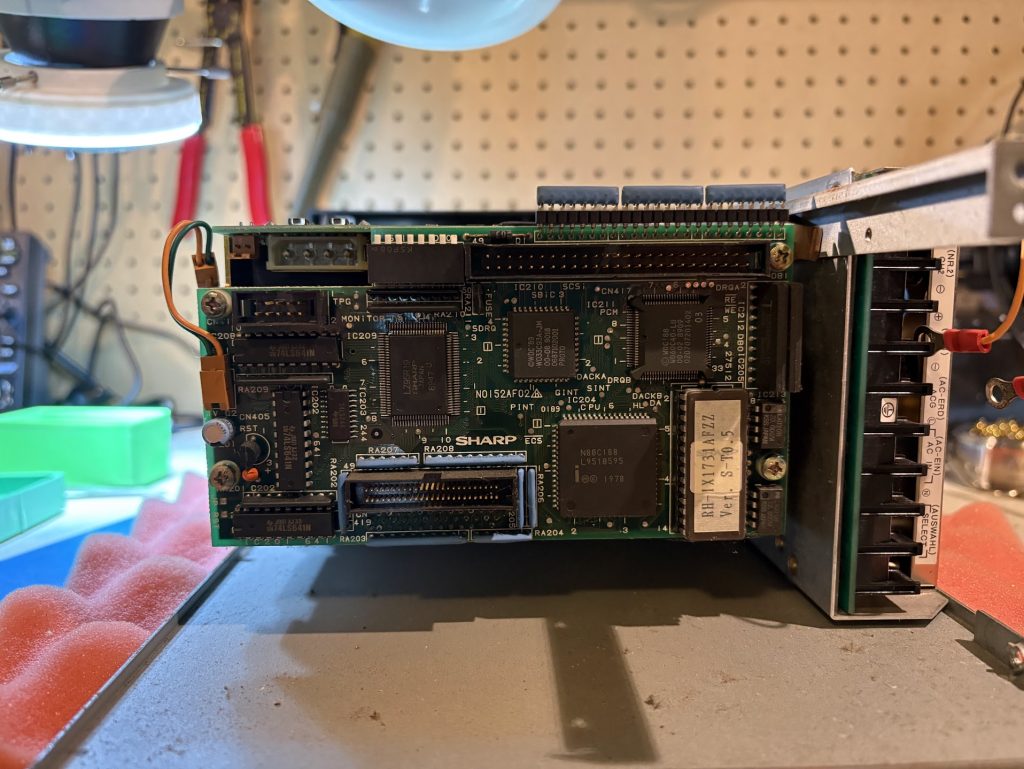
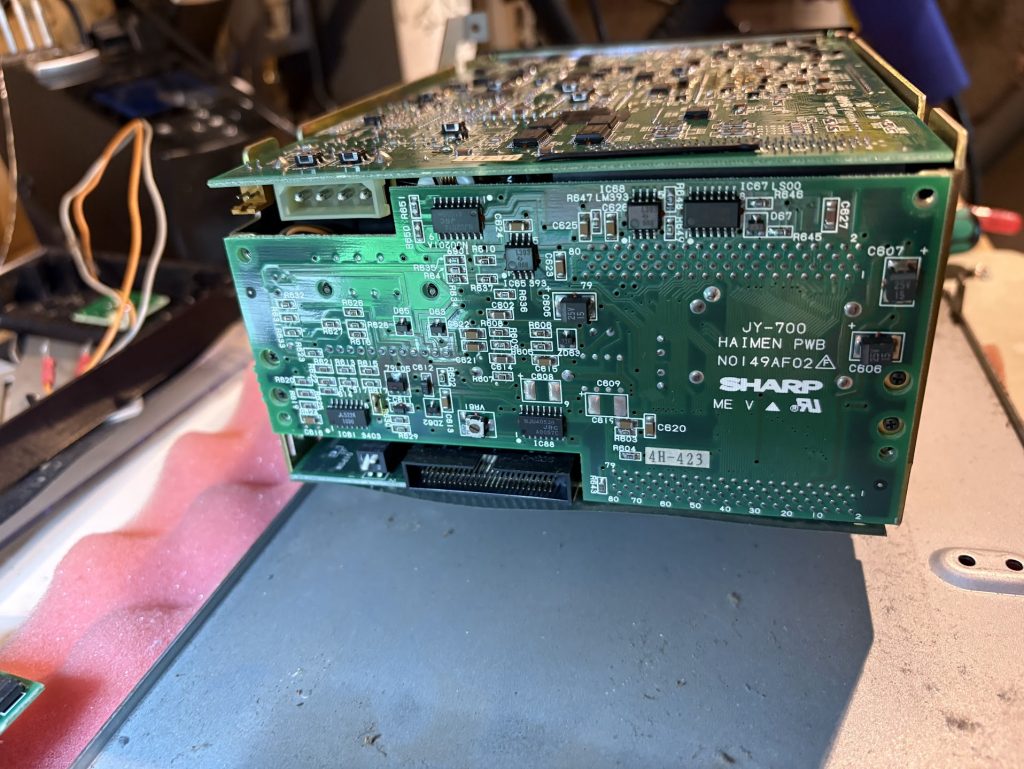
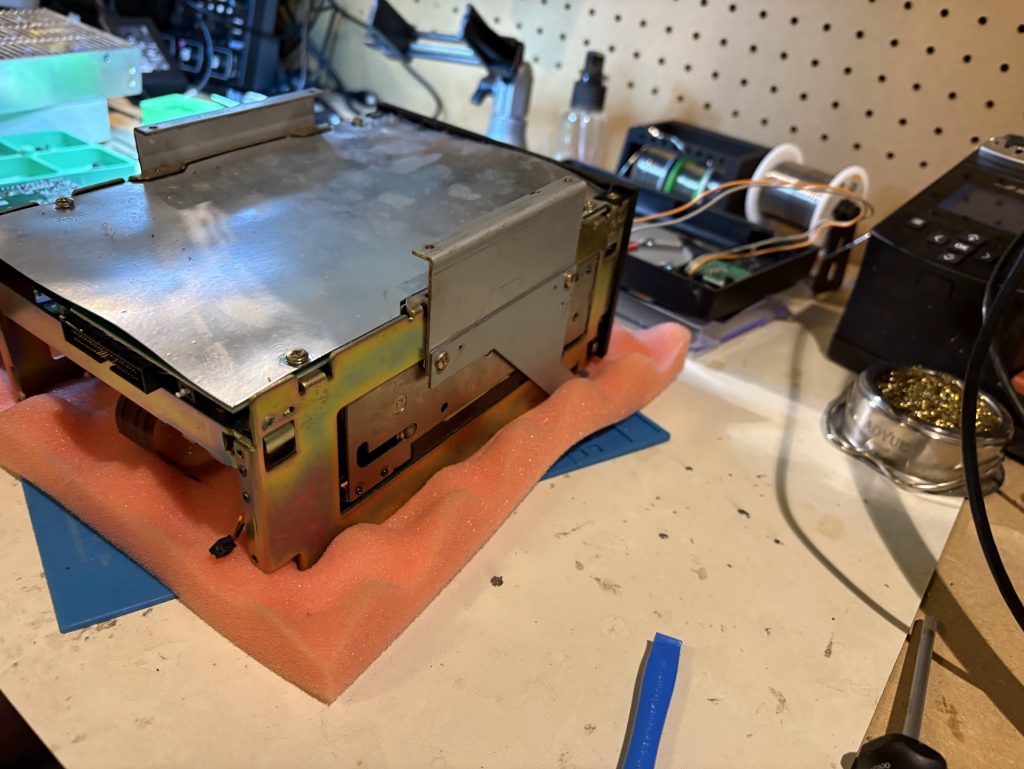
CZ-6EB1 expands a two-slot X68000 into a four-slot computer, by plugging in an expansion card into the X68000 which routes two flat cables to a breakout box containing four IO slots. This likely works similar to how it’s done in a X68000 Pro.
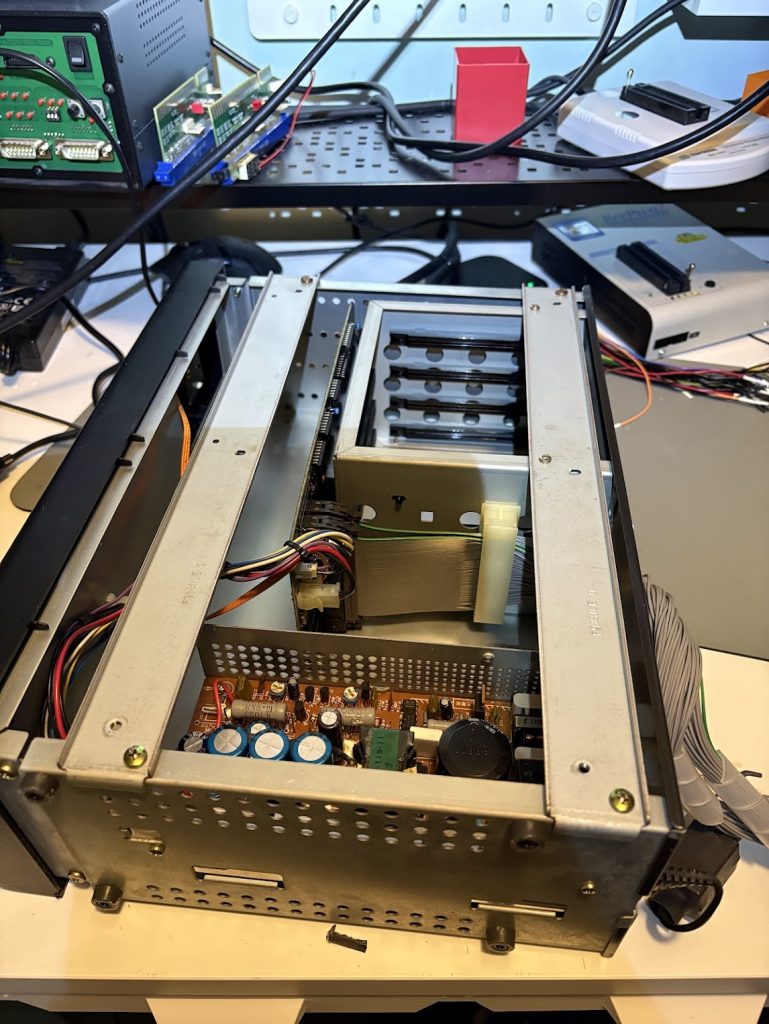
This box has a separate PSU for the four cards, since powering the cards over the flat cable would not be feasible. This PSU will only power the card when power from the host machine is detected, otherwise the device stands in “standby” mode.
The IO breakout board which plus into the host machine has only two connectors wired to the edge connectors. There’s no other circuitry on these.
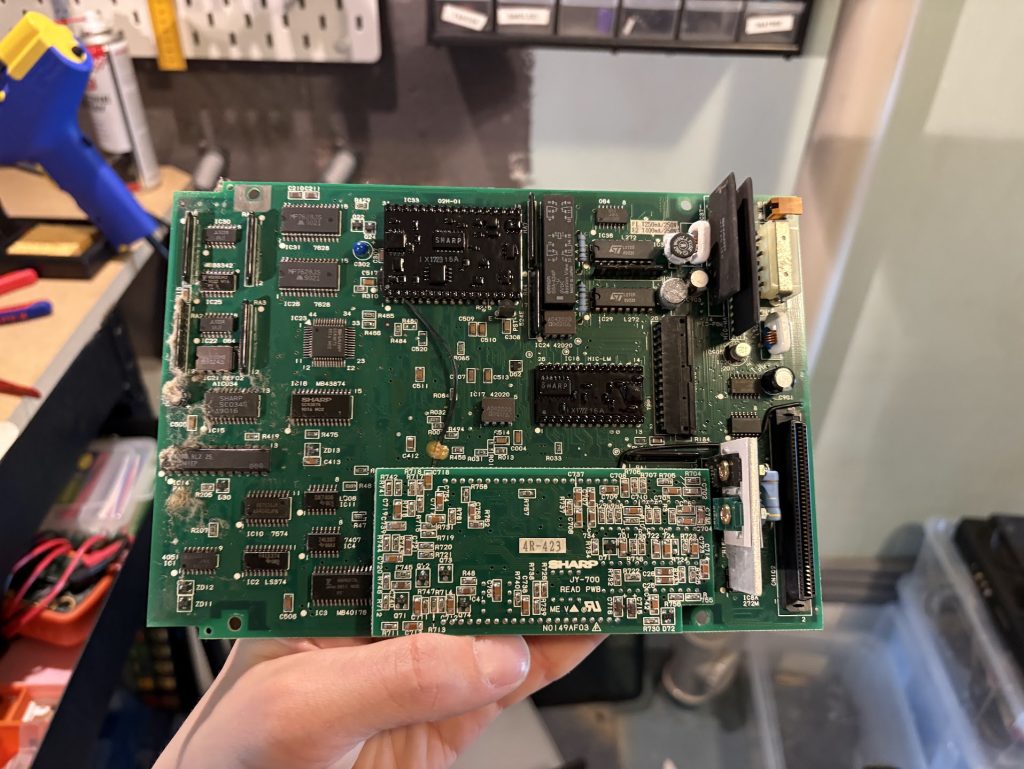
These plug into the main board of the CZ-6EB1, which is called K5414DE. This board has a section near the flat-cable connectors which seems responsible for switching the power to the I/O cards on/off. There are two CK2605 PLD’s at IC1 and IC2, which I should probe with a logic analyzer and dump at some point.
I suspect the IC2 is responsible for the power management, while IC1 handles IRQ/ACK signals across the four slots somehow similar to how it works on the X68000 Pro.
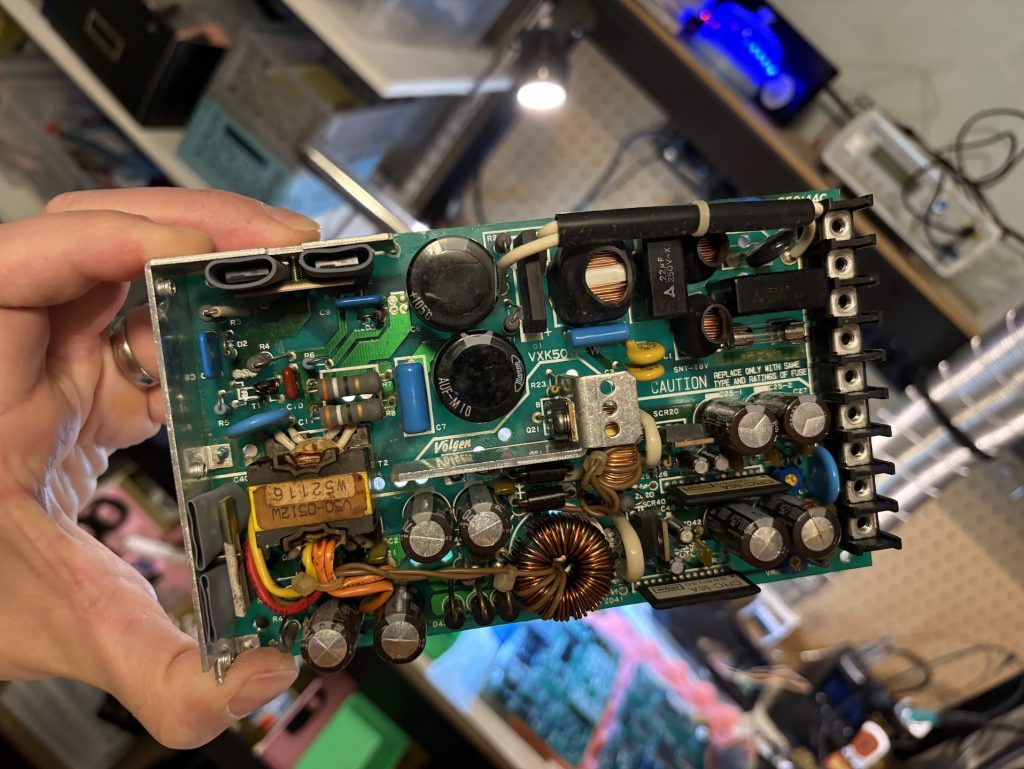
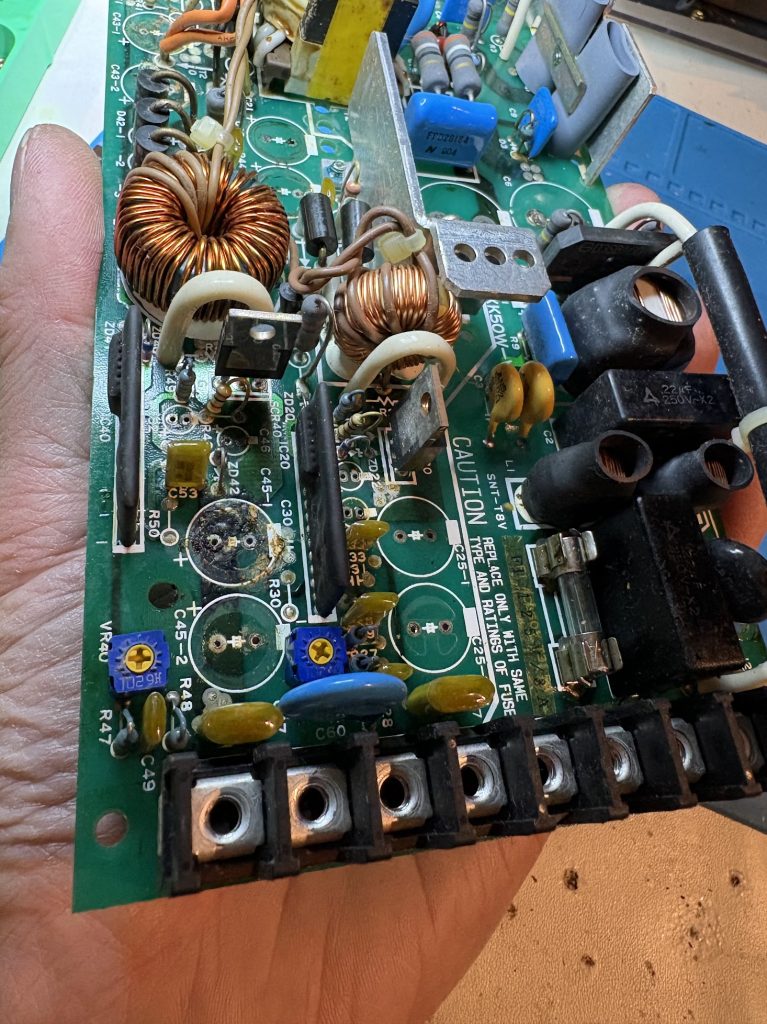
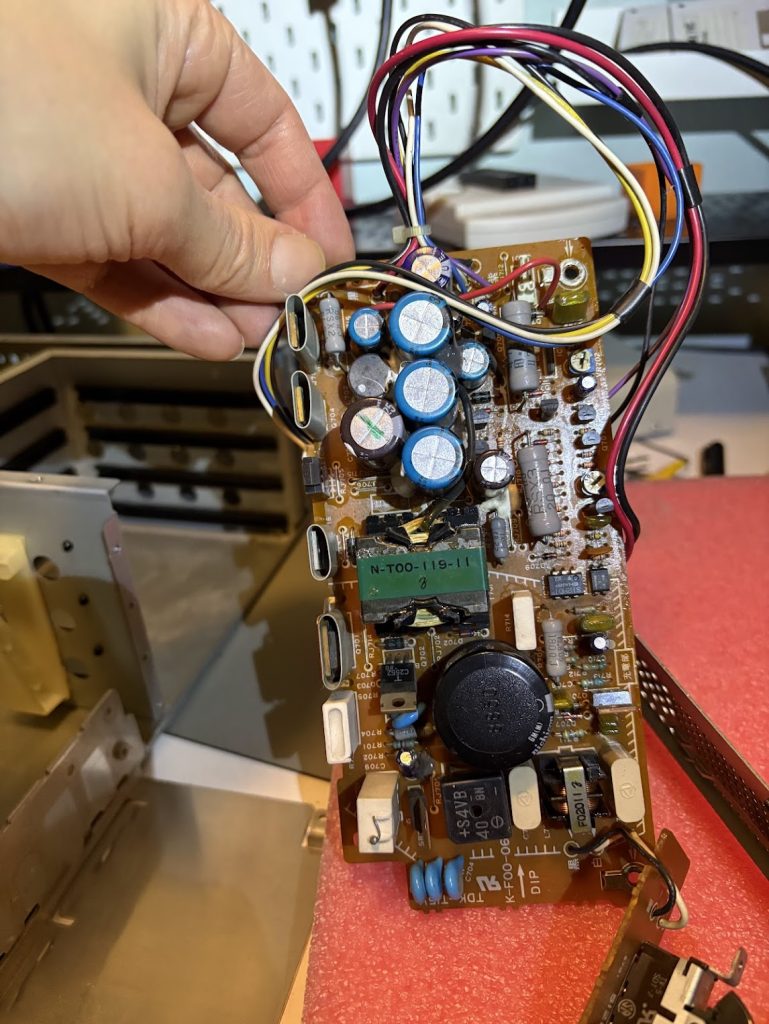
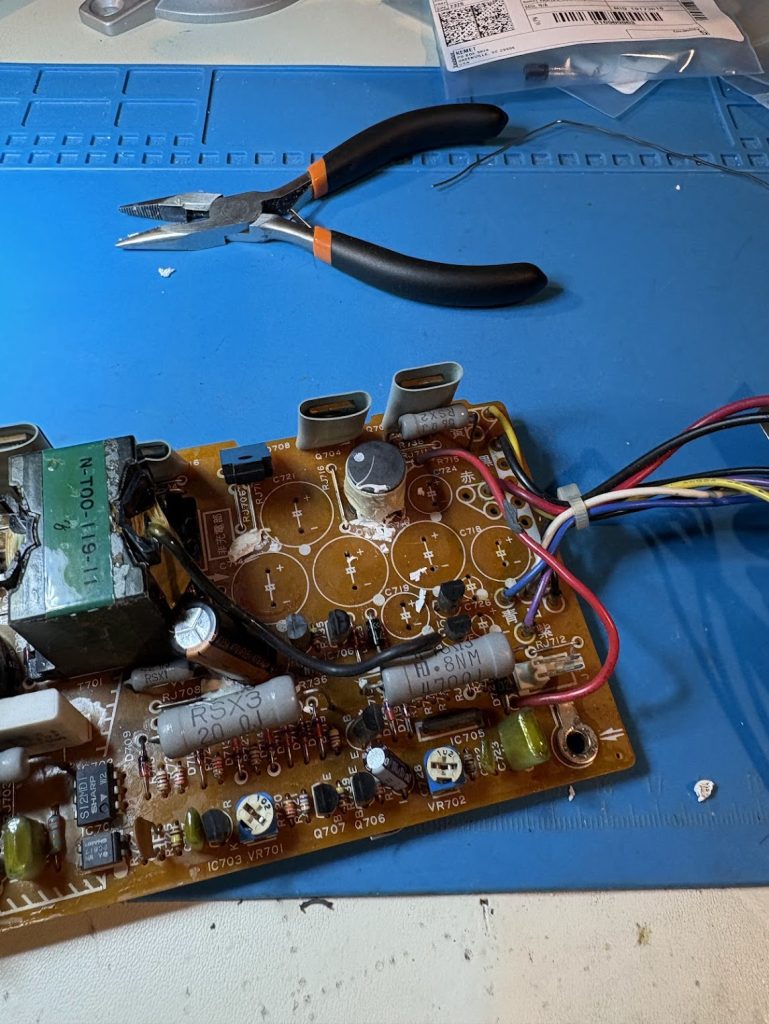
There’s nothing particularly interesting about the PSU. There’s quite a lot of glue on some of the caps which makes recapping awkward but doable.
Recapping / cap-list
I decided to recap this thing, and found some sketchy looking caps which had started to leak so that was a good idea. The full cap-list is below. Something mostly similar in size will work, since there’s a lot of space available.
PSU
Cap
Capacitance
Voltage
Dia x H (mm)
C706
330uF
200V
30×26 (snap-in)
C709
22uF
25V
5×11
C710
4.7uF
50V
5×11
C714
3300uF
10V
16×30
C715
3300uF
10V
16×30
C716
3300uF
10V
16×30
C718
2200uF
6.3V
13×20
C719
470uF
16V
10×20
C720
4.7uF
6.3V
5×11
C721
2700uF
25V
16×30
C724
470uF
16V
10×20
C725
470uF
35V
10×30
C726
22uF
25V
5×11
C728
100uF
10V
5×11
Main board
Cap
Capacitance
Voltage
Dia x H (mm)
C1
100uF
10V
5×10
C2
100uF
10V
5×10
C3
47uF
16V
5×10
C4
47uF
16V
5×10
C5
10uF
16V
5×10
C6
10uF
16V
5×10
Hooking things up
Getting things working on a regular 10Mhz X68000 is quite simple.
Plug the card into Slot 2 of the X68000 and mount the back cover
Connect the FG terminals on the X68000 to the CZ-6EB1
Insert expansion cards into CZ-6EB1
Power on the CZ-6EB1. It should have a red LED indicating standby
Power on the X68000, the CZ-6EB1 will wake up as well.
RAM incompatibilities
When connected to a CZ-600, I could plug either a XSIMM10 or a Etarikashikoshi into the expansion unit, and have them be detected and work properly when running Memtest. Using a Nereid as RAM expansion did however NOT work, and kept giving me memtest errors. It works fine without the expansion box, so something was weird there.
With a X68030, I was unable to get any RAM card to work through the expansion box. The memory gets detected, but memtest shows failures, and games will not run well.
The manual only states that CZ-600 (10Mhz) is supported, and I could definitely see the higher clock rate causing these issues somehow.
Using other I/O cards like MIDI did work with this when connected to a X68030, but since the manual states that the internal Slot 1 cannot be used when the CZ-600 is hooked up, this limits the system to the internal 4MB RAM. Maybe that can be worked around somehow. Not sure.
Should you buy one / Other options?
Buying one of these is only really worth it for the “cool factor”, since it looks awesome next to a X68000. It being limited to 10Mhz for RAM means that the more sane option for having four slots is just to buy a X68000 Pro, which will cost less than just the expansion box.
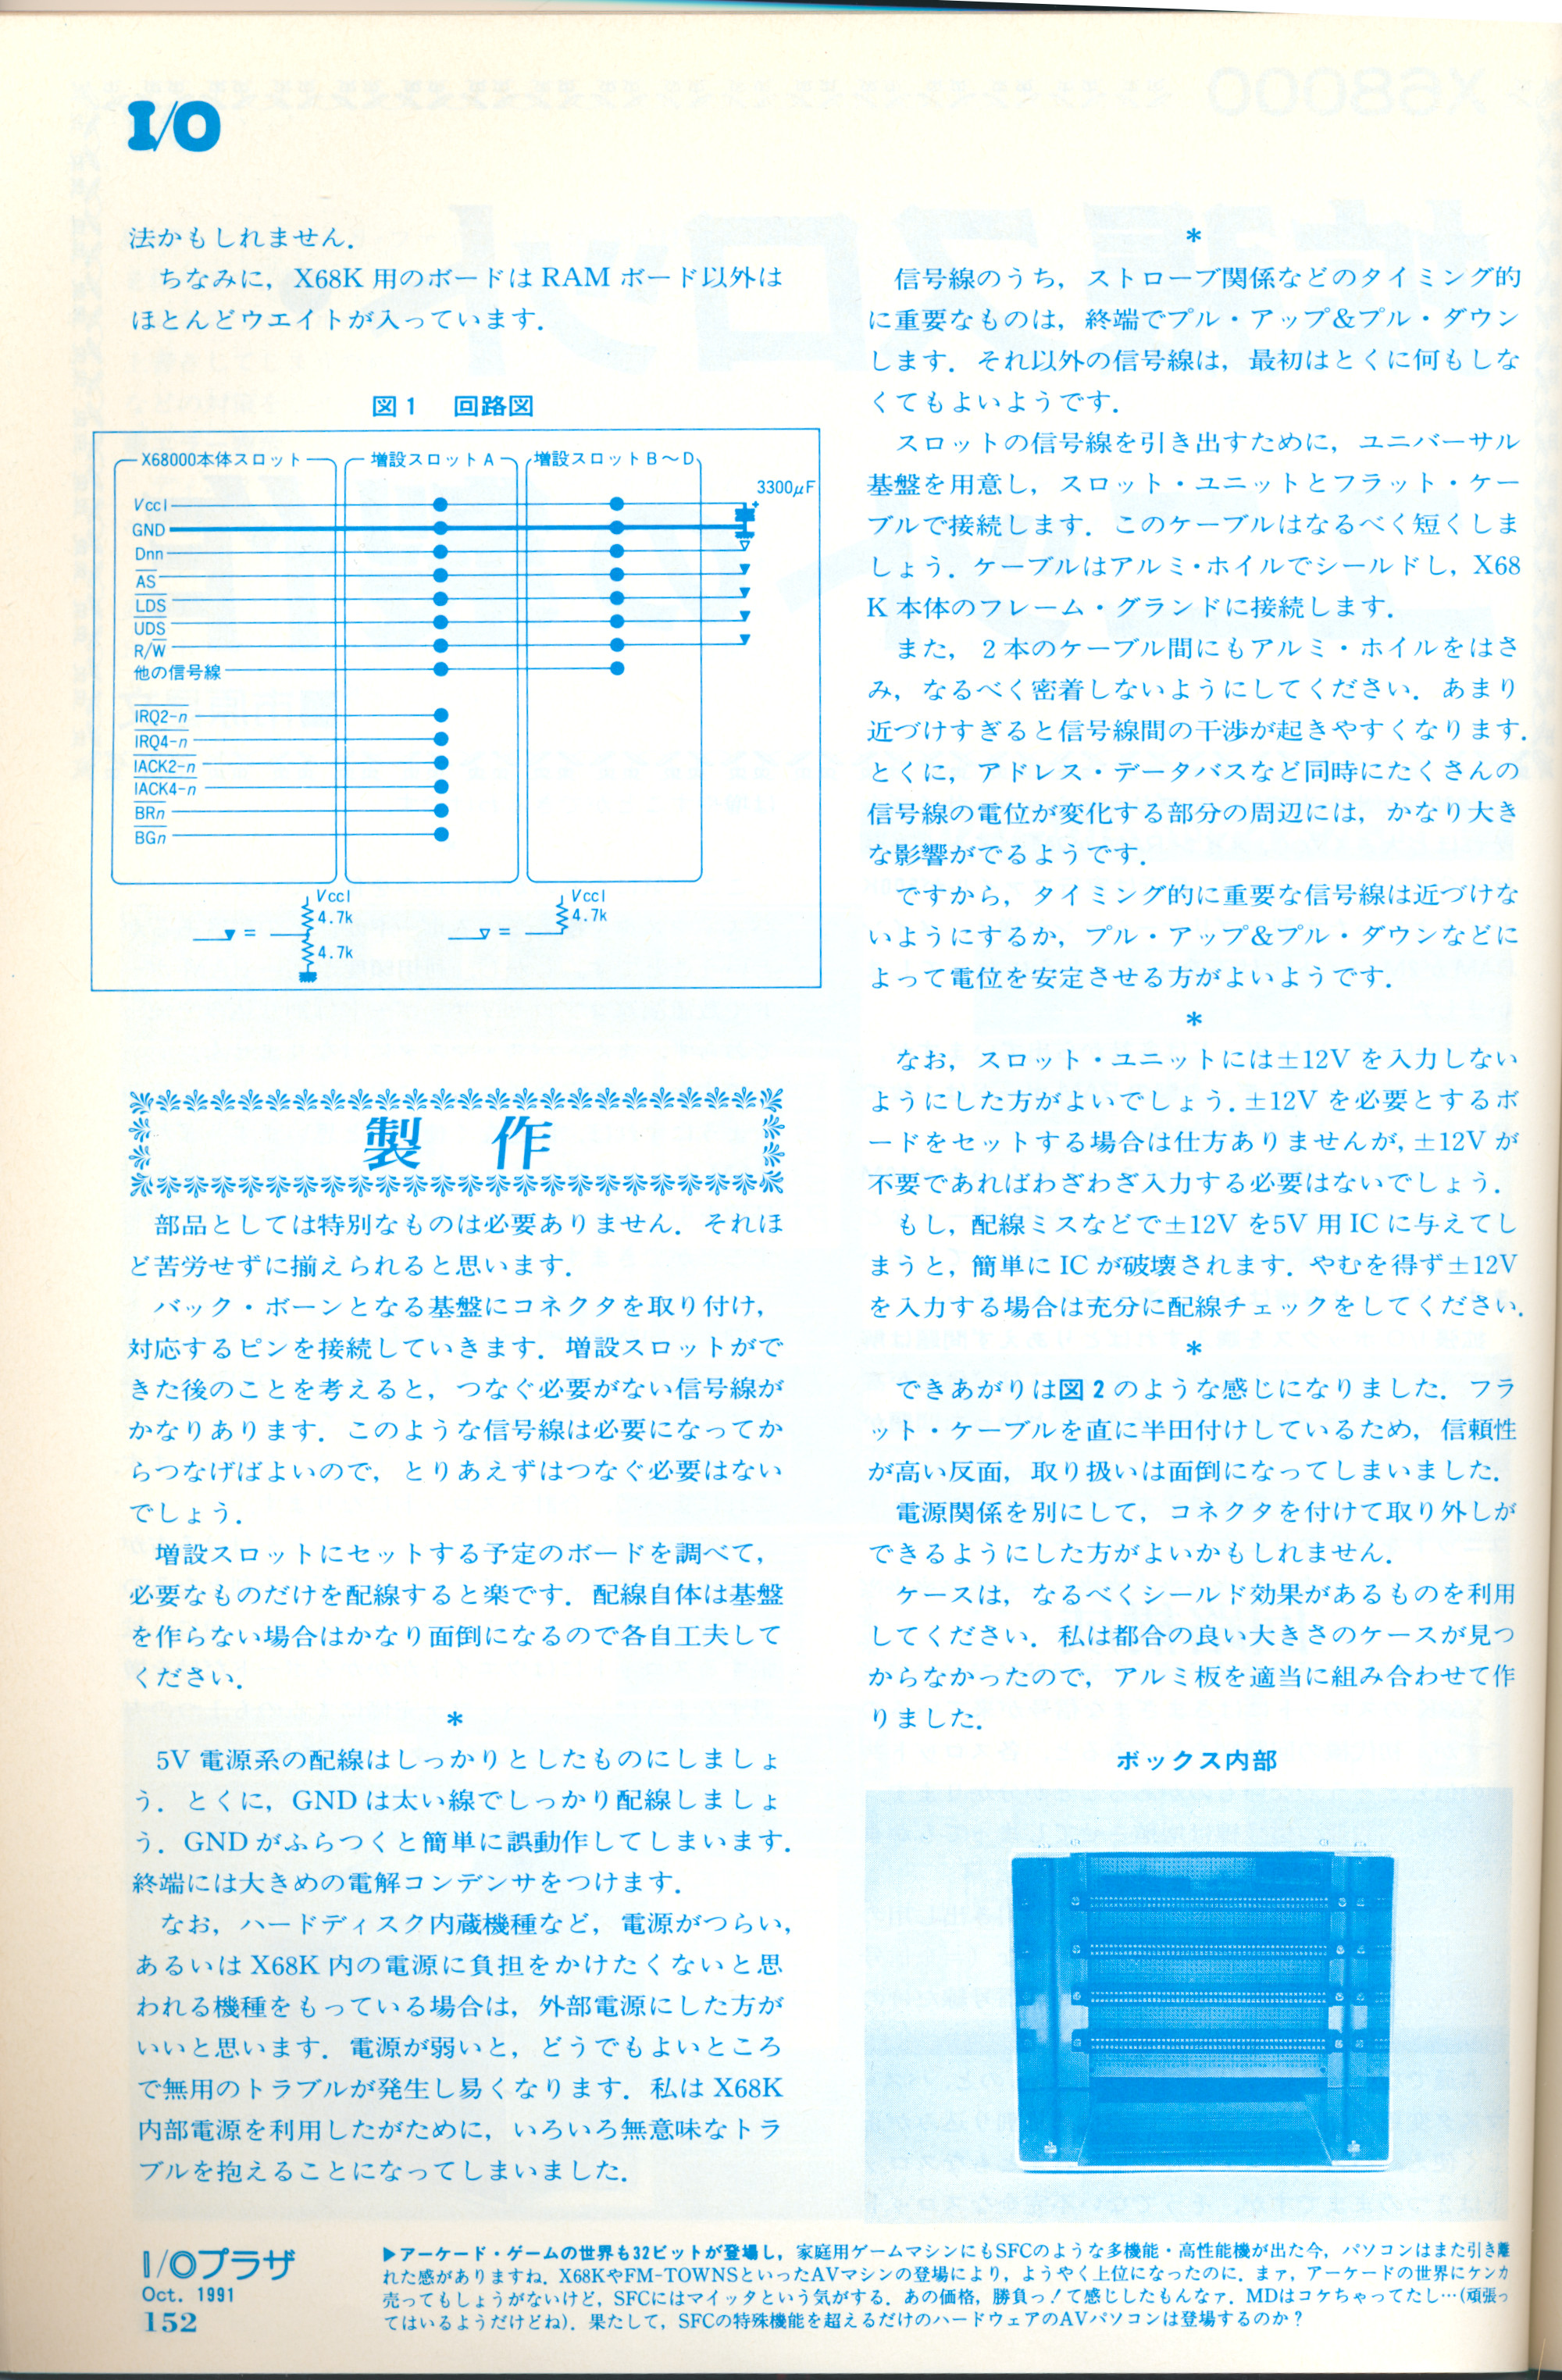
I haven’t seen any real documentation on how the conversion from two to four slots actually works. There’s a japanese blogpost which shows a DIY option, and references “Monthly I/O October 1991” as having some information. That would be nice to track down. Otherwise I might just see if I can reverse engineer how this thing (or the X68000 Pro board) works.
I am also curious if it would be possible to use this, while having RAM connected to the internal Slot 1 of a X68030, and that way bypassing the RAM issues. The manual does explicitly state to not use that port when the IO box is in use, so this is unlikely to be a good idea. Additionally, physically fitting a card in there is tricky when the IO-box extension is in place.
I’ve known about this game for quite a long time, and the website for it is still up, but I was expecting this to just keep being lost media and never dumped.
The gameplay is pretty awkward in it, but it’s still a fun curiosity.
The dump seems to have Lace pre-leveled to a high level which makes mashing through Story mode quite trivial.
This was a good reason to finally check out Keitai World Launcher though, and there’s a lot of cool stuff there. Truly a wonderful project.
Went and bought something silly for my X68030, a old Nereid card which extends it with USB and Ethernet.
Setting it up was surprisingly easy. Loaded the drivers in the included floppy and followed these instructions, and everything just kindof worked for Ethernet right away.
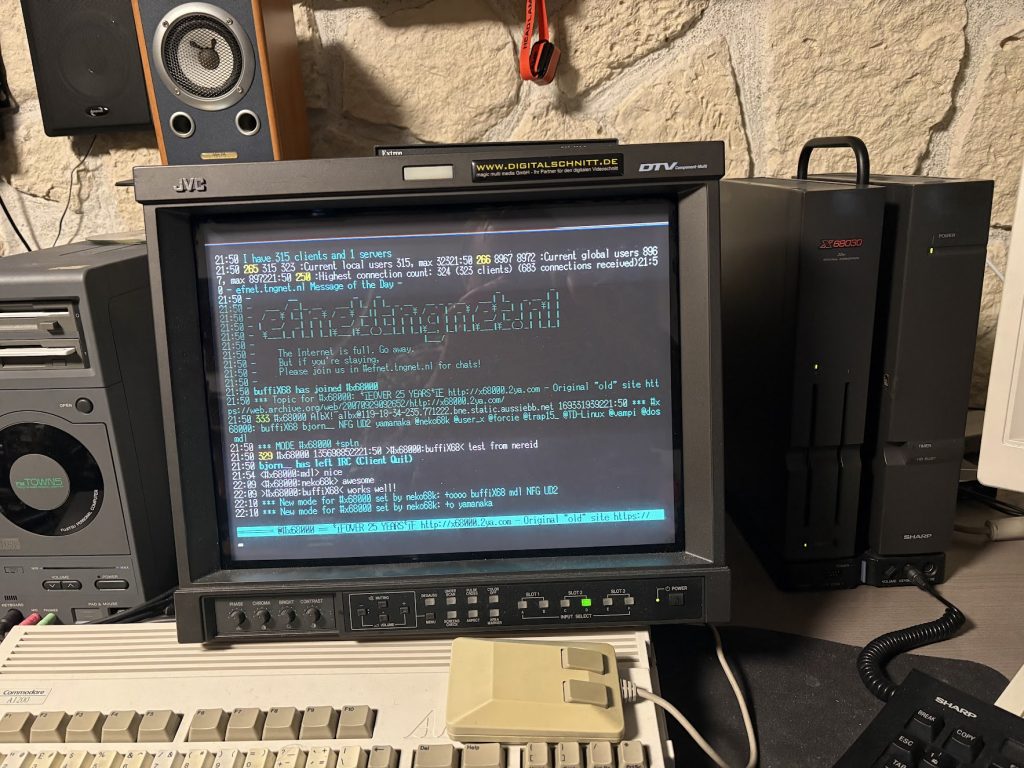
Have it hooked up to my router and could jump on IRC with the CLAT client.
Pretty happy with this, and sortof want to keep using this as a IRC chat device for the fun of it. Will have to swap out the fan for something more quite though since the X68030 still runs on original power supply with a fan that’s a bit too loud for me to want to have it on all the time.
Messed around a bit with the available web browsers, but honestly… they’re not really something that’s particularily usable. IRC is neat though, it’s been a while since I’ve been using that.
Still need to mess around with the FTP software for X68000, since that might actually be kindof useful. Currently I’m transmitting files to it by modifying the HDD image loaded through BlueSCSI. I’m not sure using FTP is much better, but it’s at least a cool option!
Was expecting it to be non-functional and broken, and it was. It was also impressively filthy. Check this out:
Before
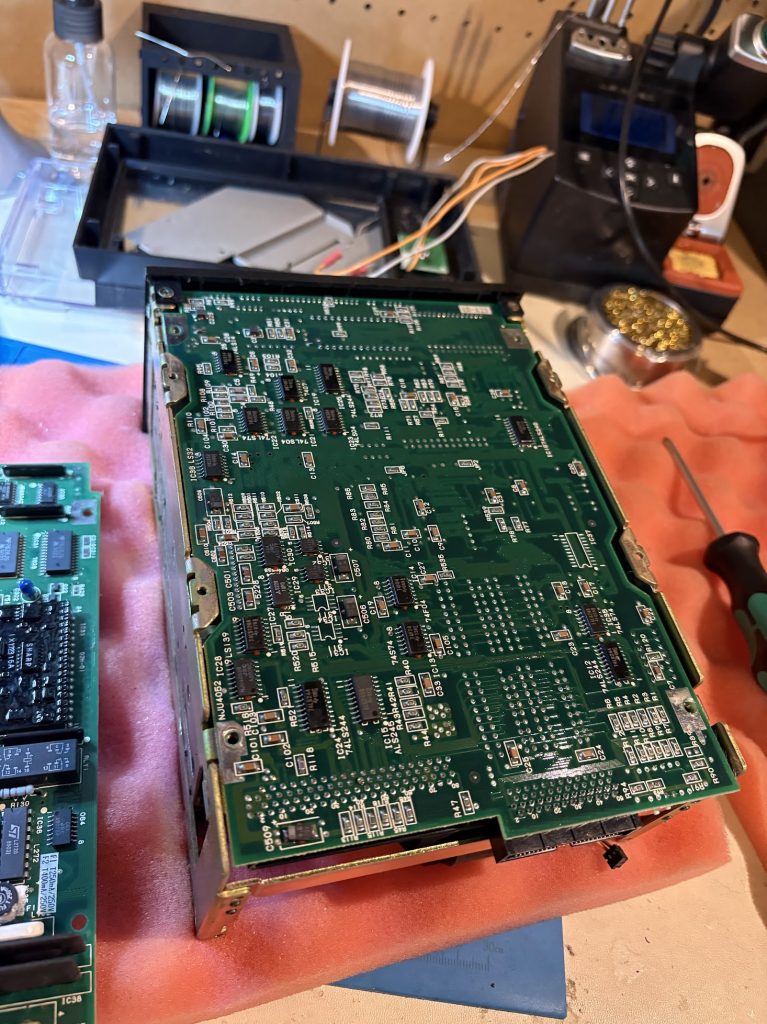
Outsides and insides were… very dirty. There were remnants of an old overclock mod which was partly disconnected.
Floppy drives were not present. Neither was the power supply.
What was however present was this sick as fuck homemade RAM card. Look at this thing. Home etched!
Cleanup and recap
Before I could really do anything with this thing, I had to clean out all the dirt, so it was bath time.
Things cleaned up nicely!
As mentioned, there were some partial overclock mods that had to be removed. In practice this meant rewiring a lifted pin from the CPU clock, and bridging a cut trace which was related to the second oscillator for the IO board.
I tried booting things at this point, but things were very dead, so I just skipped right ahead to doing the recap and battery swap here as well to exclude simple issues.
Booting and PSU
With the regular IPL, the system would not boot at this point due to the missing floppies, but with a custom IPL installed, the system would now boot fine from SASI. Very nice!
For the missing PSU, I scavenged some old replacement boards I had around, cut them a bit smaller and made a plastic bracked for mounting a Pico-ATX in the case. Turned out OK.
I decided to not have an internal DC converter, and instead running the device off 12V DC, so I 3d printed a small holder for the connector which turned out well.
Extras
Since the device only came with 1MB RAM, I added an internal 1MB expansion as well as a 8MB Polykubos RAM+Midi card.
For Booting the system, I use a Bluescsi V2 Centronics version. The X68000 Pro does not provide termination power over the SASI port, so I went with a slightly hacky fix of just adding a 5V connector through a hole in the back of the case.
Case cleanup
Stickers were removed by a combination of violence, IPA and scrubbing with a soft brush. Case was washed off thoroughly. IO covers were 3d printed. There’s a few deep scratches but other than that, things look pretty good now!
Final thoughts
There were no real setbacks in this restoration, unlike the Compact I worked on previously.
While there were still a lot of steps to perform to get everything up and running, it was mostly smooth sailing, and I could chip away at it on evenings when I had some spare time.
The lack of floppy drives isn’t too much of an issue to me, since I sortof don’t want to deal with 5.25″ floppies unless I really have to, and the custom IPL allows me to bypass the need for a Master Disk since I can just run SWITCH.X from SASI.
10MHz with 10MB and Midi should be sufficient, but I could look into doing a 16Mhz overclock at this at some point.
A few months ago I found an auction for a broken X68000 Compact, which was listed at less than 40,000 yen which is significantly cheaper than what a working Compact would typically go for now, so I took a gamble and bought it to repair.
Getting it mostly functioning took a few weeks, and more work than I expected, so I’m doing a writeup of that here. Since I don’t have much experience repairing these, I took some detours along the way that could have been avoided.
How it arrived, and initial debugging
I was quite pleased when it showed up, because the external case looks nice! There’s only minor scratches. The motherboard had been recapped and the SRAM battery replaced with a coin-cell. The motherboard looked pretty clean, but had a 40Mhz oscillator replaced with a socketed 48Mhz oscillator, which I guess was some sort of overclock.
I replaced the PSU with an ATX-adapter to eliminate that as an issue (since x68000 power supplies are known to be problematic) and restored the motherboard by placing a 40Mhz oscillator like the one that comes stock.
The machine appeared to power up, but soft power on/off did not work, and nothing was being output to the display. Probing around the video out circuitry showed that no sync signal was being generated, and that it was not just a faulty buffer. Things looked pretty dead.
Checking BIOS ROM
My initial guess was that it might be that the system failed to boot due to problems with the boot ROM, and that’s fairly easy to check. I desoldered the ROM with the BIOS and verified it against existing dumps in MAME.
Everything looked good, so this didn’t seem to be related. The memory area where the IPL (BIOS) lives matched the existing dump perfectly.
Probing around CPU and RAM with Logic Analyzer
I then took out the oscilloscope and started probing the CPU pins to see if anything looked unusual. It became clear that HALT was being asserted after only about 1ms, which after some digging into the datasheet either indicates that the CPU is trying to execute an illegal instruction, or that some other device on the motherboard asserts the HALT pin.
When connecting a Logic Analyzer (Saleae Logic Pro 16) to the CPU address bus, I could see it failing after a read of FF0636 where it would start failing. Decompiling the BIOS in Ghidra shows that this is a RTS instruction, which means it tries to get the return address from the stack in RAM which supposedly fails. When probing the RAM, I could see that only two of the four RAM chips were getting CS pulses, indicating that something was broken there. The lower byte was being read but not the higher one.
Since this logic analyzer only has 16 channels, I could not fit the entire Address bus when looking at things, so I had to do multiple sweeps to both check the high range being accessed, and then the more exact position. Since the failure was reliable, this was fairly doable, but if I had 32 channels things would be a lot easier.
To illustrate this further, the first image below shows that the Address has the higher bits set to 0xFF0, and the second image shows 0x636 (and 0x638) for the lower bits.
I do recommend this logic analyzer in general since the software is really great, but for these particular usecases with large address buses, I would probably have preferred something with more signals.
(Detour) Forcing 16-bit reads/writes
Since X68000 is a 16-bit machine, I naively thought that I could just tie the CS signals of all four RAM together (lifting the CS pins of the higher 8 bits), which should allow the code to read the return address from the stack correctly…
… and this worked! Kindof. Instead of halting after 1ms, it would now halt after about 22ms instead.
Connecting the logic analyzer again shows that it now crashed at FF4E7A which is the first time a move.b instruction is executed to read from an uneven RAM address, doing a 8bit read instead of 16. This one asserts UDS but not LDS, meaning that my forced 16-bit reads would not work since they assumed LDS was set.
I did try to work around this by also doing 16-bit reads for these, but then realized that 8-bit writes would now also write the byte that should not be written, so this was a bit of a waste of time.
Actually figuring out the RAM issue
Since no schematics for this exact model exists, I had to do some guessing based on other X68000 schematics, but managed to locate how the LDS/UDS signals are tied to assert the CS on RAM (through the ASA Custom IC).
LDS and UDS go to a buffer at IC84 which connects to the ASA. The buffer itself seems to work fine, but the ASA was not getting a signal for one of the bytes, which seemed to indicate trace damage. From looking at the schematics for non-compact XVI, I patched this up and now the system would boot! Two traces were apparently busted.
Ignore the flux that hasn’t been cleaned up below. It’s fine now 😉
I could now run memtest from SCSI HDD and verify that the system looked OK!
Stuck again when booting games
Floppy drives seem dead, but I could boot a SCSI HDD image now, but when trying to start games, I would get stuck when loading the sound driver.
When looking at this in a logic analyzer, I could see that the CPU was not in halt, but repeatedly trying to read from E90003, which is the address space of the FM audio. Looking around the relevant code in an emulator, this seems to be a loop which repeatedly reads from there until a non-negative value is returned.
042608 tst.b $E90003.l 04260E bmi $42608
… so something else is busted
Fixing the FM audio
I connected the logic analyzer to the FM chip and noticed that despite CS being asserted, RD was stuck high (WR would trigger along with CS though).
This seemed to be fed through a 47LS486 which is a real weird chip without much info… except from in the x68030 compact data sheet where a description exists. In practice, it will just act as an inverter for WR. The relevant output seemed busted though, so I solved that by slapping a LS00 NAND gate on top of the buffer for the relevant signals (while lifting the pin from the 47LS486)…
… and this worked! Games now boot and runs flawlessly!
Replacing the PSU internals
X68000 power supplies are usually problematic, and I don’t want to deal with stepping down 230V to 100V if I don’t have to, so I wanted to do a PicoPSU ATX conversion and drive the Compact from a 12V DC adapter.
There’s many ways to do it, but I had spare PCBs of the PicoPSU V3. These don’t really fit in the Compact PSU case, but some violence later and things were in place. The parts that were broken off are related to soft power only, and don’t carry any real current.
Then there was just the puzzling together of parts…
Everything works!… kindof
Now the Compact boots games and plays them fine, but there’s still some lingering issues. 16Mhz mode doesn’t work, and neither does the floppy drives. In practice I don’t think I really want to deal with floppies when I can SCSI boot so that’s pretty much fine. Having 16Mhz mode work would be nice though. When enabling it, the 16Mhz LED handling works correctly and the CPU gets the right clock, but still it wont boot. For now I’m ok with only running on the “default” X68000 speed though, but maybe I’ll go back to this later.
After having used my old Rigol DS1042E for about 11 years, I finally upgraded to a fancier 4 channel scope.
Picked up a Rigol DHO914S which also will replace my old junky aliexpress function generator.
The newer Rigol scopes sure are tiny! I guess this is partly due to the PSU no longer being internal. Very cute.
Haven’t had time to test run this thing much yet but seems pretty nice. Startup time is crazy long when not using sleep mode though, but I guess I’ll have to live with that.