This web page is a part of buffi's web ring
Categories
Old Hardware Retro Computers

CZ-6MO1 for X68000 – Part 2 – Restoration

In the earlier post I wrote a little about the CZ-6MO1 Magneto Optical drive I bought for Sharp X68000.

Unfortunately, after some use, it smelled of dead capacitors (fishy and bad), and I was getting inconsistent results with reading disks.

Since this thing is old, I opened it up and did a restoration. This post covers this with some pics, and then a cap-list towards the end.

Opening the device

With the top off, the drive looks like this. The PSU is facing the camera and behind it is the MO assembly sandwiched between two PCBs, with another two sitting behind it near the back fan.

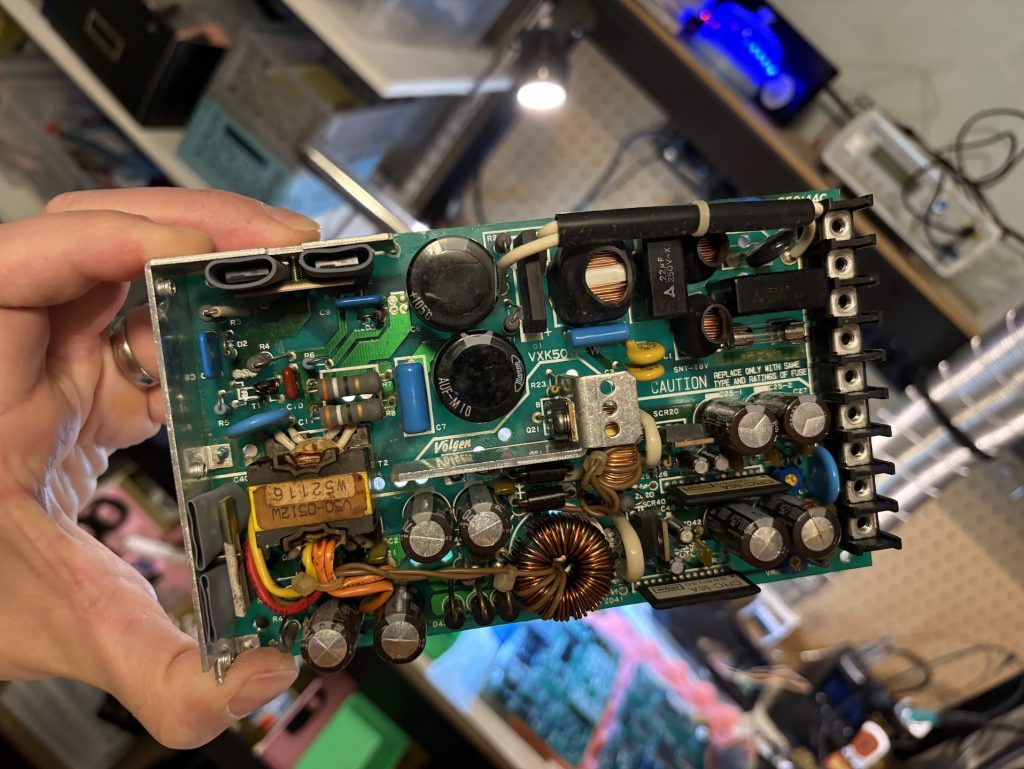
PSU is fairly beefy. 3A on 12V and 3A on 5V.

Popping off top reveals back of one of the “Analog PWB”. TONS of variable resistors, which I guess are used for fine tuning this thing. There’s some flux residue ot something, but nothing here looks very bad.

Popping off the rear part with connectors and fans reveals the rear boards, which are stacked on top of eachother with a connector.

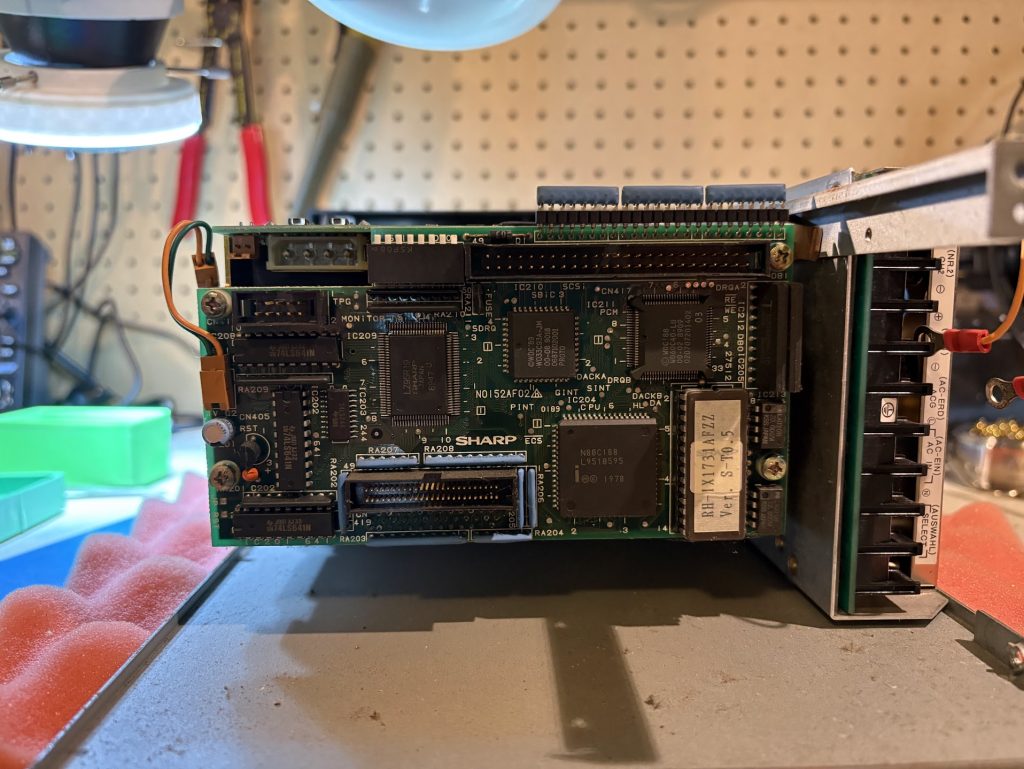
Removing top PCB requires being very careful, since it has a flex table which is kindof short. Moving it like below, and then unclipping the connector worked well.

Top board is kindof dirty, and some caps look iffy.
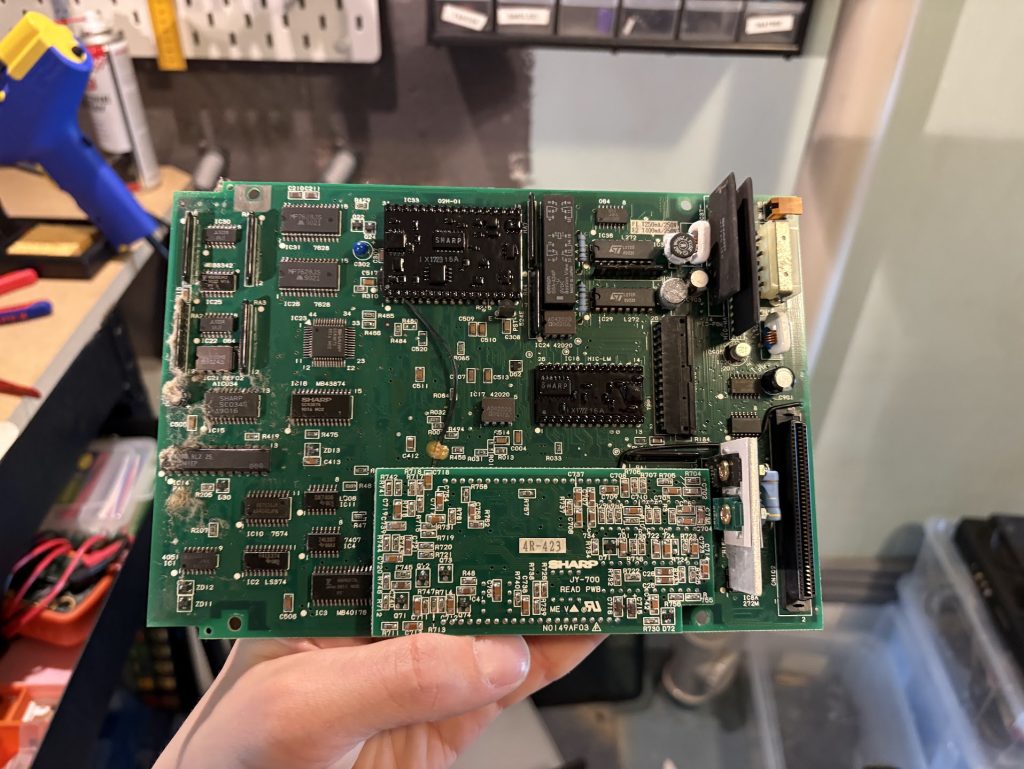
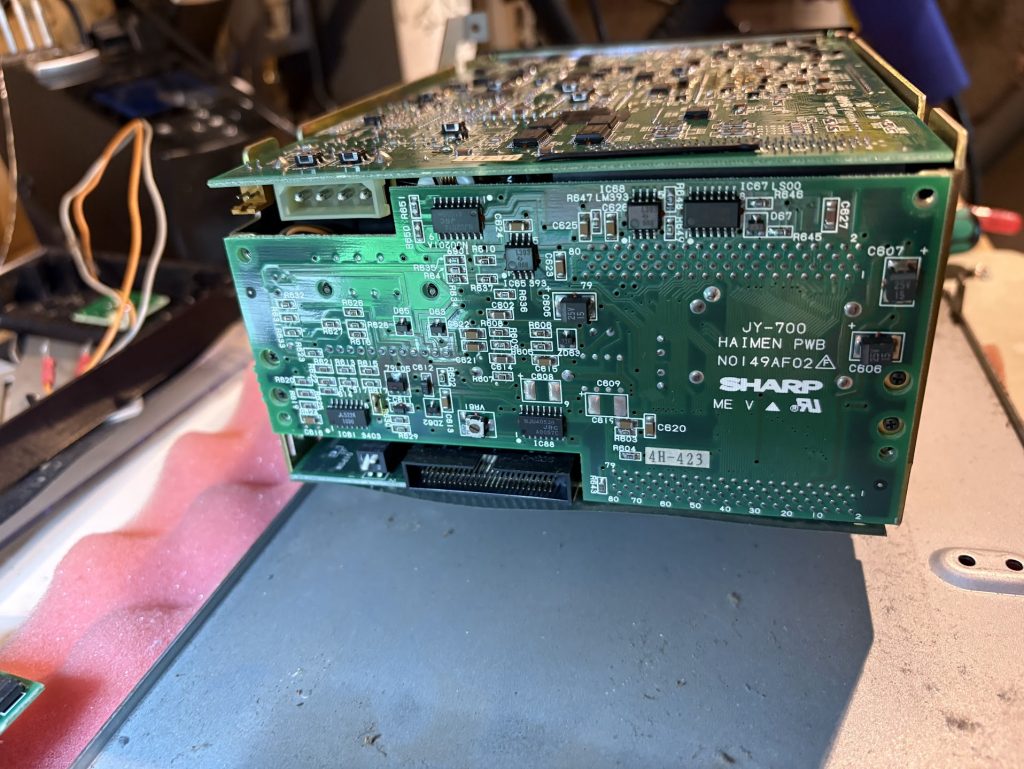
Now the main MO drive assembly can be removed and flipped upside down. Removing the cover there reveals another PCB
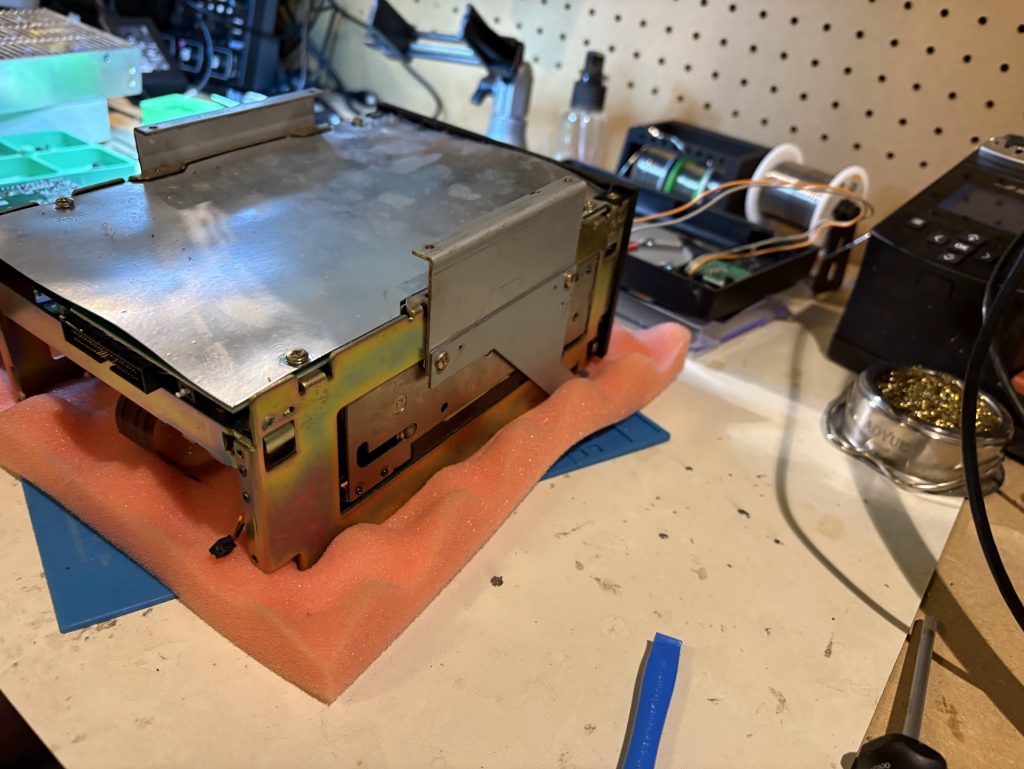
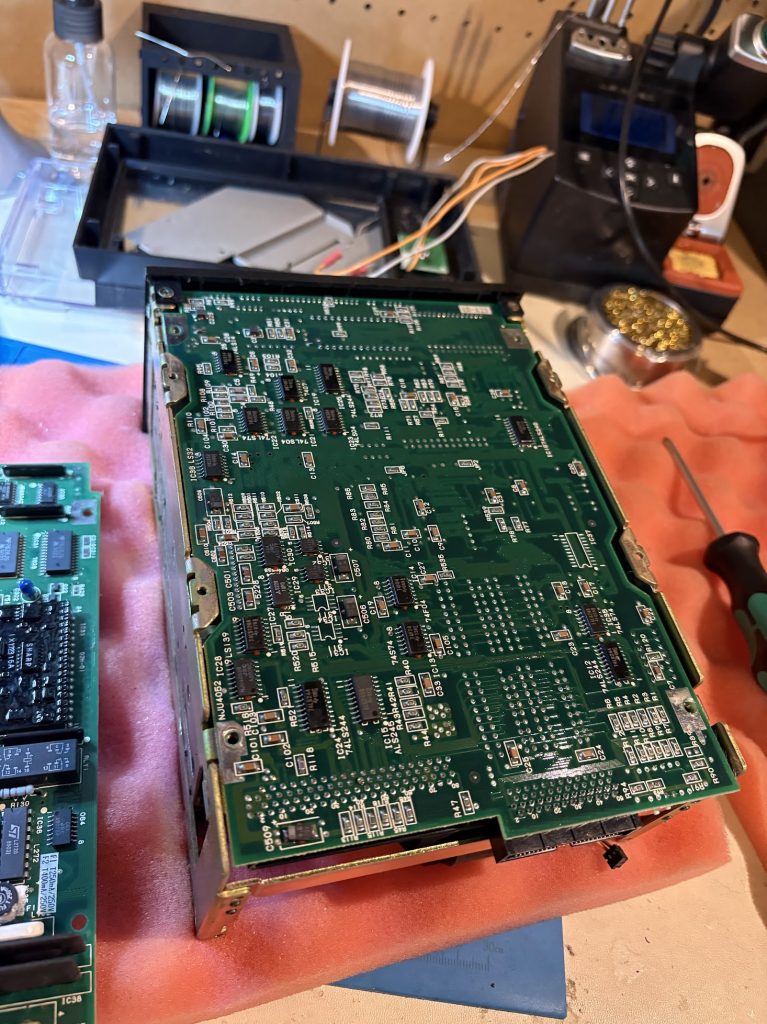
Apparently this is the digital power board. This looks clean and no electrolytic capacitors to worry about.

At this point, things were as much dissassembled as I dared to go. The Drive itself could be opened up further, but I have no experience servicing MO-drives, so I thought it best to leave it as is for now unless I notice issues there.
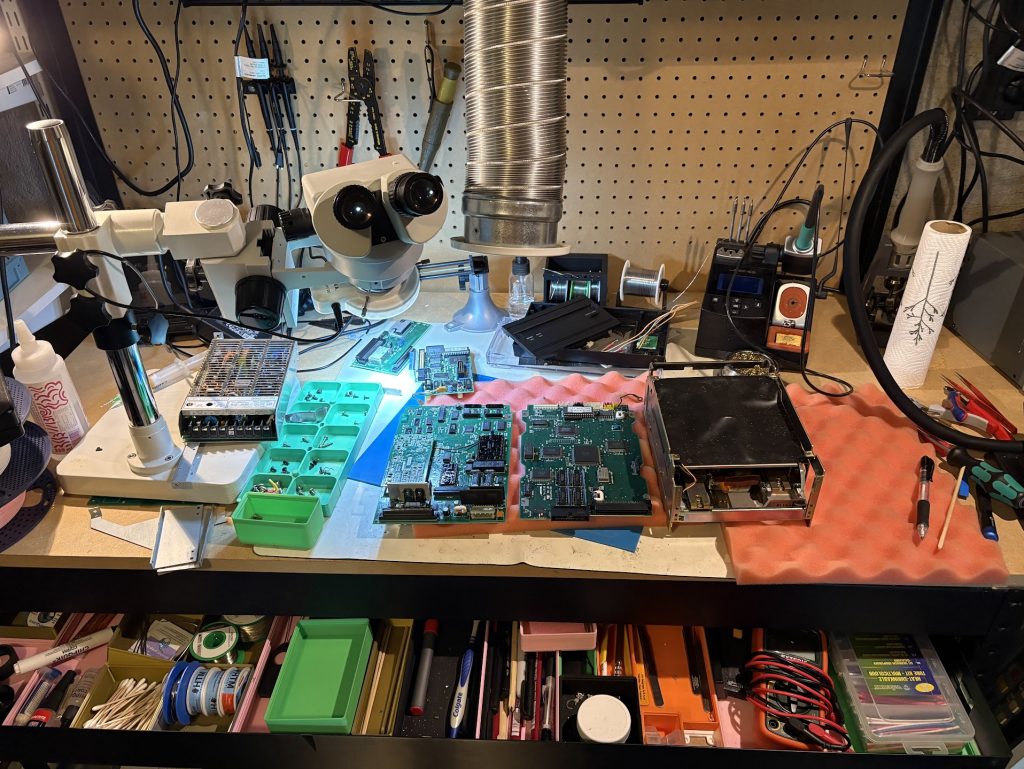
Power supply opened up easily and the fishy smell was strong there.
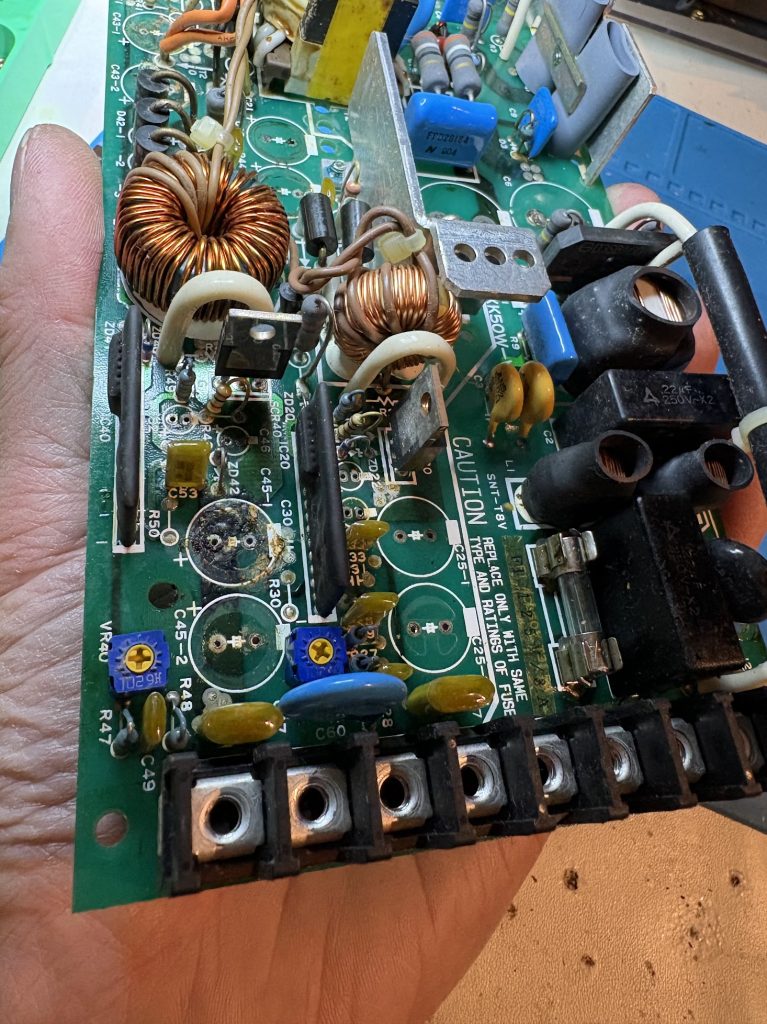
Bulging and leaking caps, bad times. Needed some real work.

Recapping

The only restoration I did on this thing as this point was a good cleaning and a full recap of all the boards. This turned out to be sufficient.

The caplist I made is below. Measurements are not exact, but get something close enough and it should be fine. Digikey links are what I used. For some, the voltage rating is upped a bit compared to the board ones.

ANALOG PWB

CapuFVDia (mm)H (mm)Type
C4094.7166.55.6THT PolarDigikey
C903100258.27.8THT PolarDigikey
C901100258.27.8THT PolarDigikey
C9053.32556SMD BipolarDigikey

UNLABELED REAR BOARD

CapuFVDia (mm)H (mm)Type
C201100166.57.5THT PolarDigikey

HAIMEN PWB

CapuFVDia (mm)H (mm)Type
C60333256.36THT PolarDigikey
C60433256.36THT PolarDigikey
C610100257.27.5THT PolarDigikey

PSU

CapuFVDia (mm)H (mm)Type
C522020022.225THT PolarDigikey
C622020022.225THT PolarDigikey
C43-13306313.525THT PolarDigikey
C43-23306313.525THT PolarDigikey
C23-14705013.525THT PolarDigikey
C23-24705013.525THT PolarDigikey
C25-122001013.525THT PolarDigikey
C25-222001013.525THT PolarDigikey
C45-110002513.525THT PolarDigikey
C45-210002513.525THT PolarDigikey
C264.750512THT PolarDigikey
C324.750512THT PolarDigikey
C464.750512THT PolarDigikey
C524.750512THT PolarDigikey

Result

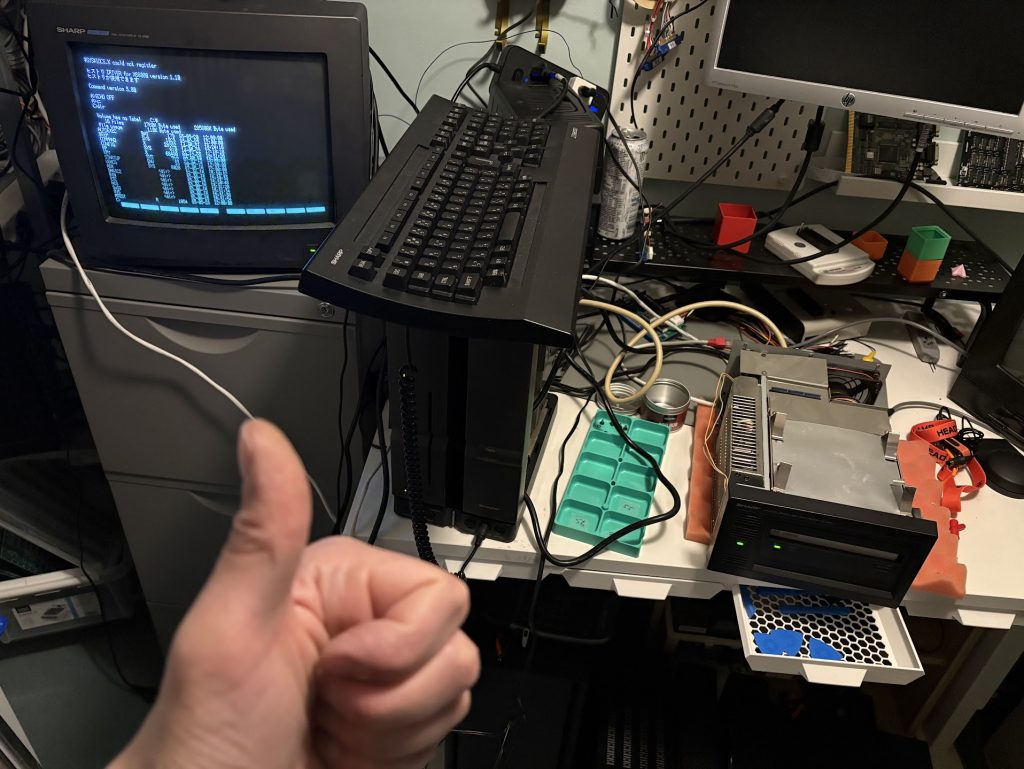
Works great!

Interestingly, after recap I got these Fujifilm disks to ALMOST work too, which I had zero success with before recapping. They will initialize fine, but they seem slower and make a lot more noise when reading/writing compared to the Sony ones. After copying some files to it, the system will no longer write more data. Not sure if that’s an issue with my unit or if these are incompatible in some way.

I will just use the Sony EDM-1DA1 ones in the future due to this, since they work great!

Basically, maybe don’t buy these for it:

Things turned out great otherwise!

Categories
Old Hardware Retro Computers

Repair of X68000 Pro

Bought a cheap X68000 Pro a while ago to restore.

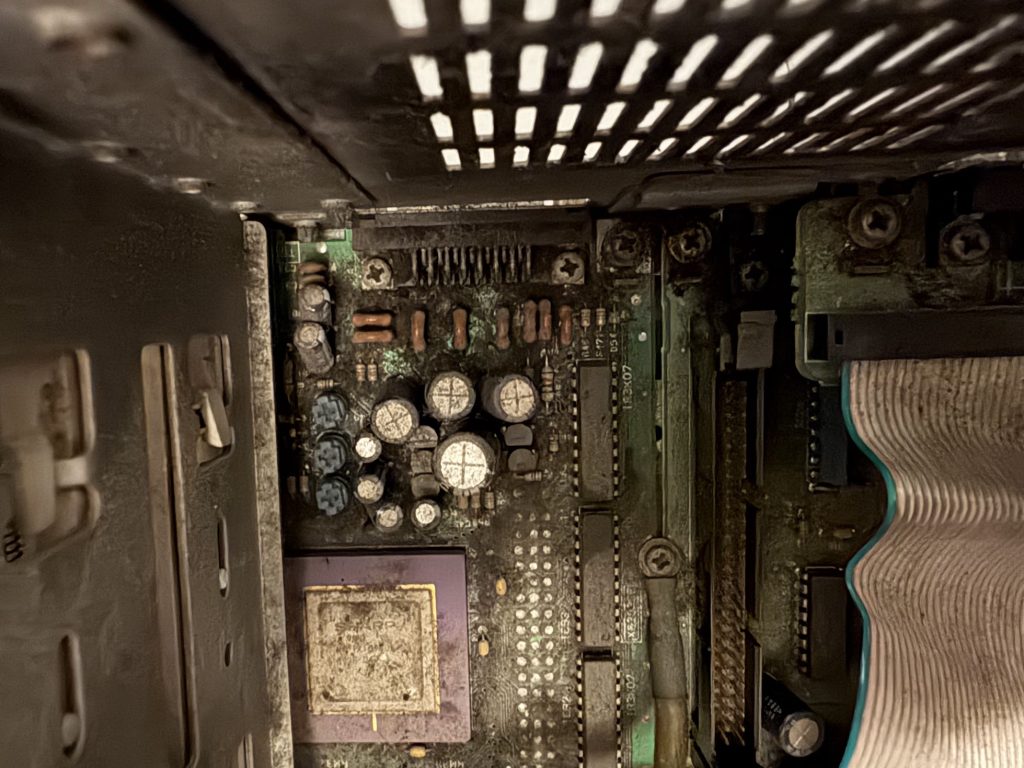
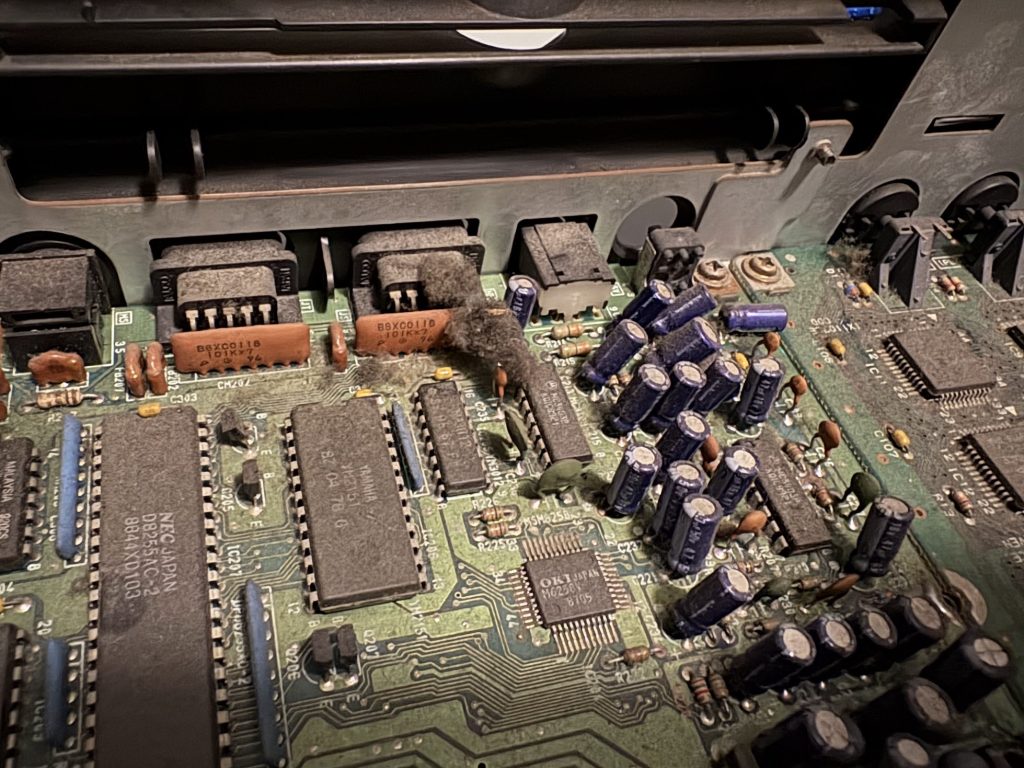
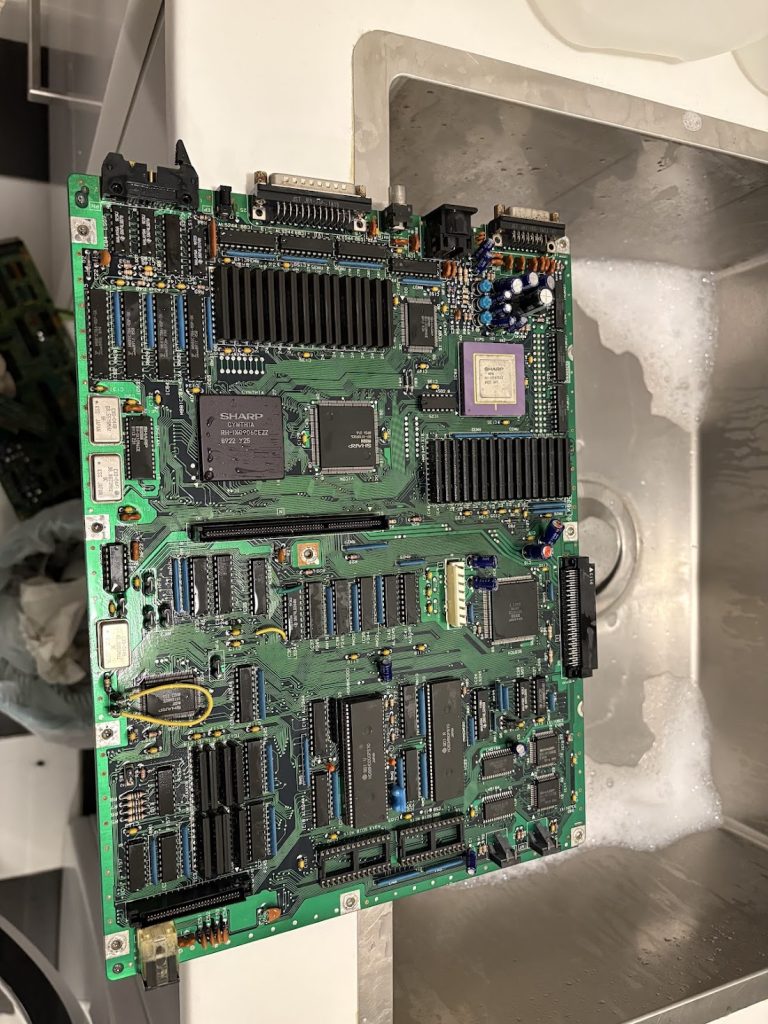
Was expecting it to be non-functional and broken, and it was. It was also impressively filthy. Check this out:

Before

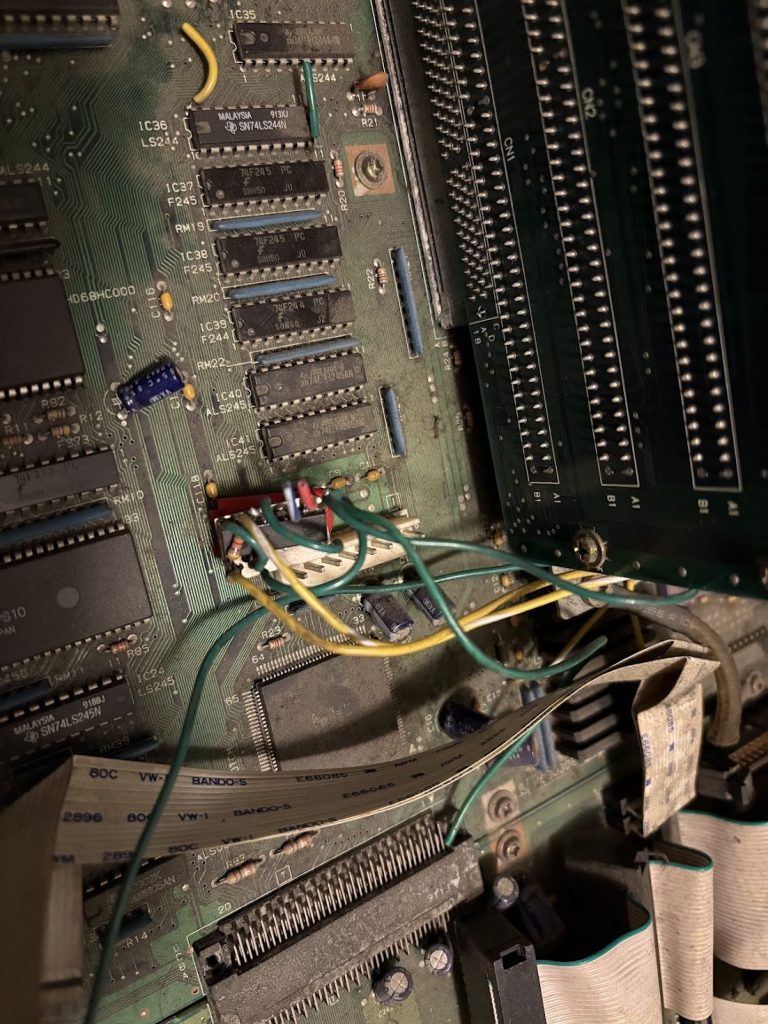
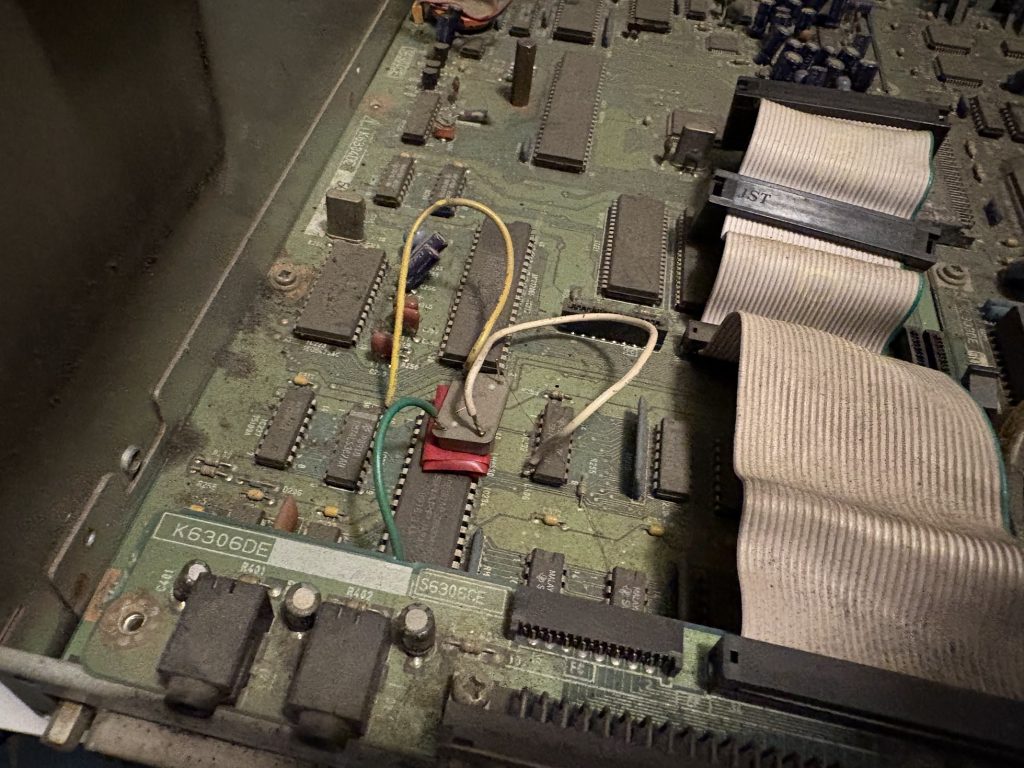
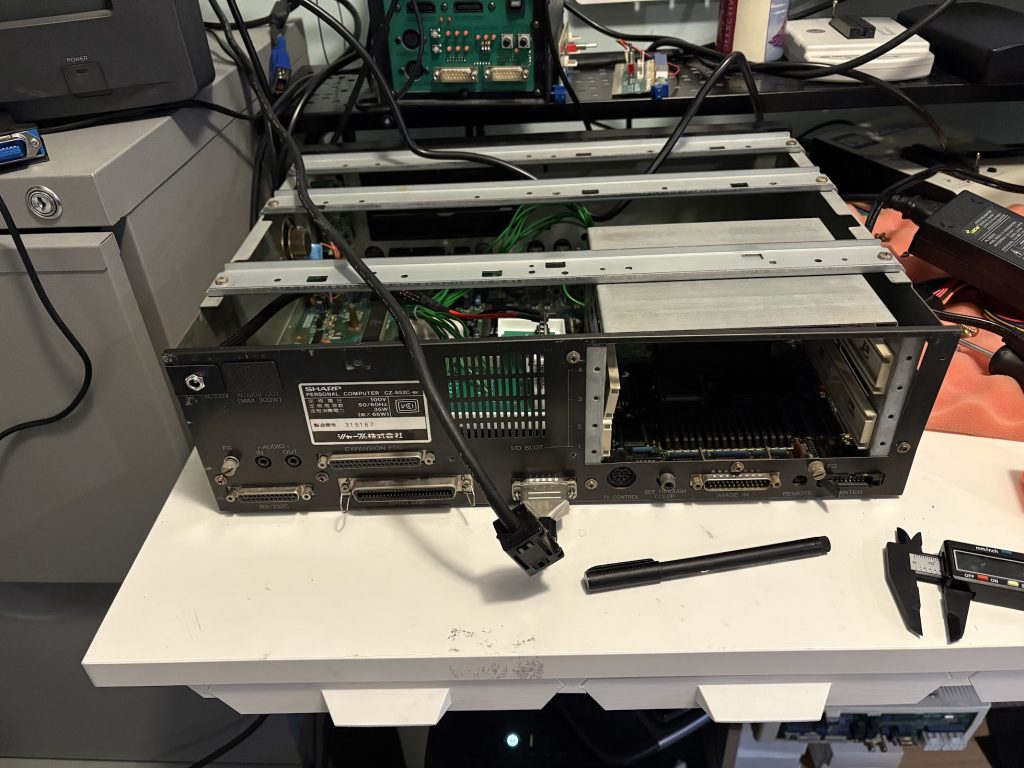
Outsides and insides were… very dirty. There were remnants of an old overclock mod which was partly disconnected.

Floppy drives were not present. Neither was the power supply.

What was however present was this sick as fuck homemade RAM card. Look at this thing. Home etched!

Cleanup and recap

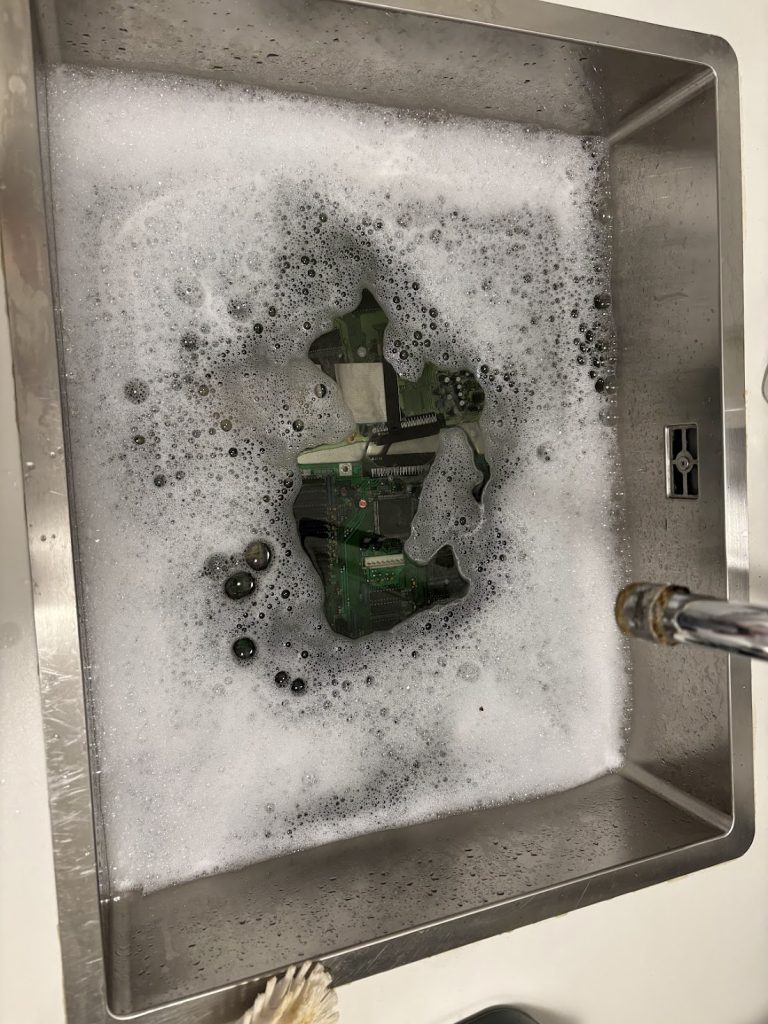
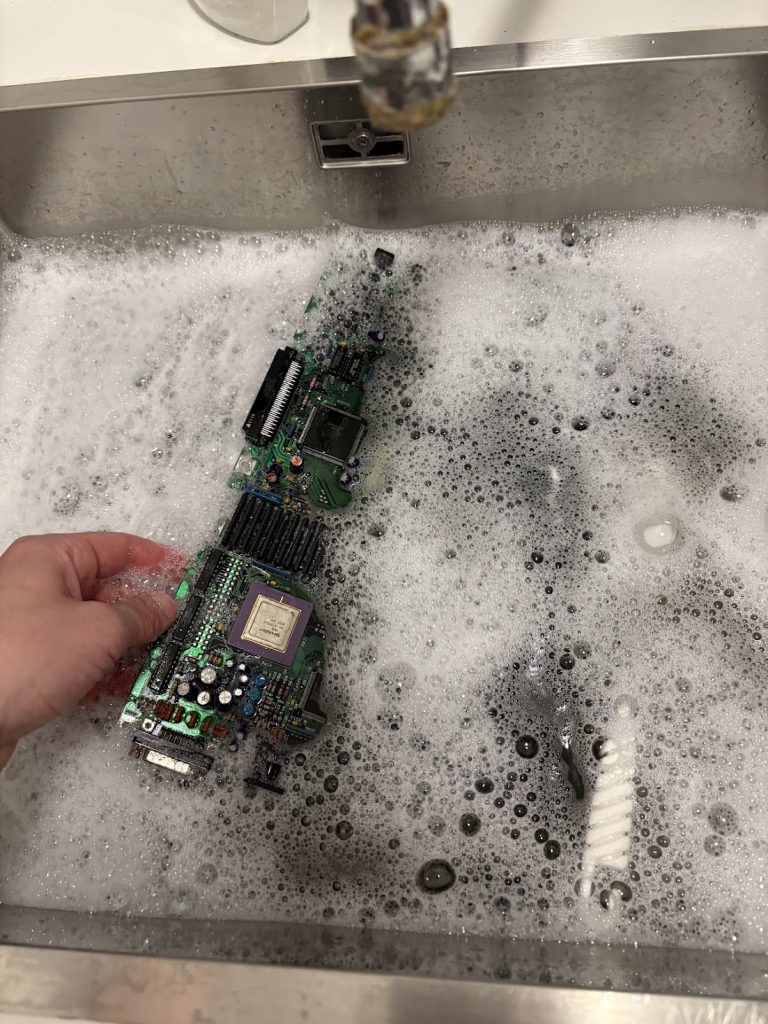
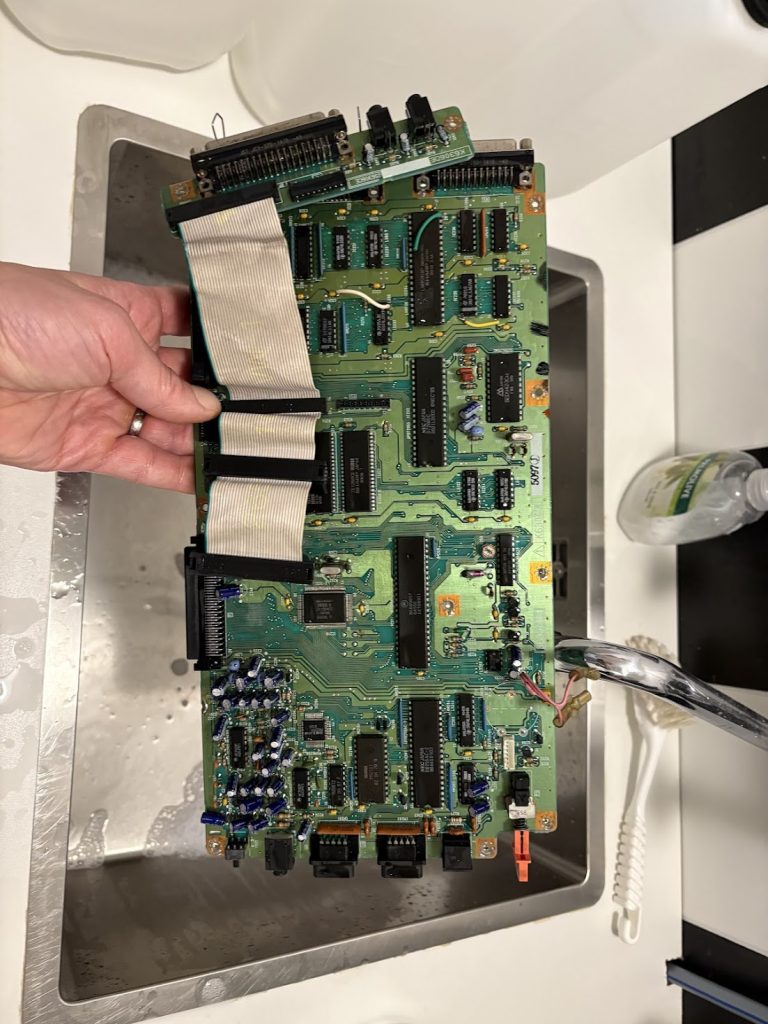
Before I could really do anything with this thing, I had to clean out all the dirt, so it was bath time.

Things cleaned up nicely!

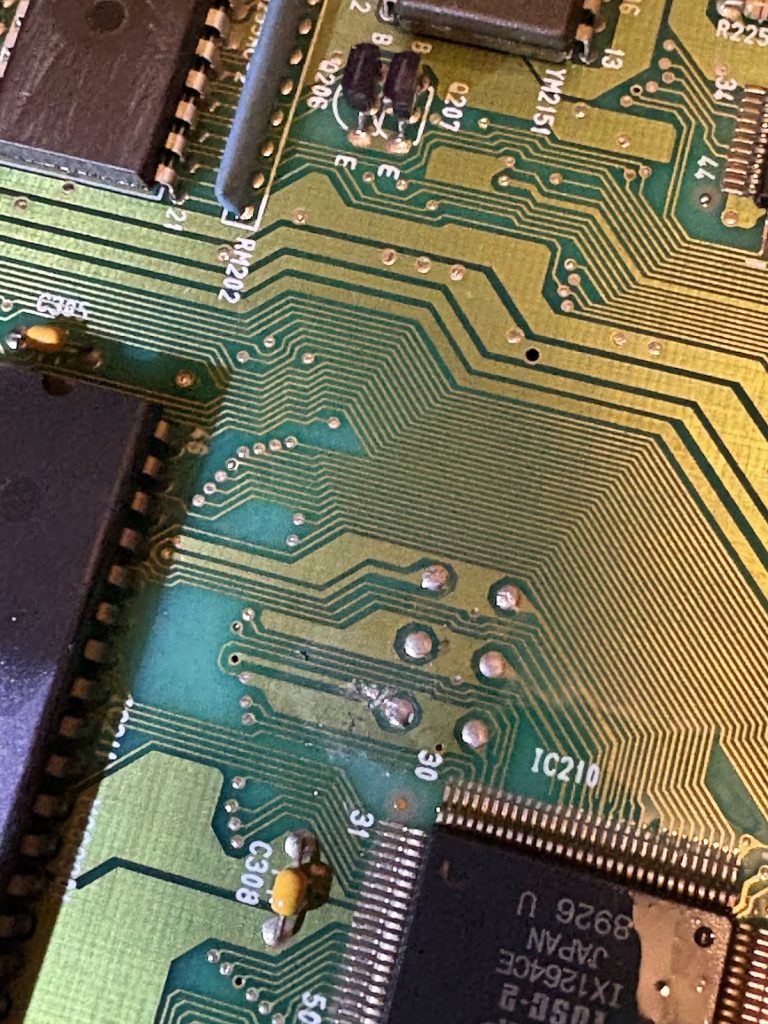
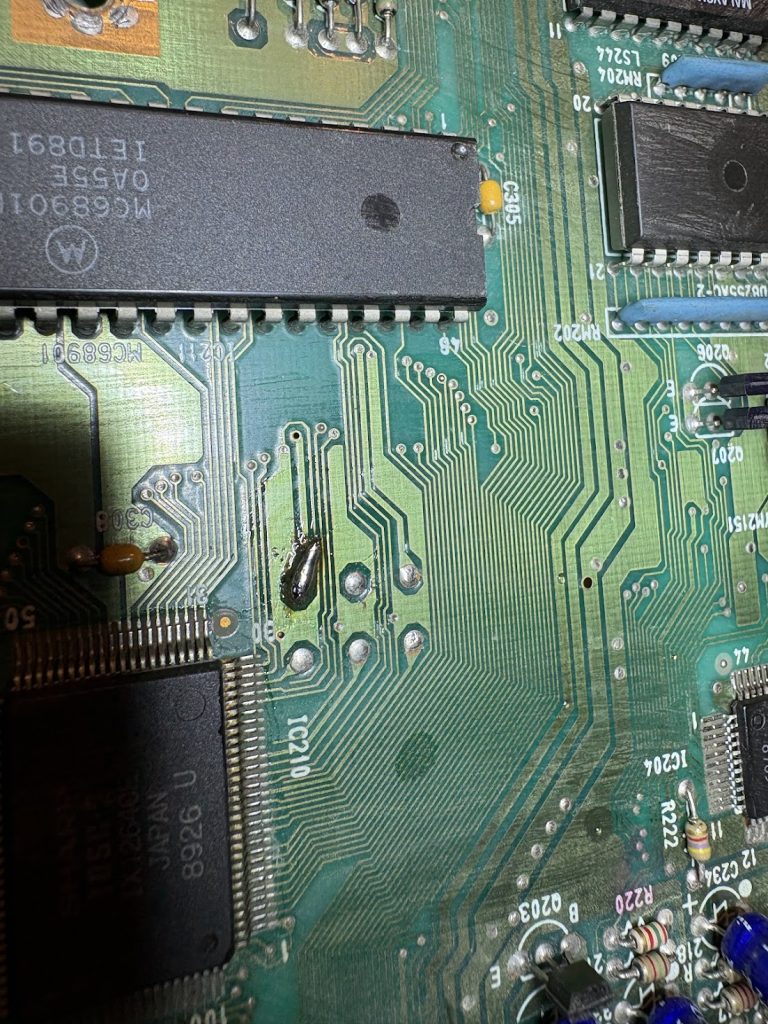
As mentioned, there were some partial overclock mods that had to be removed. In practice this meant rewiring a lifted pin from the CPU clock, and bridging a cut trace which was related to the second oscillator for the IO board.

I tried booting things at this point, but things were very dead, so I just skipped right ahead to doing the recap and battery swap here as well to exclude simple issues.

Booting and PSU

With the regular IPL, the system would not boot at this point due to the missing floppies, but with a custom IPL installed, the system would now boot fine from SASI. Very nice!

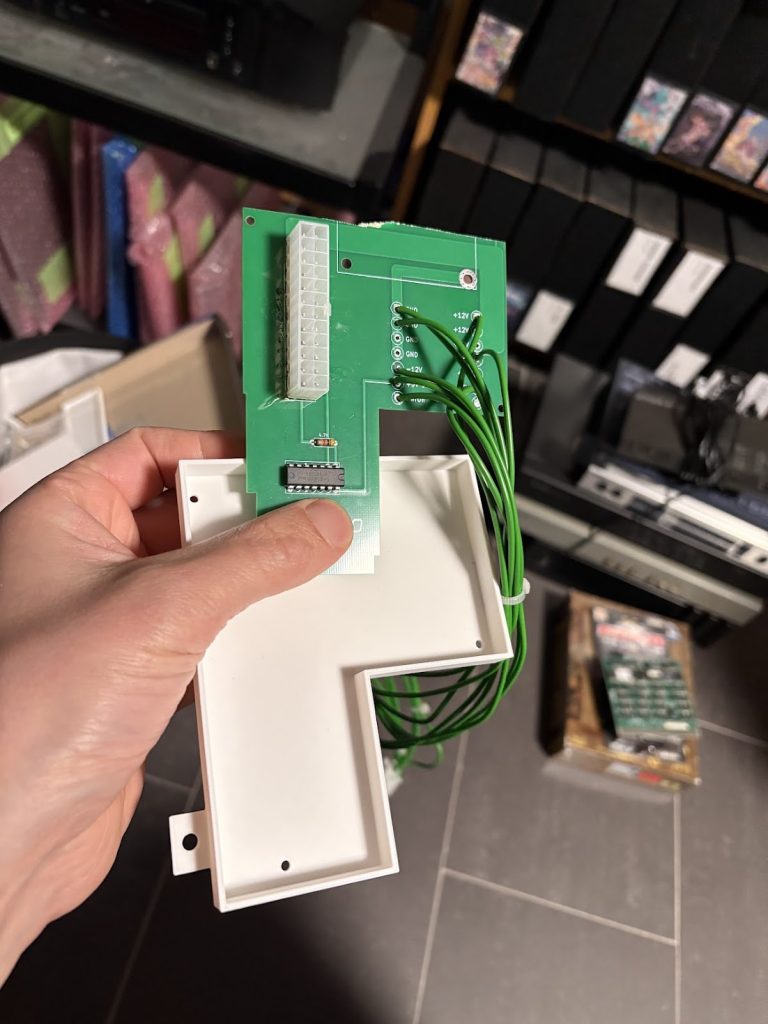
For the missing PSU, I scavenged some old replacement boards I had around, cut them a bit smaller and made a plastic bracked for mounting a Pico-ATX in the case. Turned out OK.

I decided to not have an internal DC converter, and instead running the device off 12V DC, so I 3d printed a small holder for the connector which turned out well.

Extras

Since the device only came with 1MB RAM, I added an internal 1MB expansion as well as a 8MB Polykubos RAM+Midi card.

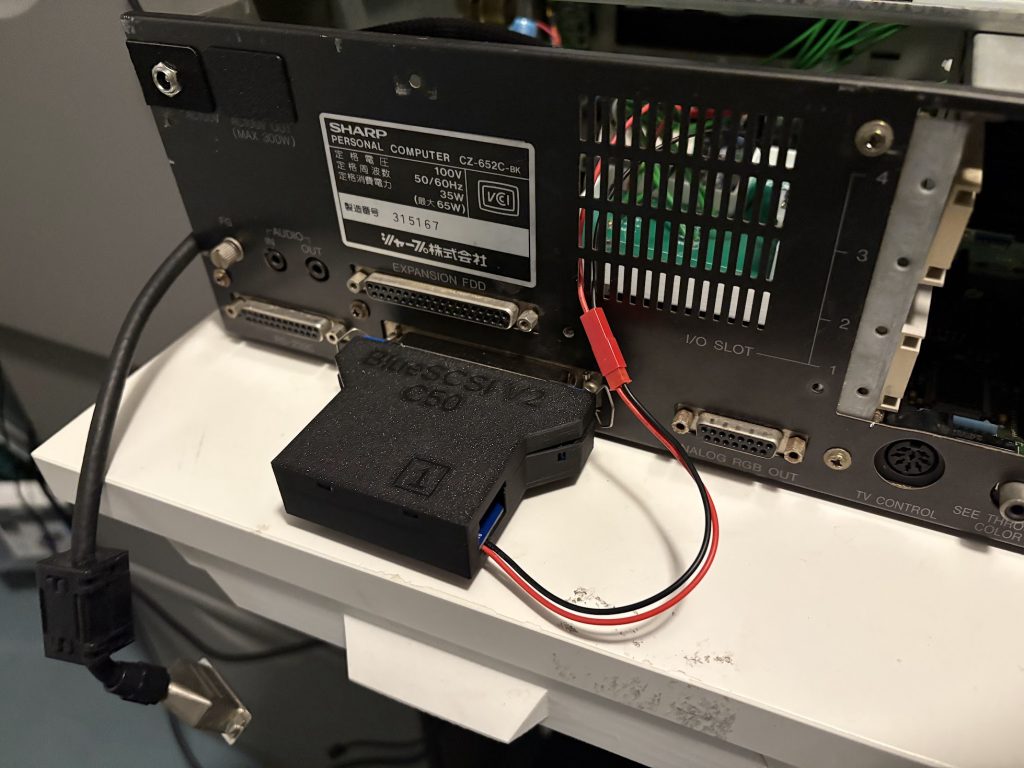
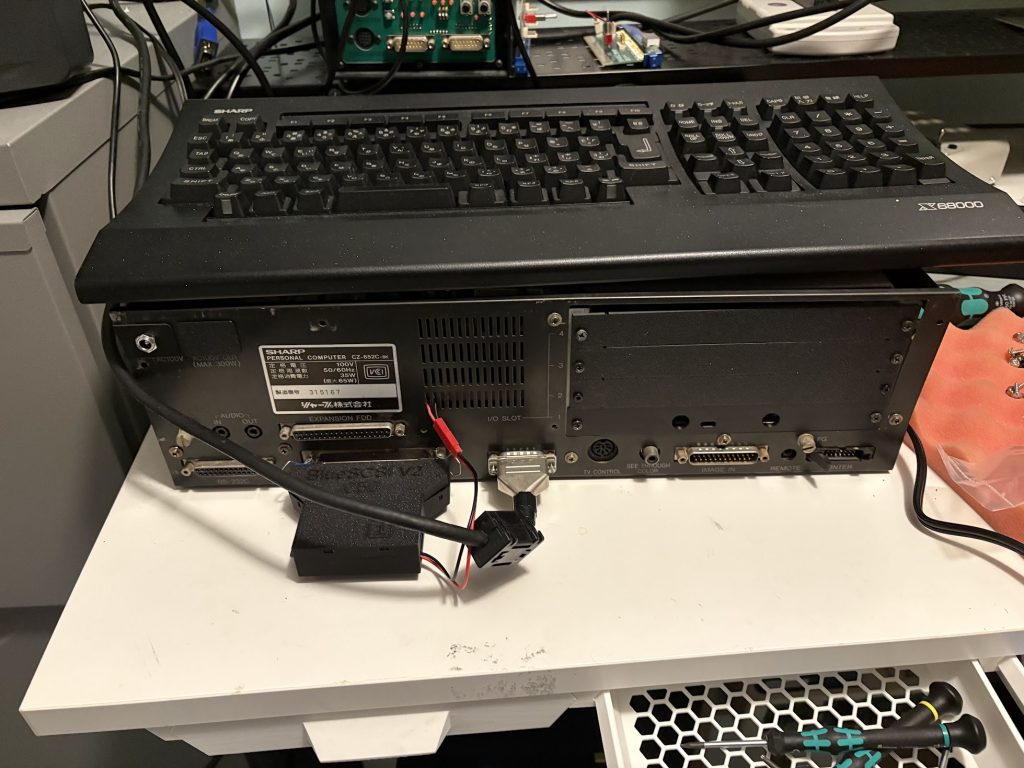
For Booting the system, I use a Bluescsi V2 Centronics version. The X68000 Pro does not provide termination power over the SASI port, so I went with a slightly hacky fix of just adding a 5V connector through a hole in the back of the case.

Case cleanup

Stickers were removed by a combination of violence, IPA and scrubbing with a soft brush. Case was washed off thoroughly. IO covers were 3d printed. There’s a few deep scratches but other than that, things look pretty good now!

Final thoughts

There were no real setbacks in this restoration, unlike the Compact I worked on previously.

While there were still a lot of steps to perform to get everything up and running, it was mostly smooth sailing, and I could chip away at it on evenings when I had some spare time.

The lack of floppy drives isn’t too much of an issue to me, since I sortof don’t want to deal with 5.25″ floppies unless I really have to, and the custom IPL allows me to bypass the need for a Master Disk since I can just run SWITCH.X from SASI.

10MHz with 10MB and Midi should be sufficient, but I could look into doing a 16Mhz overclock at this at some point.

Overall a fun and satisfying project.

Categories
Old Hardware Retro Computers

NEC PC-9801-86 Recap notes

Did a quick recap of my new PC-9801-86, and thought I’d add some notes to simplify for other people. There’s an earlier Japanese caplist here that I used as a base, but they used THT caps for the recap which I didn’t want to do.

Note that C33 and C34 are bipolar caps. The mouser links below link to the proper ones, but in my actual recap I just used polarized capacitors which seems to work as well (the Japanese link above did this too). It should be better to use bipolar caps though, so I might swap them later.

Purchase list

MouserAmount
710-8650904430058
710-8650603430033
710-8652306400041
710-8650903430055
710-8652503400032
710-86523044000132
710-8650606400012
647-UWP1C4R7MCL2

Cap list

PositionCapacitanceVoltageDiameterMouserNote
C133μF25V6.3mm710-865090443005
C233μF25V6.3mm710-865090443005
C333μF16V6.3mm710-865060343003
C40.47μF50V4mm710-865230640004
C533μF25V6.3mm710-865090443005
C733μF25V6.3mm710-865090443005
C847μF16V6.3mm710-865090343005
C910μF16V4mm710-865250340003
C104.7μF25V4mm710-865230440001
C114.7μF25V4mm710-865230440001
C124.7μF25V4mm710-865230440001
C1333μF16V6.3mm710-865060343003
C144.7μF25V4mm710-865230440001
C154.7μF25V4mm710-865230440001
C164.7μF25V4mm710-865230440001
C174.7μF25V4mm710-865230440001
C184.7μF25V4mm710-865230440001
C194.7μF25V4mm710-865230440001
C204.7μF25V4mm710-865230440001
C214.7μF25V4mm710-865230440001
C224.7μF25V4mm710-865230440001
C234.7μF25V4mm710-865230440001
C244.7μF25V4mm710-865230440001
C254.7μF25V4mm710-865230440001
C264.7μF25V4mm710-865230440001
C274.7μF25V4mm710-865230440001
C284.7μF25V4mm710-865230440001
C294.7μF25V4mm710-865230440001
C301μF50V4mm710-865060640001
C311μF50V4mm710-865060640001
C324.7μF25V4mm710-865230440001
C334.7μF16V4mm647-UWP1C4R7MCLBipolar cap
C344.7μF16V4mm647-UWP1C4R7MCLBipolar cap
C3533μF25V6.3mm710-865090443005
C3633μF25V6.3mm710-865090443005
C3747μF16V6.3mm710-865090343005
C3847μF16V6.3mm710-865090343005
C394.7μF25V4mm710-865230440001
C404.7μF25V4mm710-865230440001
C424.7μF25V4mm710-865230440001
C434.7μF25V4mm710-865230440001
C444.7μF25V4mm710-865230440001
C4547μF16V6.3mm710-865090343005
C4647μF16V6.3mm710-865090343005
C4810μF16V4mm710-865250340003
C504.7μF25V4mm710-865230440001
C514.7μF25V4mm710-865230440001
C534.7μF25V4mm710-865230440001
C5433μF25V6.3mm710-865090443005
C5533μF25V6.3mm710-865090443005
C564.7μF25V4mm710-865230440001
C574.7μF25V4mm710-865230440001
C584.7μF25V4mm710-865230440001
C594.7μF25V4mm710-865230440001
C6033μF16V6.3mm710-865060343003
Categories
Retro Computers

PC-9821 V13 Capacitor List for Recap

Did a full recap on my V13 PC-9821. Here is the cap list.
I did double check the values, but there’s still a possibility for errors, so I recommend checking them yourself too.

Motherboard

  • 1A2: 100u, 16v (6.5mm)
  • 1A9: 100u, 16v (6.5mm)
  • 1A10: 47u, 16v (5mm)
  • 1B13: 10u, 16v (5mm)
  • 1H1: 10u, 16v (5mm)
  • 1H2: 10u, 16v (5mm)
  • 1H3: 47u, 16v (5mm)
  • 1H4: 10u, 16v (5mm)
  • 1H5: 10u, 16v (5mm)
  • 1J3: 47u, 16v (5mm)
  • 1J5: 47u, 16v (5mm)
  • 1J6: 10u, 16v (5mm)
  • 2B5: 47u, 16v (5mm)
  • 2E1: 47u, 16v (5mm)
  • 2H7: 47u, 16v (5mm)
  • 2K3: 47u, 16v (5mm)
  • 3C5: 47u, 16v (5mm)
  • 3D1: 47u, 16v (5mm)
  • 3E11: 10u, 16v (5mm)
  • 3E12: 10u, 16v (5mm)
  • 5B1: 3300u, 10v (12.5mm)
  • 5B2: 47u, 16v (5mm)
  • 5C2: 47u, 16v (5mm)
  • 5M6: 47u, 16v (5mm)
  • 6F3: 10u, 16v (5mm)
  • 6N7: 10u, 16v (5mm)
  • 7F8: 10u, 16v (5mm)
  • 7J7: 10u, 16v (5mm)
  • 7K6: 10u, 16v (5mm)
  • 8G1: 47u, 16v (5mm)
  • 8J1: 10u, 16v (5mm)
  • 9D2: 47u, 16v (5mm)
  • 9D3: 10u, 16v (5mm)
  • 9E3: 10u, 16v (5mm)
  • 9F9: 10u, 16v (5mm)
  • 9G1: 10u, 16v (5mm)
  • 10B2: 47u, 16v (5mm)
  • 10D2: 47u, 16v (5mm)
  • 10F1: 47u, 16v (5mm)
  • 10G1: 10u, 16v (5mm)
  • 10K1: 10u, 16v (5mm)

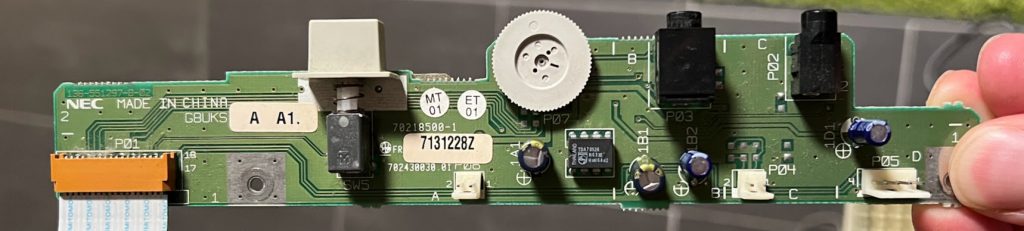
Front IO Board

  • 1A1: 100U, 16V (6.5mm)
  • 1B1: 100U, 16V (6.5mm)
  • 1B2: 10u, 16V (5mm)
  • 1D1: 10u, 16V (5mm)

CBUS Riser

  • C1: 10u, 16V (5mm)
  • C2, C3: Unpopulated
  • C4: 47u, 16V (5mm)
  • C5: 10u, 16V (5mm)
  • C6: 10u, 16V (5mm)
  • C7: 10u, 16V (5mm)
  • C8: 47u, 16V (5mm)

The slots are 100 Pin 2×50 Edge connectors. 5mm between pin rows. Pin rows have 2.54mm spacing

Sound board

Component markings are super confusing here, but it has

  • 1x (near 1C14): 47u, 16V (5mm)
  • 5x (all the other ones) 10u, 16V (5mm)