This web page is a part of buffi's web ring
Categories
Old Hardware Retro Computers

Repair of X68000 Pro

Bought a cheap X68000 Pro a while ago to restore.

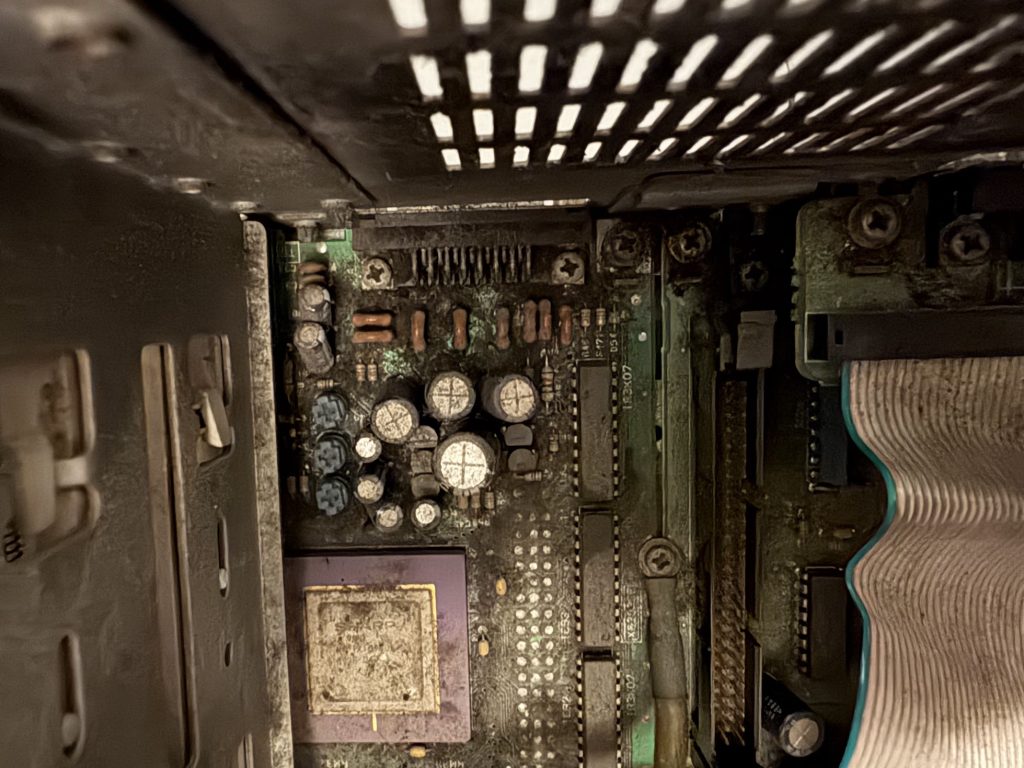
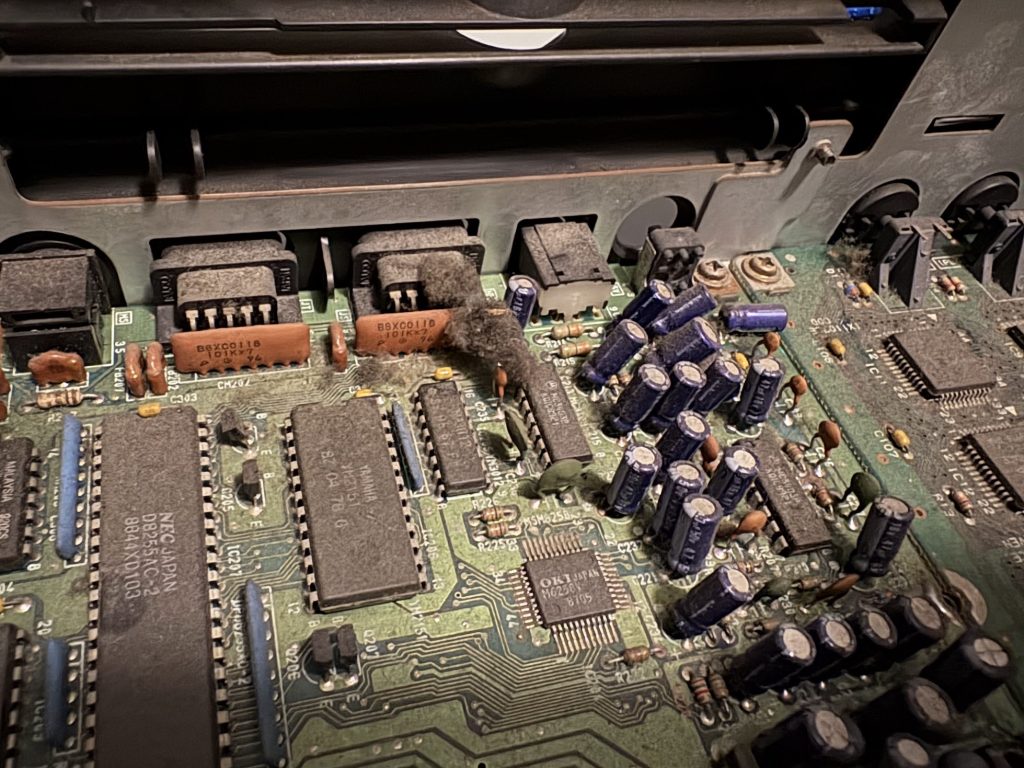
Was expecting it to be non-functional and broken, and it was. It was also impressively filthy. Check this out:

Before

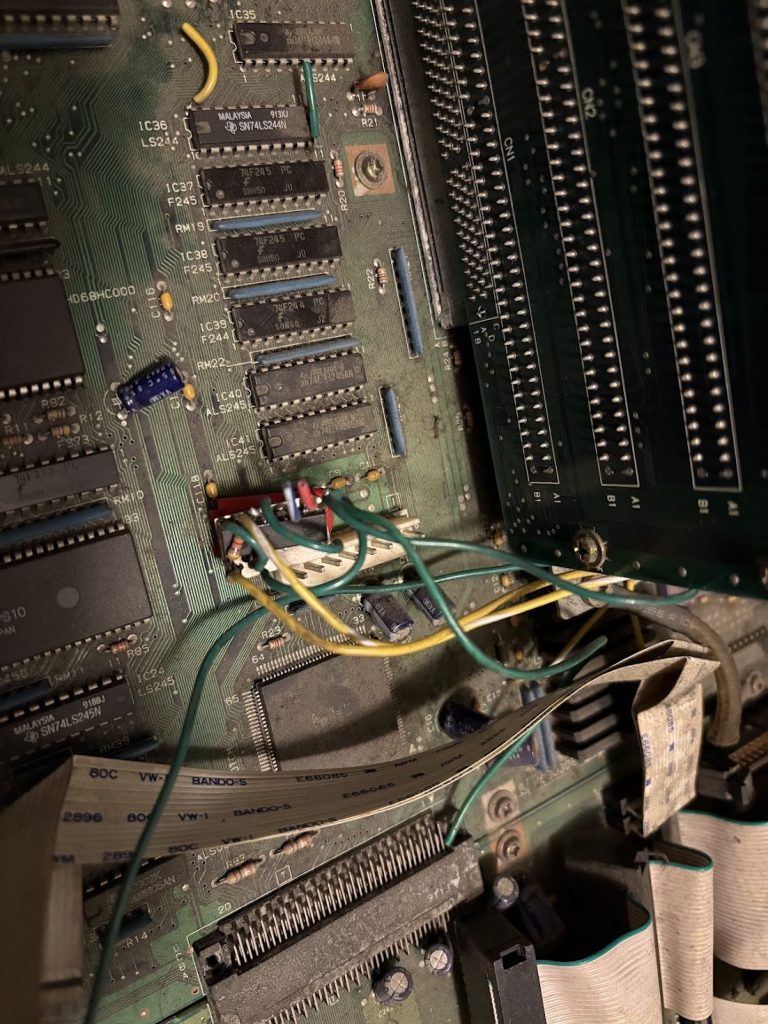
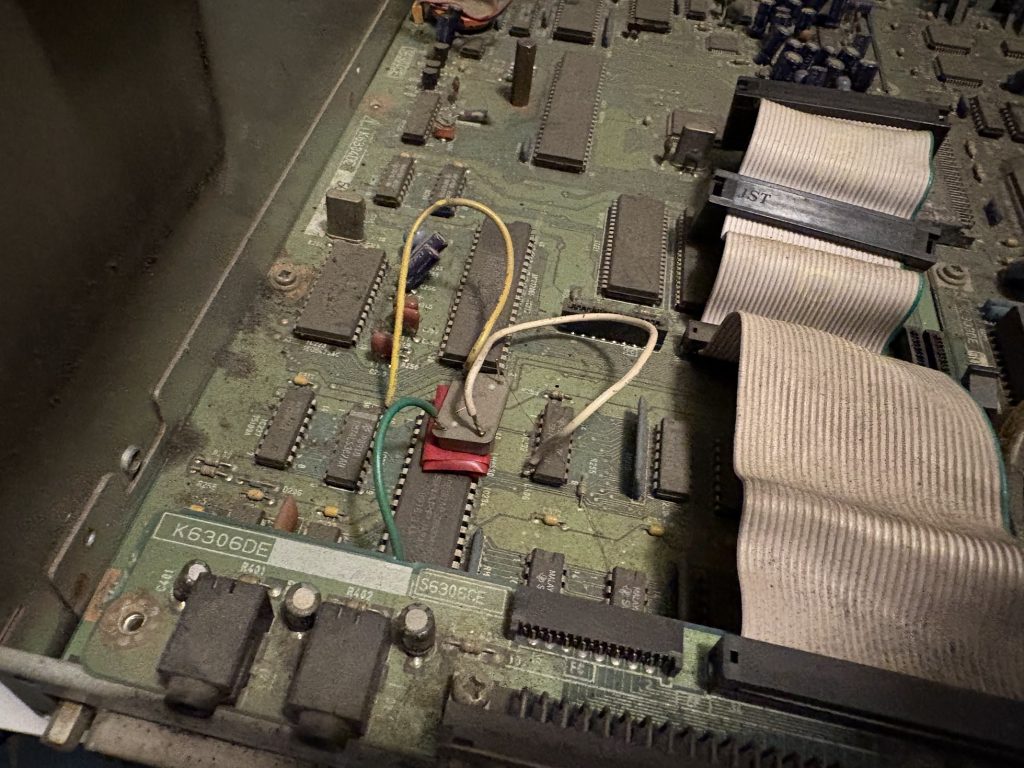
Outsides and insides were… very dirty. There were remnants of an old overclock mod which was partly disconnected.

Floppy drives were not present. Neither was the power supply.

What was however present was this sick as fuck homemade RAM card. Look at this thing. Home etched!

Cleanup and recap

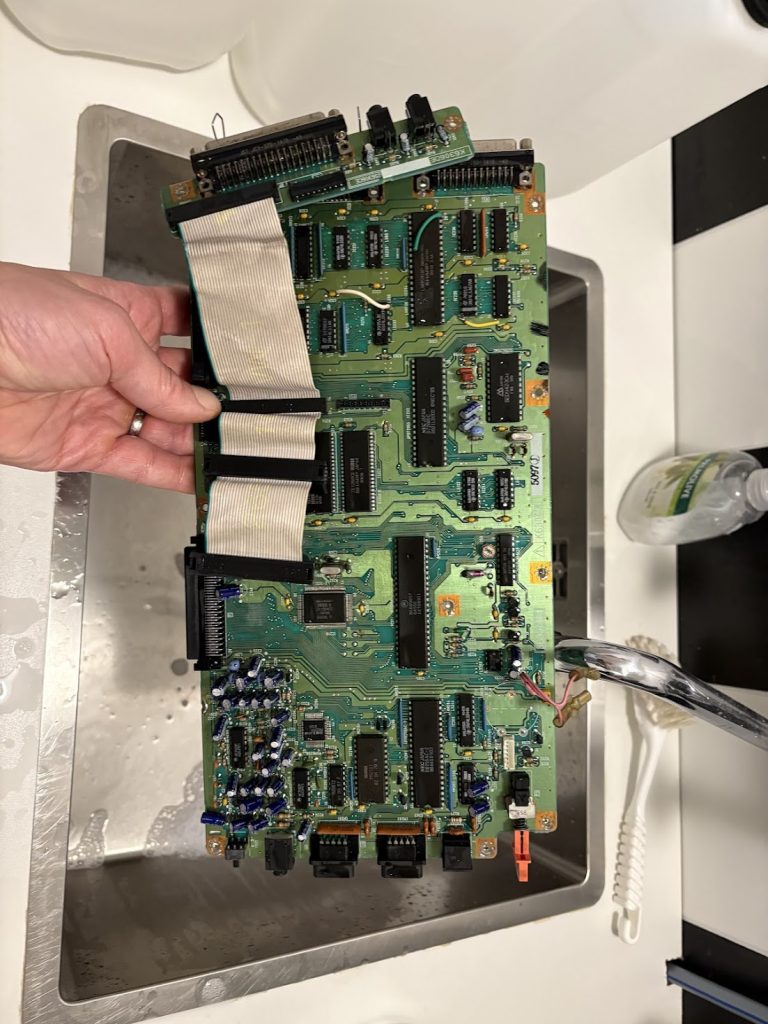
Before I could really do anything with this thing, I had to clean out all the dirt, so it was bath time.
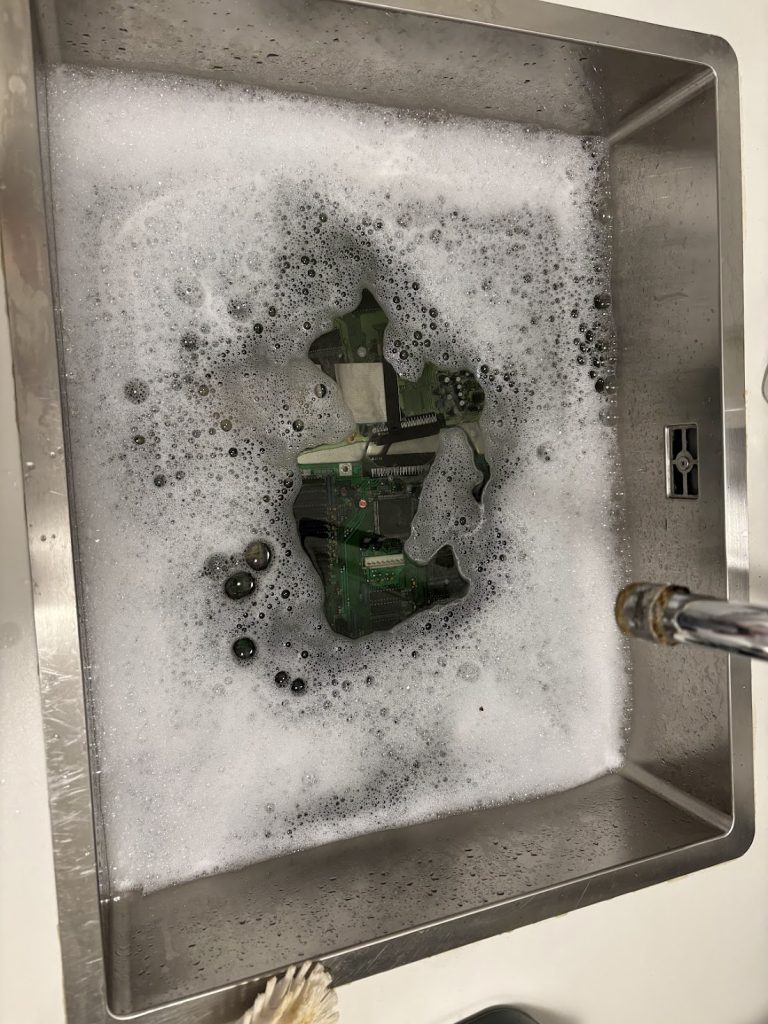
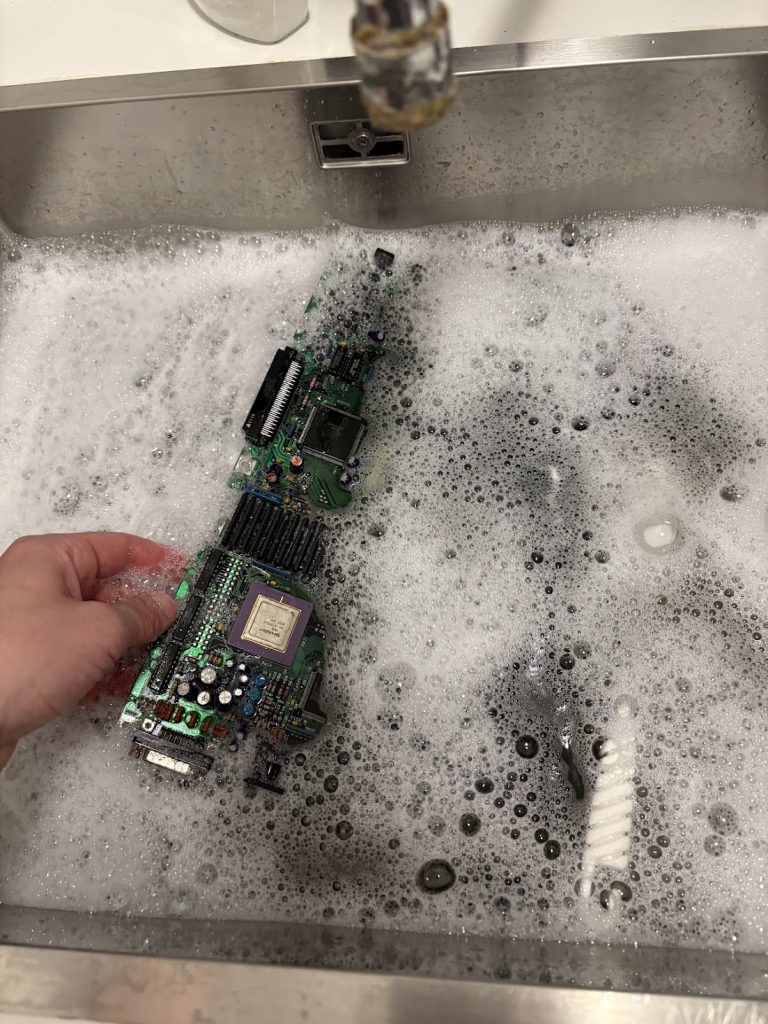
Things cleaned up nicely!
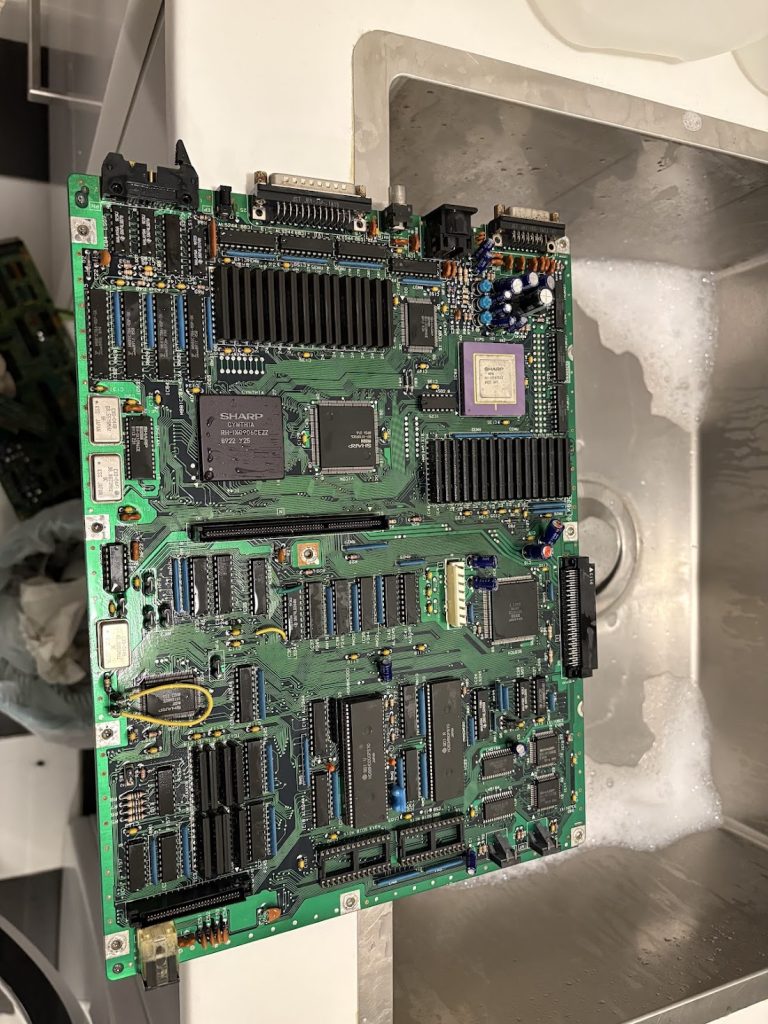
As mentioned, there were some partial overclock mods that had to be removed. In practice this meant rewiring a lifted pin from the CPU clock, and bridging a cut trace which was related to the second oscillator for the IO board.
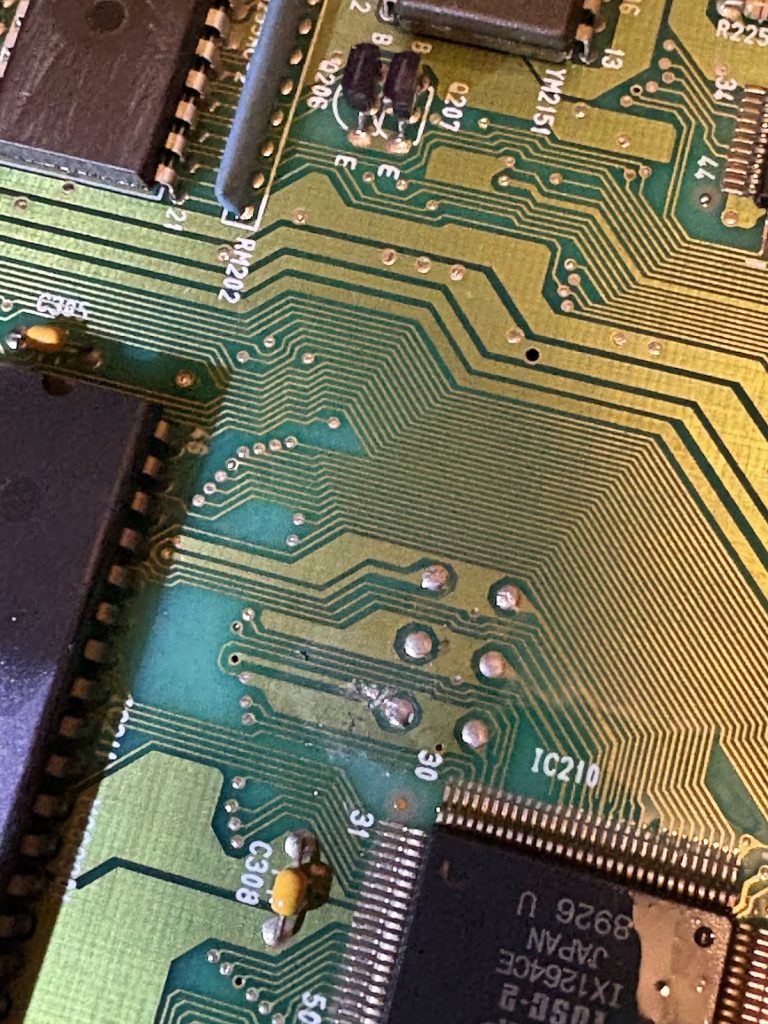
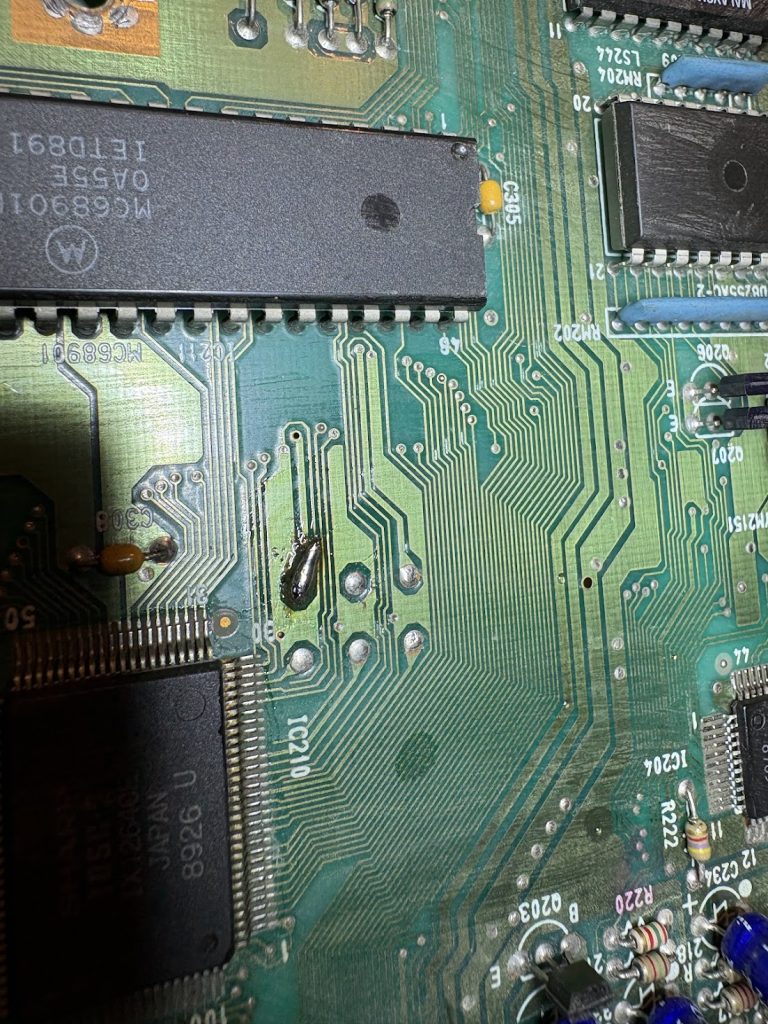
I tried booting things at this point, but things were very dead, so I just skipped right ahead to doing the recap and battery swap here as well to exclude simple issues.

Booting and PSU

With the regular IPL, the system would not boot at this point due to the missing floppies, but with a custom IPL installed, the system would now boot fine from SASI. Very nice!

For the missing PSU, I scavenged some old replacement boards I had around, cut them a bit smaller and made a plastic bracked for mounting a Pico-ATX in the case. Turned out OK.
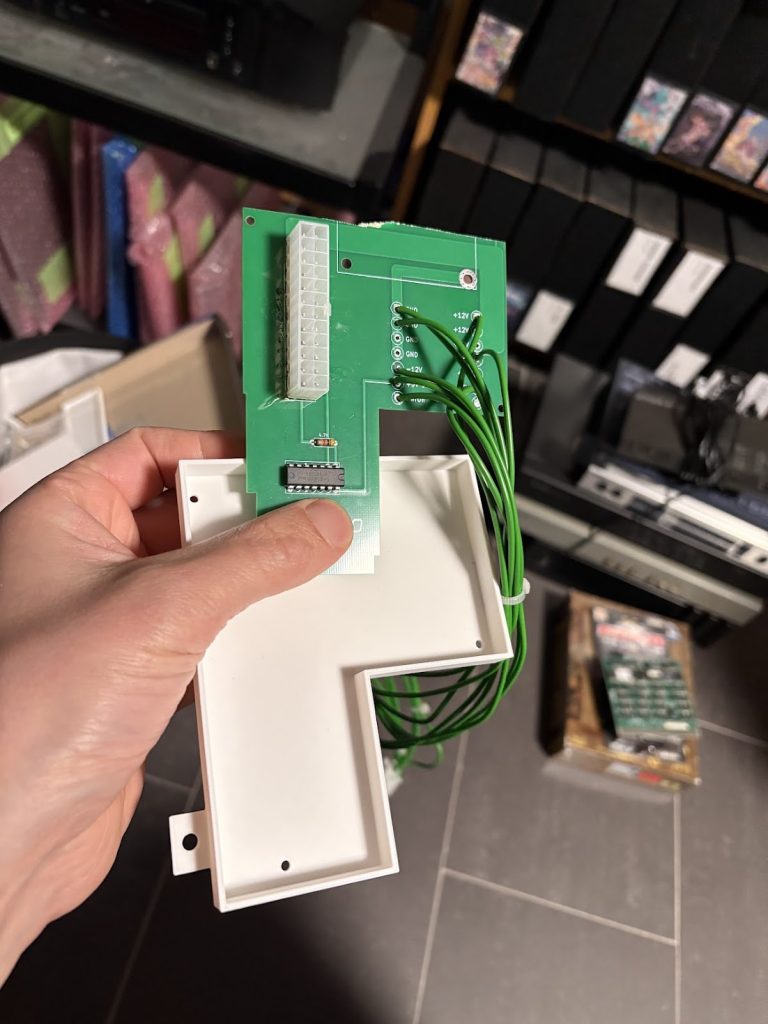
I decided to not have an internal DC converter, and instead running the device off 12V DC, so I 3d printed a small holder for the connector which turned out well.
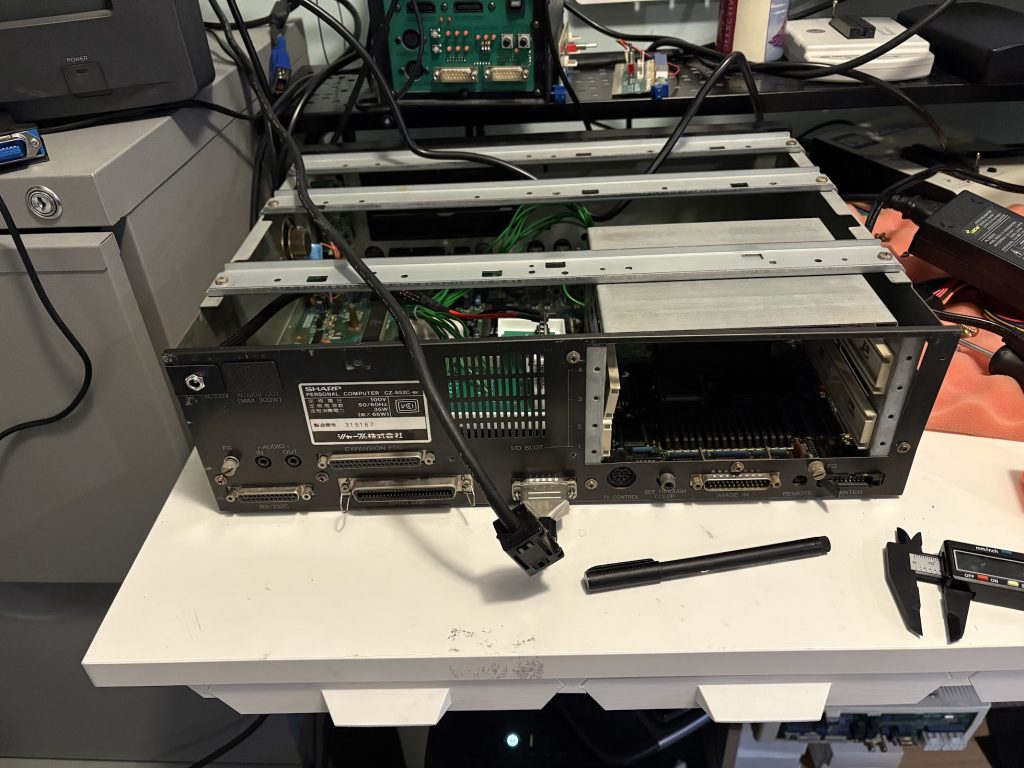
Extras

Since the device only came with 1MB RAM, I added an internal 1MB expansion as well as a 8MB Polykubos RAM+Midi card.

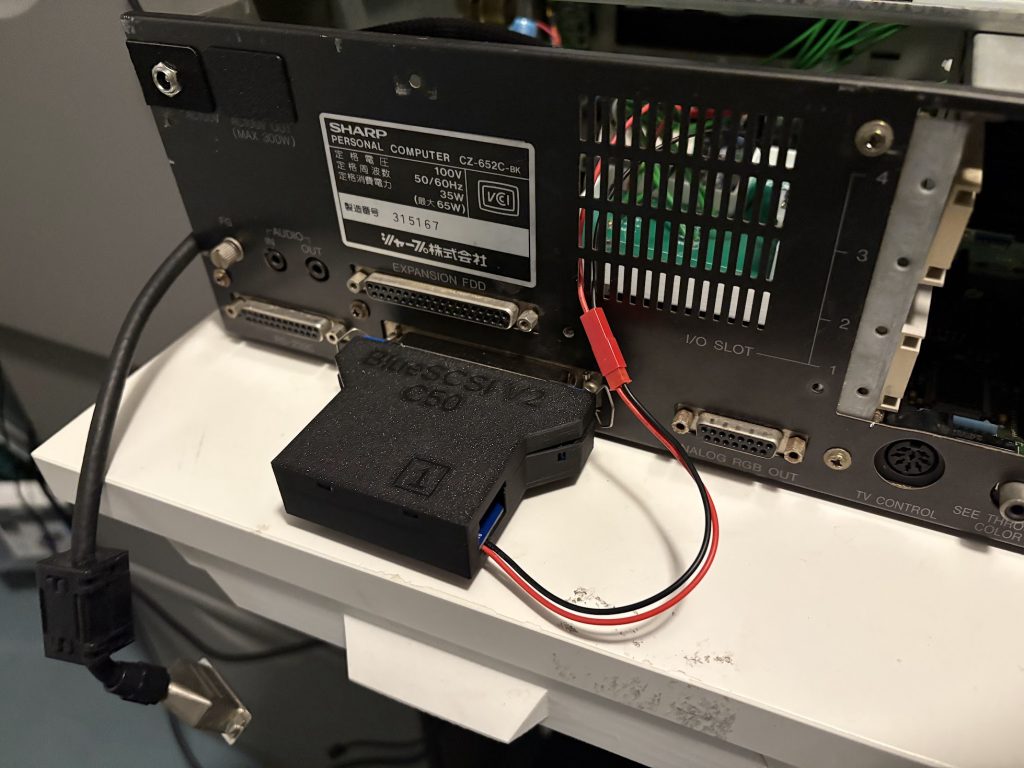
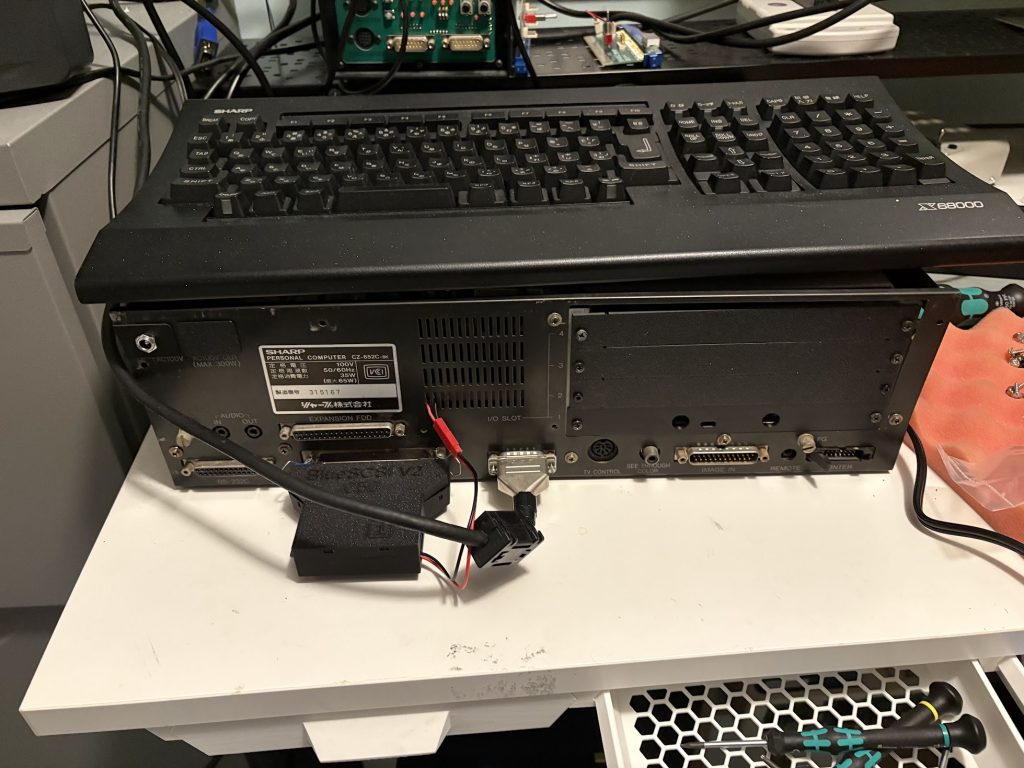
For Booting the system, I use a Bluescsi V2 Centronics version. The X68000 Pro does not provide termination power over the SASI port, so I went with a slightly hacky fix of just adding a 5V connector through a hole in the back of the case.
Case cleanup

Stickers were removed by a combination of violence, IPA and scrubbing with a soft brush. Case was washed off thoroughly. IO covers were 3d printed. There’s a few deep scratches but other than that, things look pretty good now!

Final thoughts

There were no real setbacks in this restoration, unlike the Compact I worked on previously.

While there were still a lot of steps to perform to get everything up and running, it was mostly smooth sailing, and I could chip away at it on evenings when I had some spare time.

The lack of floppy drives isn’t too much of an issue to me, since I sortof don’t want to deal with 5.25″ floppies unless I really have to, and the custom IPL allows me to bypass the need for a Master Disk since I can just run SWITCH.X from SASI.

10MHz with 10MB and Midi should be sufficient, but I could look into doing a 16Mhz overclock at this at some point.

Overall a fun and satisfying project.

Categories
Old Hardware Retro Computers

X68030 SCSI Adventure Part 5

This is just a small follow-up to the earlier posts, but I noticed that my Henkan Banchou was running real slow on my X68030 for some reason, so I tried swapping it for a old BlueSCSI V1 and that works much better.

I assume V2 would be the same, but this was all I had at home.

Some people seem to swear by Henkan Banchou, but it just wasn’t playing nice for me. As a fun thing, I’m trying out one of those Micro-SD card extenders now too, and routed that out the back of the unit. Makes it easy to swap cards, but realistically I don’t think I’ll do that much.

I’ll keep it like this for a bit and will then just use a regular Micro-SD card.

Categories
Old Hardware Retro Computers

X68030 SCSI Adventure Part 4

For context, I recommend reading part 2 first.

Given what I learned from the first iteration, I made some changes and now have an internal SCSI adapter for X68030 that I’m happy with.

Available on github.

Now HDLED is supported as well without any extra circuitry. Just run a wire to the SCSI-SD Adapter.

Quick video showing the HDLED working:

I am quite happy with this now, so I don’t expect further updates on this project.

Categories
Old Hardware Retro Computers

X68030 SCSI Adventure Part 3

Well… I figured out what the SCSI ID switch on the back of X68030 does, and uuuuuh.

I was a bit confused what the idea of that was, since there’s a SCSI_ID setting in SWITCH.X already which seems to select the SCSI ID of the computer.

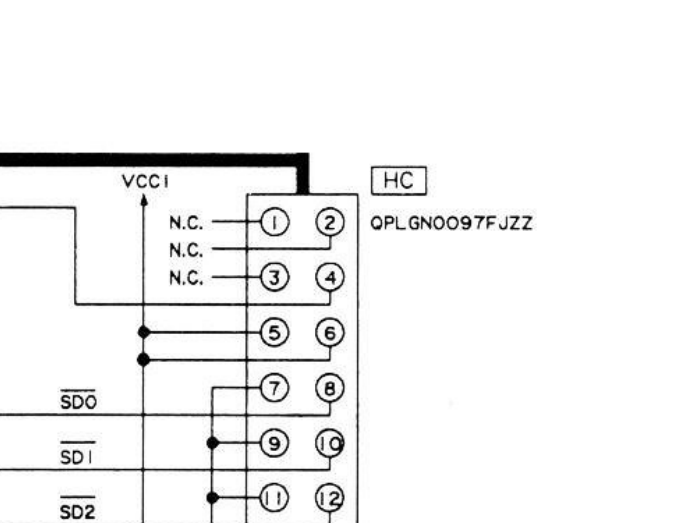
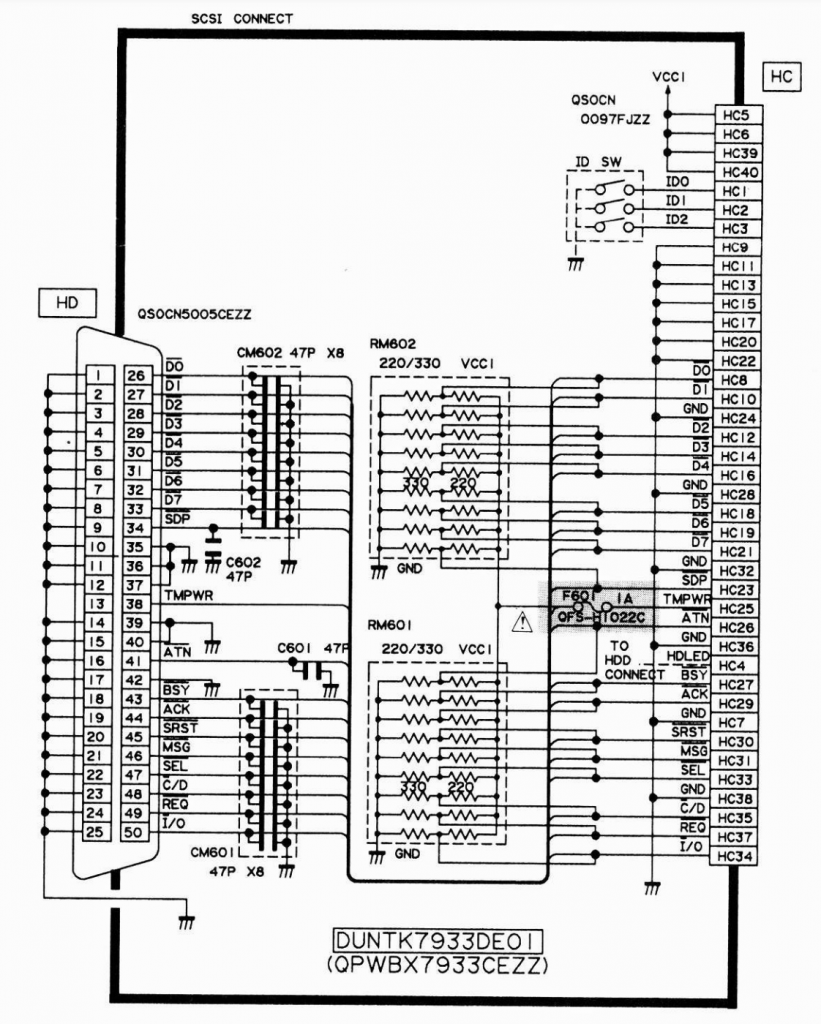
So here’s the relevant part of the schematic of the SCSI IO board.

So it’s connected to pin 1-3 on the HC connector… what does that map to on the motherboard?

Absolutely nothing apparently. Pretty weird. Turns out the switch is just chilling there, not hooked up to anything then.

Categories
Old Hardware Retro Computers

X68030 SCSI Adventure Part 2

Since I wanted to be able to have a SCSI to Flash adapter connected internally to my device, I had to make some adjustments to the hardware.

Hardware

I wanted to hook up an internal SCSI HDD to my X68030, and decided that instead of trying to manufacture a cable for this, I’d just make a quick replacement SCSI IO board with the proper connector. This board has the same configuration of resistors and capacitors as the original board, but lacks the external connector. It has headers for setting the SCSI ID, but it’s fine to leave this unpopulated and just use SCSI ID=0 for the X68030.

SCSI Device setup

Setup is quite minimal.

There shouldn’t really be any settings needed to be changed in SWITCH.X. Leaving device boot as STD works, and either 0 or 7 as SCSI_ID works fine.

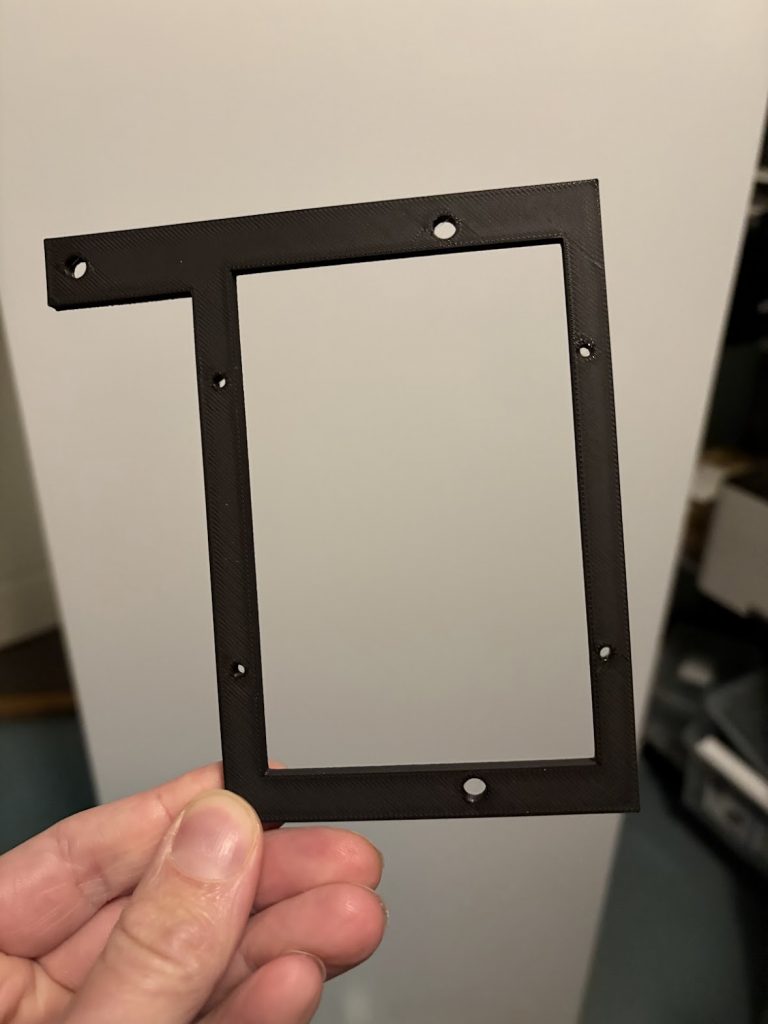
I had a spare Henkan Banchou 変換番長 Pro from a previous project that I decided to use. I designed and 3D printed a bracket (STL is at end of this post) for this to fit in the top right of the X68030, since that’s where the internal HDD is in CZ-510C.

I loaded this with the SxSI-SCSI HDD Image v3.01 from NFG Games forum, and things pretty much just worked right away, once I connected the cable.

Power is supplied using the flat cable (as long as the connected device doesn’t require more than 1A).

Downloads

Internal SCSI board

KiCad project and Gerbers for this can be found at https://github.com/buffis/x68030_scsi_adapter. This also has the BOM.

There’s minor layout changes to the one in pictures above, but no change in functionality.

Henkan Banchou mounting bracket

Also available on Github under https://github.com/buffis/x68030_scsi_adapter/tree/main/mounting_bracket.

Standard STL file that any 3D printer should be able to print.

Categories
Old Hardware Retro Computers

X68030 SCSI Adventure Part 1

I finally got SCSI working on my X68030 CZ-500C, so thought I’d do a writeup on what I learned. It will be in two parts, where the first one covers the default CZ-500C SCSI support, and the second part covers a new adapter I made for using internal SCSI devices.

CZ-500C SCSI Internals

X68030 has proper SCSI support, not just SASI as some of the earlier X68000 models. CZ-500C does however lack cabling for internal SCSI HDD (which CZ-510C has). The internal connector used from the main board to the SCSI IO board is a non-standard 40-pin flat cable. The schematic for CZ-500C including the SCSI board can be found here.

The IO board itself is quite simple. Other than the connectors and ID switch, it just has a terminating 33oΩ/220Ω resistor network, a bunch of capacitors and a 1A fuse for the external power delivery. It is mounted on top of another IO board for the external floppy, and easy to remove with two screws.

If the SCSI board is not connected to the bottom PCB of the X68030, the system will not start.

External connectors

The external SCSI connector is a “Micro Centronics” connector, which is hard to find proper cabling for. It seems like the Japanese term for these are アンフェノールハーフ50 (Amphenol half 50) or アンフェノールハーフピッチ50 (Amphenol half pitch 50).

When looking for adapters to full-size Centronics, you can search for that in combination with アンフェノールフル 50 (Amphenol full 50), and look for a cable with a male Micro connector that goes to a female full size connector. This can then be hooked up to a Centronics Bluescsi device. Example from an Mercari auction:

There is a SCSI ID switch on the back of the unit. This doesn’t seem to be related to the external device, but rather the SCSI ID that the X68030 uses. Weirdly there’s also an option for this in SWITCH.X so I’m not really sure which option has priority. The compact version of X68030 does not have this switch, nor does other X68000 models as far as I can tell.