I tend to only play shmups to clear them with one credit, and not really play for score. As I’ve cleared more games (currently at around 30 shmup 1CC’s), I’ve improved my methods for learning how to clear games, so I thought I’d write some of this down as a short guide of sorts.
This is not really meant as a beginners guide to shmups, but rather a guide for how to improve quicky once you’ve figured out the basic fundamentals.
Disclaimer: This purely focuses on survival, and is probably not applicable for playing for score.
Starting a new game
If you want to clear a game for the first time, i suggest that you start off by playing a few credits, and then get some basic info about how to approach it from someone familiar with the game. This can be the shmups forum or one of the shmup discords. Some stuff that’s good to know:
- What is the best ship-type/weapon option? (use that)
- Are there any fixed hidden extends?
- Any important safe spots to avoid hard patterns?
- Do I need external autofire (or autofire button).
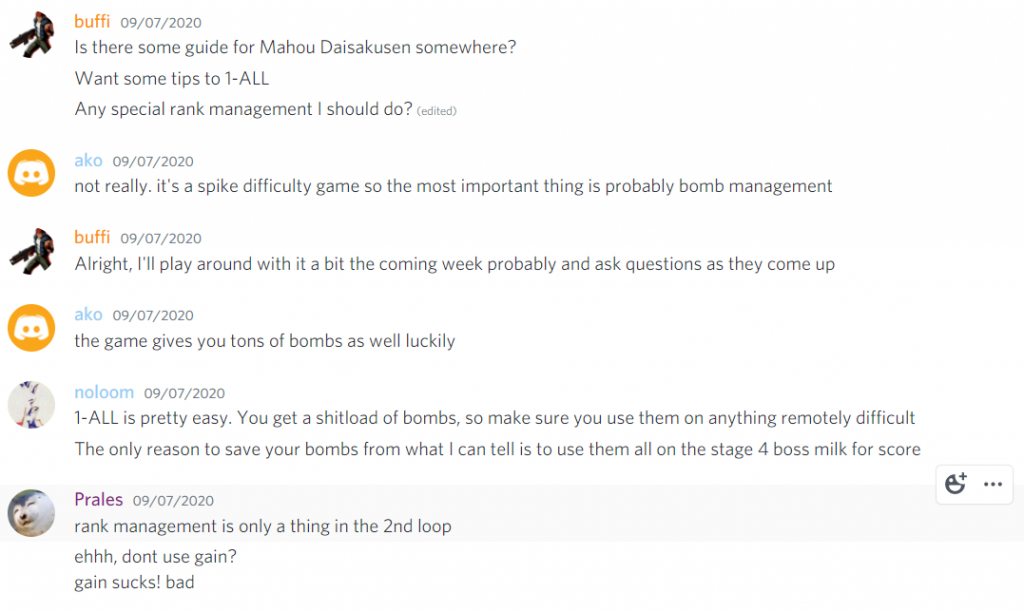
- Are there any special mechanics of the game that you need to know about. Some examples would be rank management in Ibara and Supershot in Mushihimesama.
- Anything else that you become curious about when you’ve tried out the game.
Once you have that basic info, just credit feed through the game a few (maybe three or so) times to at least see all the levels. Don’t worry about how you perform at this point, this is just to see how long the game is and what stuff is to be encountered.
At this point, I recommend just playing the game for a few more hours to get a general feel for the game. This means getting familiar with how the ship moves, how big the hitbox is, how the weapons work and so on.
Don’t spend too much time on this, but a few hours is probably good before more focused practice.
Starting practice
Practicing shmups can basically be broken down into three methods. Full Runs, Stage Practice and Save State Practice. You want to do all of these to some extent, but for different reasons.
Starting Full Runs
Since the end goal is to clear the game on one credit, you will want to do some full runs. Just don’t have the expectations to get very far in the beginning. Once you have a basic feel for the game, I recommend just sticking to one credit at the time. This will mean that you will have to play the first few stages a lot of times, but this is actually good in the beginning. You want to get to a point where the first stages feel easy, and you can save resources for later stages without challenge.
If you realize that you keep dieing on the same spot several times (maybe the first boss), you should jump over to Save State Practice, until you’ve figured out how to survive that spot, then go back to doing runs.
Save state practice
Unless you have access to one of the very few ports that have save state support (just the M2 Shottrigger ports I think?), you want to practice a lot in Mame. Save state practive will always be more effective since you can drill hard sections over and over.
Let’s say that you started doing runs, but in almost every run you die once to the first boss. Load the game in mame, set a save state at the start of the boss and keep practicing until you have a strategy for it. If a specific pattern is giving you issues, set up a save state at that pattern and do it over and over. Eventually you will know how to handle it, and can go back to doing runs.

At this point learning should just follow keep following the format:
- Do some full runs
- Figure out where you die
- Practice those spots with save states until they feel easy
- Repeat
Experimenting
At this point, you should have a pretty good understanding how the game works, and what is hard. Even for really old games though, there’s often very little good information to find, and you’ll have to discover stuff for yourself. If you find a problematic section, experiment with different potentially unusual ways to approach it, and you might find new routes that works well for you. Make sure to share these with the shmups community.
Resource management or… what about spots that never become easy?
Even with practice, there will always be sections that are just hard. Maybe there’s a boss pattern that even with practice only you have a 50% success rate on. These are spots where you will want to plan your bombs or similar resources. Make plans for stages so you know how many bombs you can expect to have at a specific point, and plan how you use them. It’s probably good to leave some headroom for “panic bombs”.
Take note of when bomb refills show up. You want to setup planned bombs before the refills to maximize your resource usage.
Some games will have non bomb resources to manage. One example of this is Espgaluda 1 and 2 where you will both have a Bomb (energy) meter and a Kakusei meter where both can be used for survival purposes. Plan for this!
The rest of the high-level plan
Once you’ve identified problem spots and figured out how to use your resources I recommend writing down a brief high-level plan for how to go through the game under ideal circumstances. This plan should not have a lot of detail and should have some headroom for eventual mistakes, since you are unlikely to play perfectly.
Keep this extremely short, since you’ll want to have this memorized anyways. This should not be a full plan for routing. One example can look like this (for Dangun Feveron).
Stage 1: Don't bomb. Easy
Stage 2: Target central part of boss. Bomb phase 2.
Stage 3:
- Bomb section before boss if scary.
- Bomb boss phase 1 up to two times.
- Dodge boss phase 2.
- Bomb boss phase 3.
- Should end stage with no death, and about  2 bombs in stock.
Stage 4:
- Bomb after turrets.
- Delay next Item Carrier.
- Bomb part afterwards.
- Maybe bomb Boss phase 1. Bomb phase 2 and charge.
- Will probably die once.
- Should be at one death, some bombs in stock at end.
Stage 5:
- Bomb anything scary.
- Delay item carriers.
- Reach boss with 1 spare life for timeout strat.
- Setup timeout strat.
Note that this doesn’t cover anything about routing how to deal with enemy waves. It’s just a high level summary. That said… you should still do some routing.
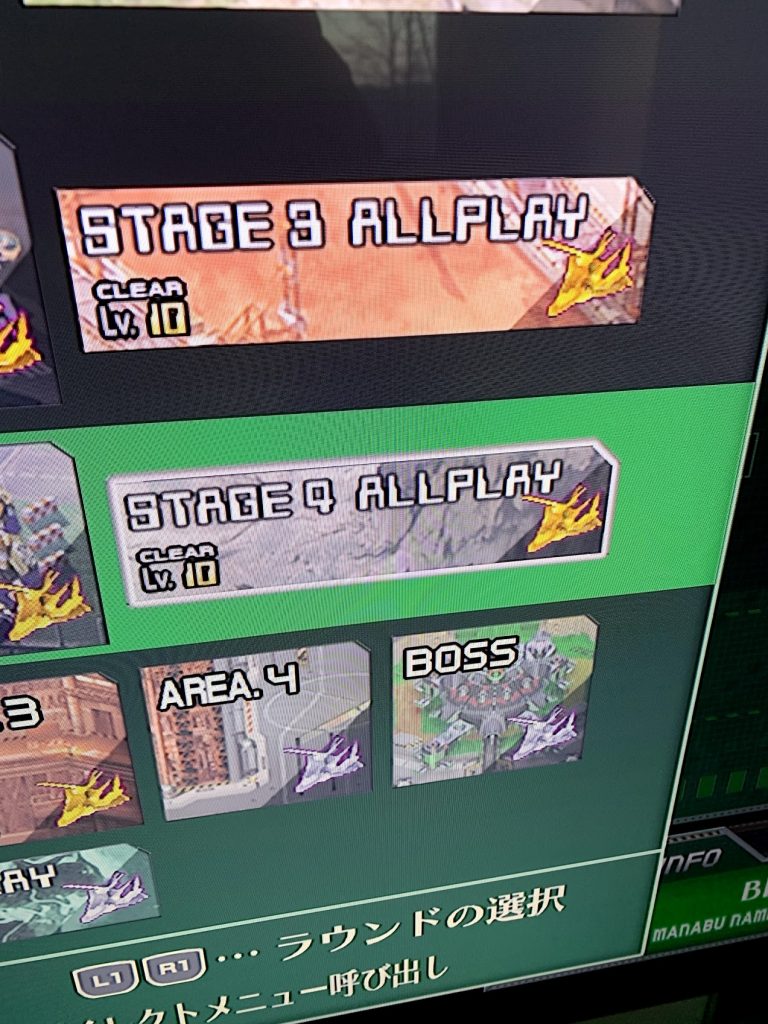
Routing the game (with Stage Practice)
When you have a high level plan, you will want to route the individual stages. This is where I typically start doing full stage practices. Set up a save state at the start of each stage where you have the ideal setup in terms of bombs/lives from your high-level plan. Then try to figure out a route through the stage that allows you to stick to the plan.
This often means memorizing enemy spawns, where and how to move and just overall how to survive. Use Save State practice to figure out smaller parts, and then fit it together until you can do the full stages with some success. You do not need to be able to consistently do this with the later stages. As an example, I have “No Miss No Bombed” Stage 4 in Ketsui exactly once in practice mode, and never in any runs, but still got the 1CC just fine.
Once you have an overall strategy for the individual stages, go back to doing full runs.
Just keep doing runs…
Now you should know how to beat the individual parts of the game… so it’s time to string it together. Do full runs and hope to hit a run where everything just fits together. It can be beneficial to try an hit a 2CC first, since that is typically significantly easier and a good step towards the goal.
If you hit more painpoints, you can go back and do some save stating of course, but at this point, just doing runs to increase consistency with them is good. Doing full runs has the benefit of also allowing you to practice recovery from mistakes, since it’s rare to have a perfect run.
Eventually you will hit a point where you are pretty close to beating the game. This tends to mean that you will eventually have several great runs where you get extremely close to beating it, but dieing while the boss has just a little life less, which can feel disheartening, but this is a huge step towards the goal!


At this point, it’s just all about doing more runs, and increasing consistency. Keep playing the game, and eventually you’ll have a great run and beat it!
2 replies on “How I approach 1CC for new shmups”
Really excellent article and blog. Thanks 🙂
Brilliant write up, I have the same approach as yours towards these games but I’d never be able to put it to words as neatly as you did here with all of those great image and video examples as well. From now on I’ll always refer other players and friends to this guide.